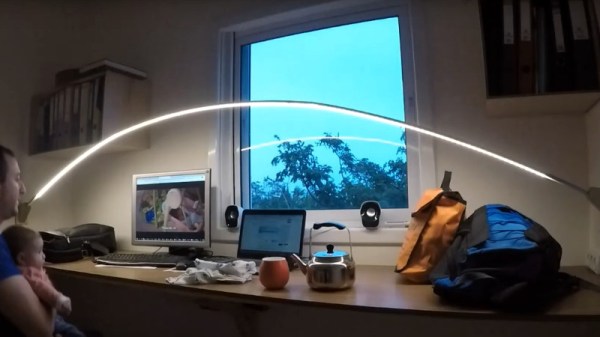
Many a maker likes to use their craft to create gifts for loved ones. [Jiří Praus] was celebrating having been married for 5 years, and crafted this beautiful LED heart sculpture to commemorate the occasion.
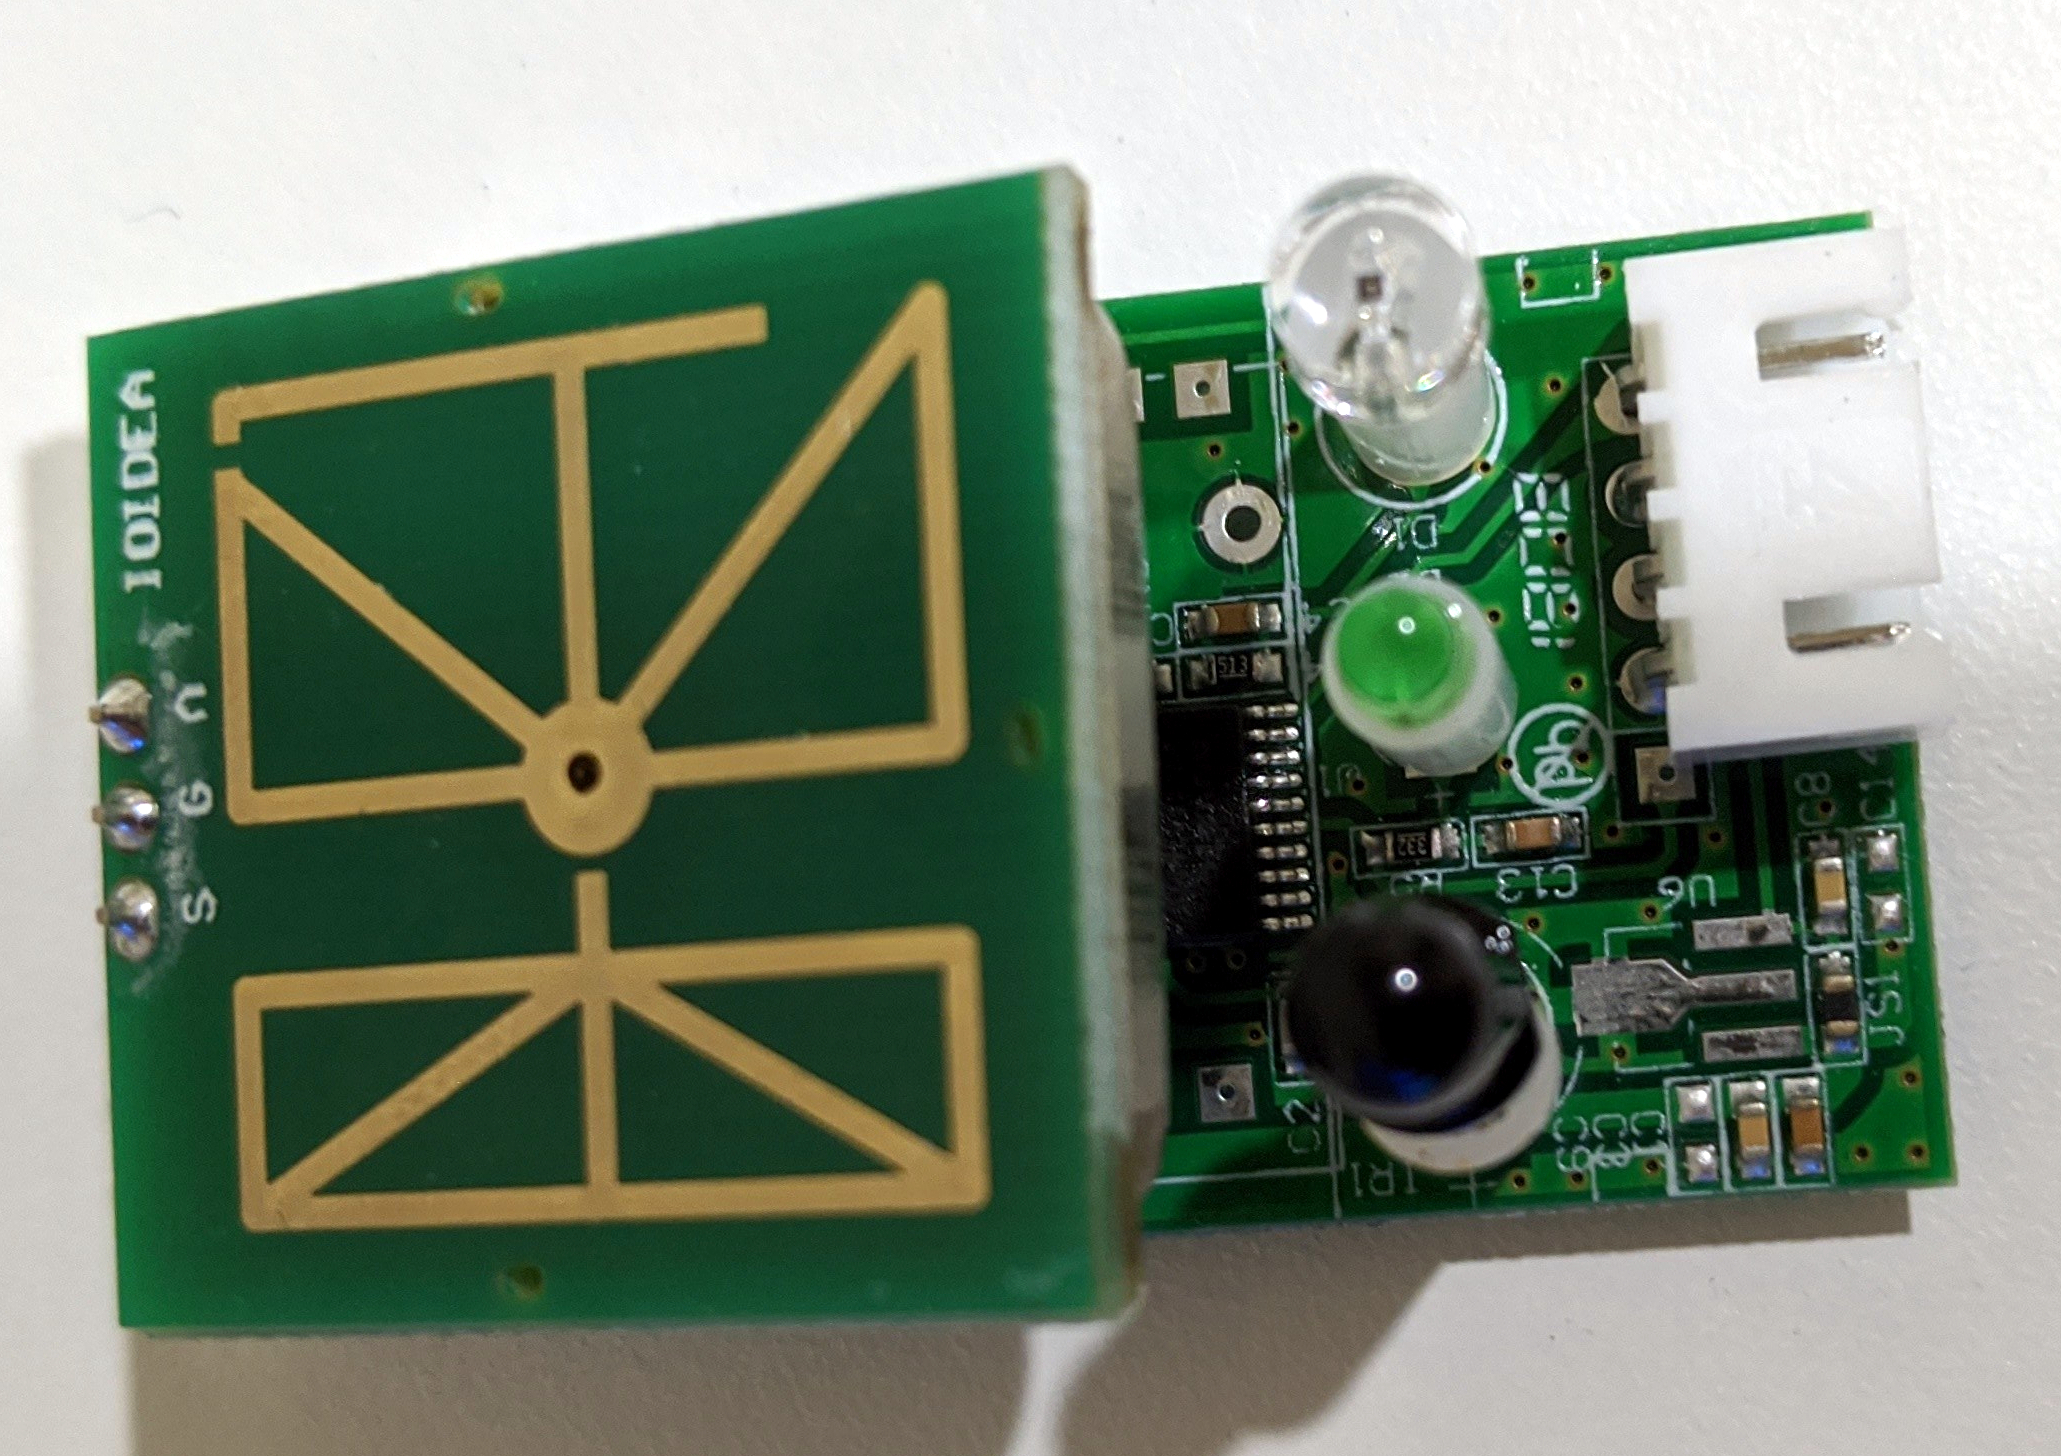
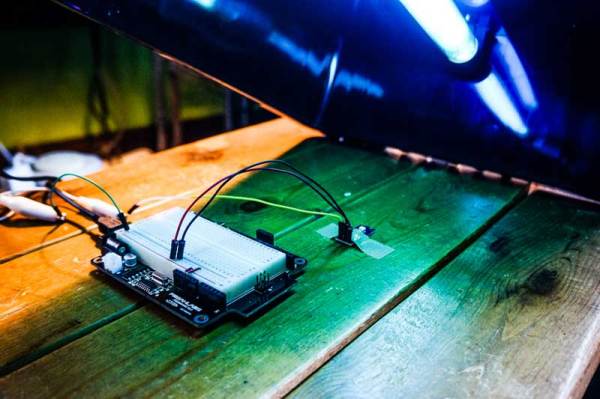
The outer shell was created by first starting with a 3D printed heart shape. This was used as a form upon which the brass wire could be soldered together to form an attractive heart-shaped cage. Inside, an Arduino Nano is hooked up to a series of WS2812b LEDs. The LEDs are flashed in time with the heartbeat of the person holding the heart, thanks to a MAX30102 heartbeat sensor. There’s also a TP4056 charge module and a small lithium battery to provide power for the device.
Adding the heartbeat sensor really makes this project shine, forming a connection between the holder and the device itself. The tasteful craftsmanship of the brass design makes this an excellent gift, one we’re sure anyone would like to receive. We’ve seen [Jiří Praus] make the most of this artform before too, with projects like this stunning tulip or dead-bug Arduino. Video after the break. Continue reading “LED Heart Beats With The Beholder”