Resin 3D printers are finally cheap enough that peons like us can finally buy them without skipping too many meals, and what means we’re starting to see more and more of them in the hands of hackers. But to get good results you’ll also want a machine to cure the prints with UV light; an added expense compared to more traditional FDM printers. Of course you could always build one yourself to try and save some money.
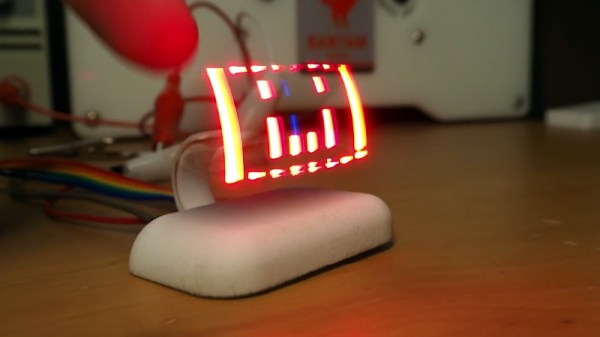
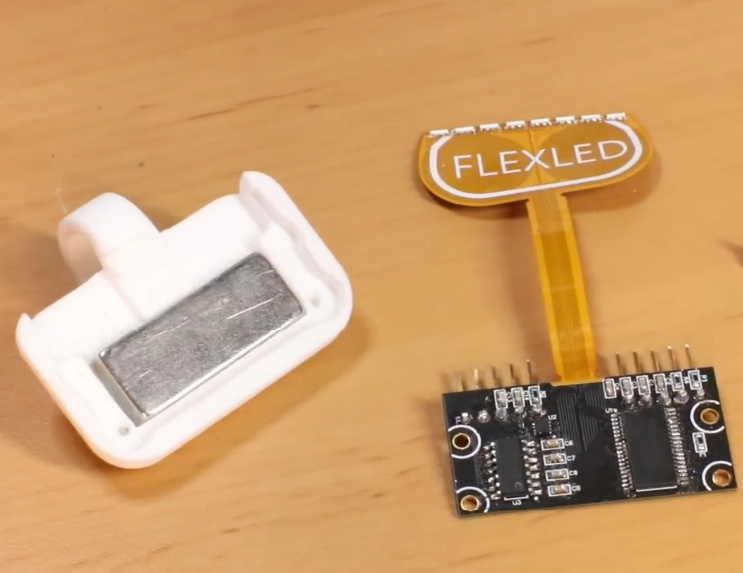
To that end, [sjm4306] is working on a very impressive controller for all your homebrew UV curing needs. The device is designed to work with cheap UV strip lights that can easily be sourced online, and all you need to bring to the table is a suitable enclosure to install them in. Here he’s using a metal paint can with a lid to keep from burning his eyes out, but we imagine the good readers of Hackaday could come up with something slightly more substantial while still taking the necessary precautions to not cook the only set of eyes you’ll ever have.
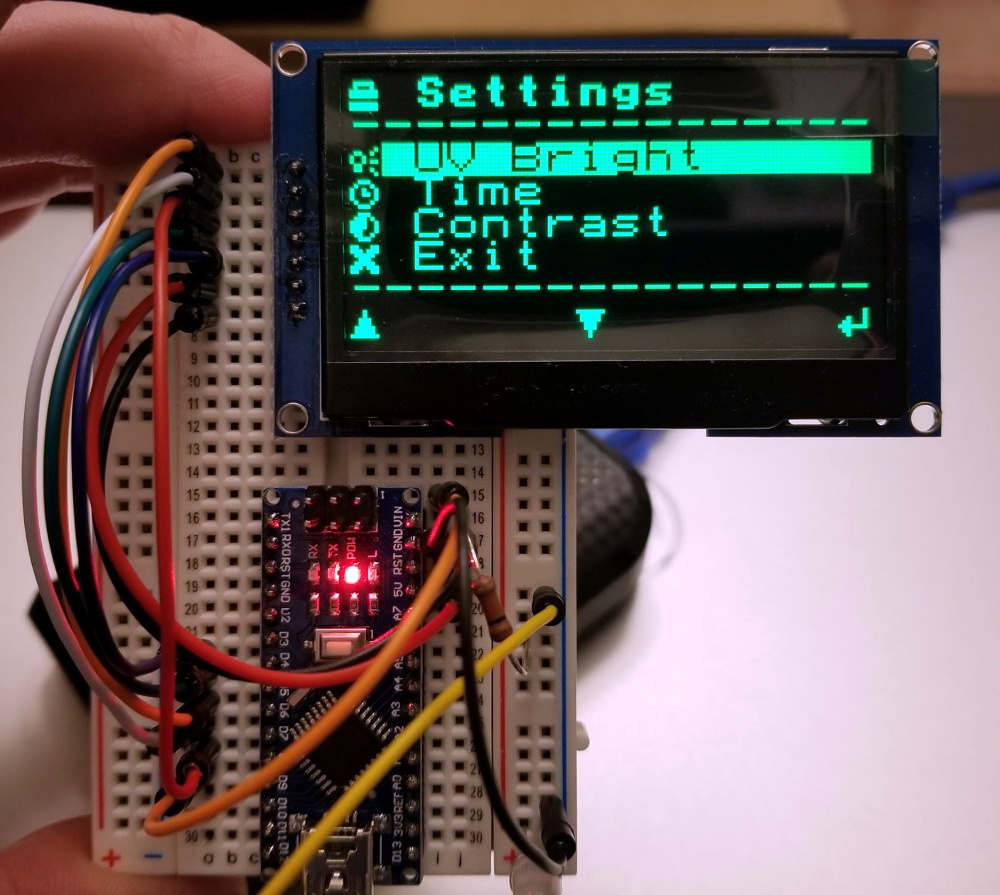
Of course, the enclosure isn’t what this project is really about. The focus here is on a general purpose controller, and it looks like [sjm4306] has really gone the extra mile with this one. Using a common OLED display module, the controller provides a very concise and professional graphical user interface for setting parameters such as light intensity and cure time. While the part is cooking, there’s even a nice little progress bar which makes it easy to see how much time is left even if you’re across the room.
At this point we’ve seen a number of hacked together UV cure boxes, but many of them skip the controller and just run the lights full time. That’s fine for a quick and dirty build, but we think a controller like this one could help turn a simple hack into a proper tool.
Continue reading “A Smart Controller For Your DIY UV Cure Box”