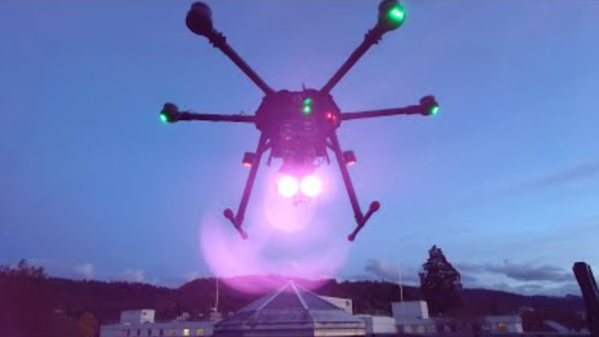
Tagging wildlife is never straightforward in the best of times, but it becomes a great deal more complicated when you’re trying to track flying insects. Instead of trying to use a sensor package, [DeepSOIC] attached tiny, light retroreflectors to bees and hornets, then used a pulsed infrared light mounted on a drone to illuminate them. Two infrared cameras on the drone track the bright dot that indicates the insect, letting the drone follow it. To get a spot bright enough to track in full sunlight, though, [DeepSOIC] had to drive some infrared LEDs well above their rated tolerances.
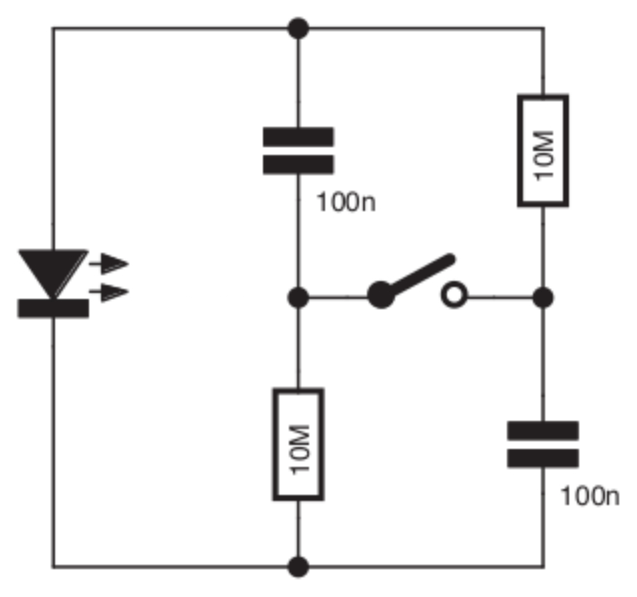
The LEDs manage to survive because they only fire in 15-µs pulses at 100 Hz, in synchrony with the frame rate of the cameras, rather like some welding cameras. The driver circuit is very simple, just a MOSFET switch driven by an external pulse source, a capacitor to steady the supply voltage, and a current-limiting resistor doing so little limiting that it could probably be removed. LEDs can indeed survive high-current pulses, so this might not really seem like component abuse, but the 5-6 amps used here are well beyond the rated pulse current of 3 amps for the original SFH4715AS LEDs. After proving the concept, [DeepSOIC] switched to 940 nm LEDs, which provide more contrast because the atmosphere absorbs more sunlight around this wavelength. These new LEDs were rated for 5A, so they weren’t being driven so far out of spec, but in tests they did survive current up to 10A.
We’ve seen a similar principle used to drive laser diodes in very high-power pulses a few times before. For an opposite approach to putting every last bit of current through an LED, check out this low-power safety light.
Continue reading “2025 Component Abuse Challenge: Overdriven LEDs Outshine The Sun”