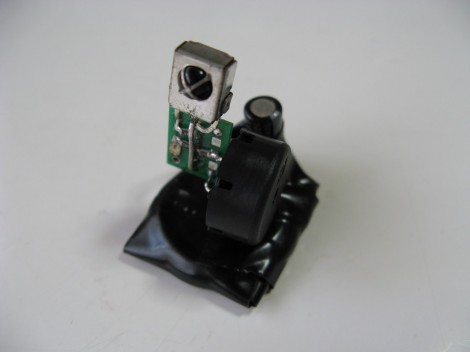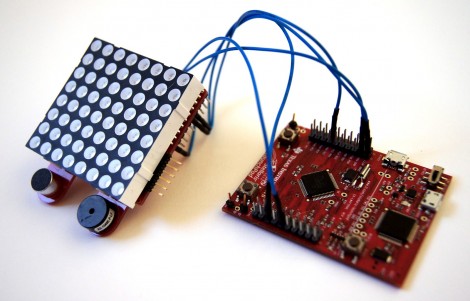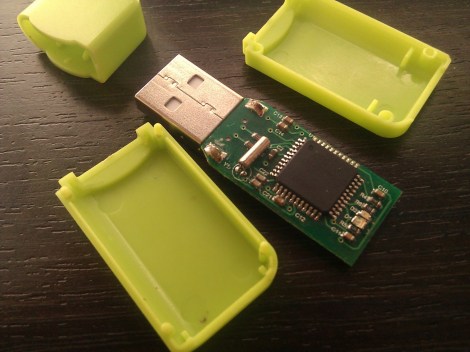
TI’s Inexpensive Piccolo And Stellaris Dev Boards

Texas Instruments is trying to take the success it had with the LaunchPad and apply it to other chip architectures. The board seen above is their new C2000 Piccolo LaunchPad. It’s a development board for the F28027 chip. This 32-bit offering is a part we know nothing about. A first look shows a clock speed between 40 and 60 MHz, 64k of Flash memory, and a JTAG programming interface. It sounds like an unrestricted copy of Code Composer Studio is also available to use as the development environment. At $17 won’t break the bank, but we also don’t feel that welling of excitement to get in on one of these units.

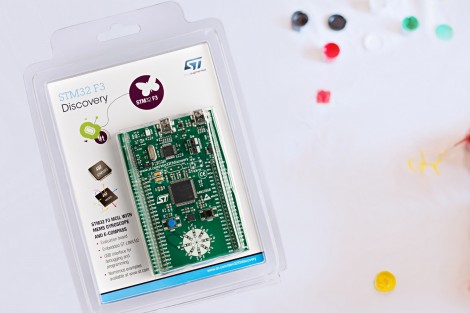
What does get us excited is the Stellaris LaunchPad offering. It’s not available yet (which always makes us want it more), but you can enter a drawing to get a free one when they are released. Be warned, with only 25 up for grabs the odds are against you. There are no details, other than a target price of $4.99 for the ARM development board. We’ve had a lot of fun with the STM32 ARM board, and this might be a new adventure to undertake.

[Thanks Máté]

A Look At The Upgraded MSP430 Chip Shipping With The TI Launchpad

[JMN] took some time to look at the MSP430G2553 mircocontroller (translated). Specifically, he was interested in the clock options and the low power modes. This chip is one of the upgraded processors which have been shipping with the TI Launchpad.

Both the MSP430G2553 and MSP430G2452 come with the Launchpad development board. They replace the MSP430G2231 and MSP430G2211 which came with the original offering. If you already have a Launchpad the chips themselves can be had for around $2.25 and are easily programmed since the development hardware hasn’t changed.

The review starts off by looking at clock options for the processor. The internal VLO is put to the test first, with a look at the power consumption followed by temperature stability through the use of a hair dryer. The actual frequency provided has fairly low accuracy, but it stays pretty stable when hit with the hot air. The next test uses the provided 32.768 kHz clock crystal as an external input. The crystal came with the Launchpad board, and the chip has configurable internal capacitors so this is as easy as soldering the package in place. Hit the link at the top to find out how this clock source fared in testing.

[Thanks D]

MSP430 Gaming Shield Based On The Gameduino

Get your 8-bit gaming fix with this gaming shield for the TI Launchpad. It’s called the Launchpad GamingPack and was developed as part of TI’s 2012 Intern Design Contest. The team had just six weeks to complete the project.

The video after the break starts off with some fast-motion PCB layout. It is followed by footage of the board being populated, then anchored with graphics testing and some game play demonstrations. It looks like a real blast! NES controller ports were included on the board, and the device puts out 400×300 VGA, as well as audio.

As with the Gameduino, the hard work is done by the FPGA at the center of this board. It handles all of the VGA timing work, using what looks like 3-bit color. It is also responsible for generating the audio and monitoring the inputs. Since the team was under a time crunch the shield also includes a 10-pin header on the underside which was added for easy connection with a logic analyzer.

Continue reading “MSP430 Gaming Shield Based On The Gameduino”

Designing A Quadcopter Brain PCB

When working on his quadcopter project [Matt] decided it would be best to build a robust controller for the device. He had never sent off a PCB design for fabrication, but took the plunge and ended up with a compact and reliable PCB on the first try.

One of the first things that comes to mind when we hear about quadcopter controllers are the feedback sensors. The accelerometers which are used for these projects generally come in a DFN or QFN package. This means there are no legs. Instead the chip has pads on the bottom of the package making it a lot more difficult to solder. [Matt] side-stepped this issue by using an IMU board which already has the sensors in place and offered a 0.1″ SIL pin header to use as an interface. This is simple to roll into the design, along with all of the other connectors for motor control, power, etc. He grabbed a copy of Eagle Lite to do the layout, and used OSH Park to get the boards fabricated. He was surprised that everything worked on the first try. Thanks to his planning it fits inside of a plastic food container where it should be able to ride out most minor crashes with ease.

Emulating The DCPU On An AVR

[skywodd] just finished his own DCPU emulator (French, translation) based on [notch]’s upcoming game, 0x10c. The neat thing about [skywodd]’s build is his emulator uses the lowly ATMega328, the same microcontroller found in (some) Arduinos.

The DCPU specification goes over the operations required of any DCPU emulator. There’s a lot of crazy stuff here – a division instruction that takes only 3 clock cycles, using an overflow for carry conditions, and a complete lack of a JMP instruction – but [skywodd] was able to tease something apart from DCPU studio and a VGA interface

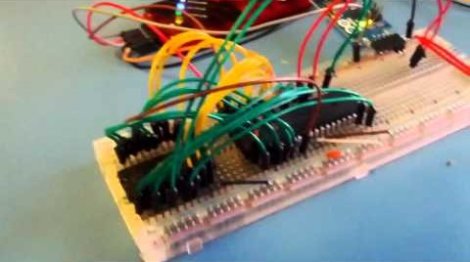
Everything in this emulator is built on a solderless breadboard, but the ROM and RAM isn’t complete yet. As of now, everything is handled by the ‘328, using 478 bytes of RAM on the microprocessor.

We promised we would be holding a contest for the best physical implementation of the DCPU when we caught wind of 0x10c, and [skywodd]’s build is starting to look like the beginnings of the winning entry. We honestly have no idea when we’ll be holding this contest, but it’ll probably be shortly after the first playable release. Go bug [notch] if you’d like to speed up the progress, because obviously Twitter abuse speeds up software development.

[Dino’s] Talking Box(es)

[Dino] is about three-quarters of the way through his talking box project. He’s completed one of the two boxes, and is showing off the technique he uses to marry motion with sound in order to mimic flapping lips with the box top.

You may remember [Dino’s] first look at the EMIC2. It’s a single-board text to speech module which is what provides the voice for the box. But what fun is that without some animatronics to go along with it? So [Dino] started playing around with different concepts to move the box top along with the speech. This is easier said than done, but as you can see in the video after the break, he did pull it off rather well. He built a motor control circuit that takes the audio output of an LM386 amplifier chip and translates it into drive signals for the motor. The shaft is not directly connected to the lid of the box. Instead it has a curved wire which is limited by a piece of string so that it doesn’t spin too far. It lifts the lid which is hinged with a piece of cloth.

Continue reading “[Dino’s] Talking Box(es)”

Hacked ARM Dev Board Gives You Two For The Price Of One!

[Matt Evans] took a closer look at the popular (and cheap) STM32F0 Discovery development board and realized he could get a second board out of the deal.

The Discovery board is designed to advertise ST Microntroller’s STM32F0 microchip; which with 8k RAM, 64K Flash, a bunch of peripherals,  48MHz clock, and a low price is a great chip. Though, they needed a way to program the STM32F0. To do this they added a second, more powerful, chip to the board as an interface. The STM32F103, with 20k RAM, 64K flash, and a 72MHz clock speed. [Matt] summoned genius, and simply sawed the board in half using a hacksaw.

Of course the caveat to all this is that you need a working Discovery board, or at least a working ST-LINK programmer, at the end of the day, to get any use out of your creation. Since the boards are so cheap though, it shouldn’t be a problem to buy two.