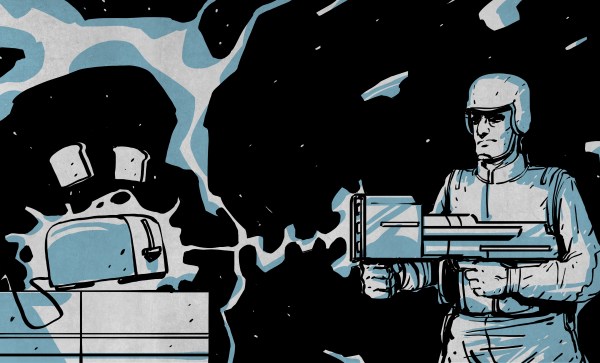
Imagine you’re in charge of a major heist. Right as your crew is about to rob the main vault, you need all of the electronics in the building to fail at exactly the right moment with no other collateral damage (except, maybe, to your raggedy panel van). Obviously you will turn to one of the entertainment industry’s tired tropes, the electromagnetic pulse! The only problem is that if you were to use a real one rather than a Hollywood prop either there would be practically no effect, a large crater where the vault used to be, or most of humanity would be in deep trouble. After all, the real world isn’t quite as convenient as the movies make it seem.
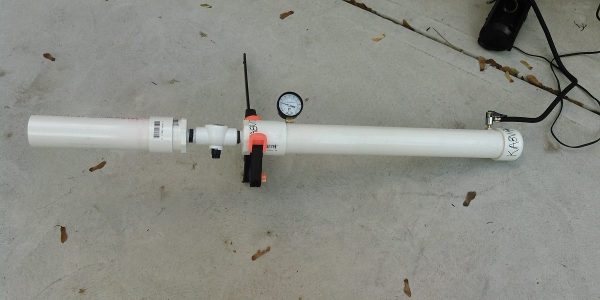
 Our curiosity into this phenomenon was piqued when we featured an “EMP generator” from [FPS Weapons]. The device doesn’t create an enrapturing movie-esque EMP pulse suitable for taking down a casino or two, but it does spew a healthy amount of broadband electromagnetic interference (EMI) in every direction. It probably also doesn’t send the EMI very far; as we’ve seen in many other projects, it’s hard to transfer energy through the air. It got us wondering, though: what is the difference between being annoying and creating a weapon? And, is there any practical use for a device like this?

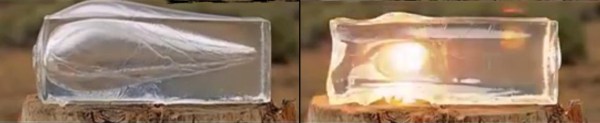
 Ballistic gel is a broad term referring to a large chunk of dense gel generally used in firearms-related testing to reliably and consistently measure things like bullet deformation, fragmentation, and impact. It’s tough, elastic, and in many ways resembles a gigantic gummi bear. Fans of Mythbusters (or