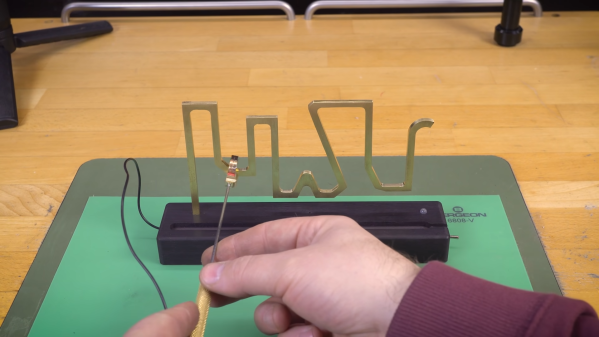
Teaching people efficiently isn’t limited to transmitting material from one head to another — it’s also about conveying the principles that got us there. [Mara Bos] shows us a toolkit (Twitter,
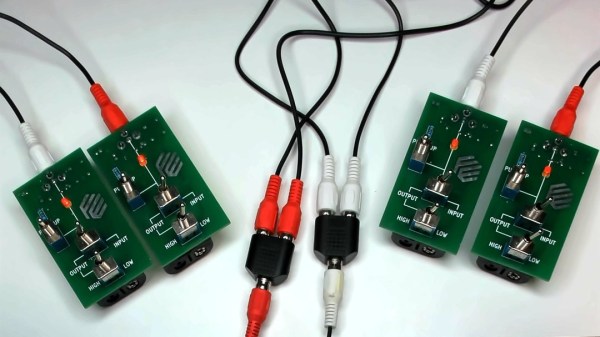
nitter link) that you can arm your students with, creating a small playground where, given a set of constraints, they can invent and figure communication protocols out on their own.
This tool is aimed to teach digital communication protocols from a different direction. We all know that UART, I2C, SPI and such have different use cases, but why? Why are baud rates important? When are clock or chip select lines useful? What’s the deal with the start bit? We kinda sorta figure out the answers to these on our own by mental reverse-engineering, but these things can be taught better, and [Mara] shows us how.
Gently guided by your observations and insights, your students will go through defining new and old communication standards from the ground up, rediscovering concepts like acknowledge bits, bus contention, or even DDR. And, as you point out that the tricks they just discovered have real-world counterparts, you will see the light bulb go on in their head — realizing that they, too, could be part of the next generation of engineers that design the technologies of tomorrow.
Continue reading “Boards For Playful Exploration Of Digital Protocols”