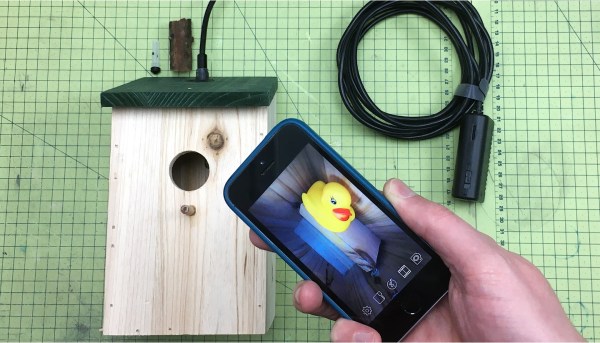
[Jude] was looking for a fun DIY project for him and his son and thought that a bird box might be a good option. He wanted to equip the box with a WiFi camera so he could watch his little guests from his phone but didn’t find any suitable, inexpensive, commercially-available options. So with that, he built one himself.
He did, however, start with a generic bird box, which he bought online, and then modified with his particular features of interest. He wanted the project to be scalable so after-school programs and other kids clubs could easily implement his design within a classroom setting. He figured minimizing the woodwork would make the project easier for children.
He added a dowel to the generic bird box he bought online, but cautions that readers need to investigate if a dowel would attract invasive species in their area. He found a relatively inexpensive WiFi-enabled endoscope that he noted was far more affordable than the camera-equipped, commercially-available bird boxes he found earlier. He craftily used a plastic syringe as a waterproof spy hole that housed the endoscope, allowing him to easily slip the camera in and out of the bird box without disturbing its occupants. He noted that the 3 mL syringe had the perfect inner diameter to fit the endoscope rather snugly.
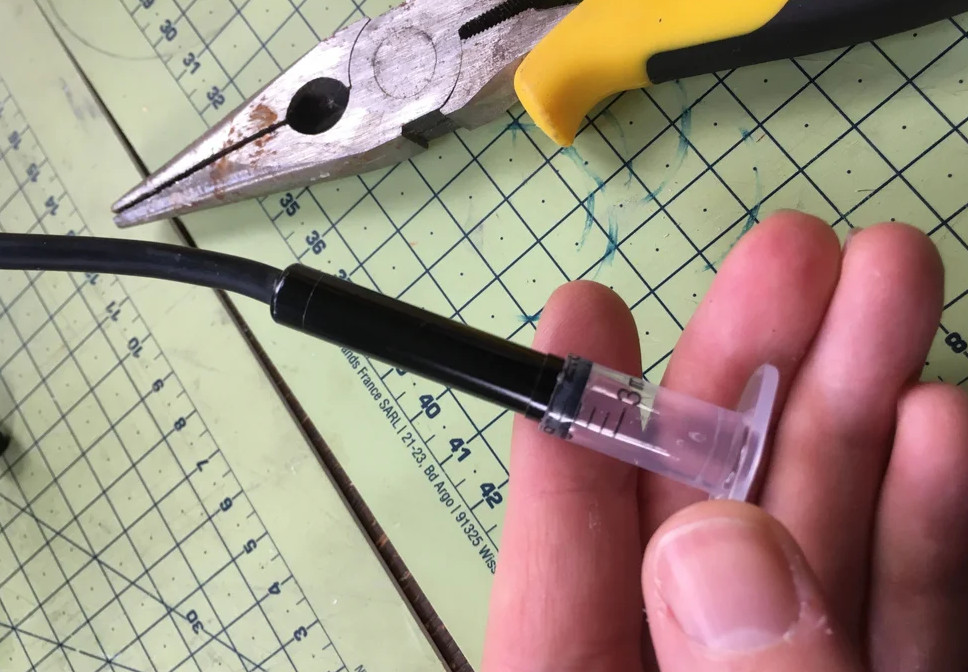 [Jude] doesn’t intend to have the endoscope active 24/7, so he needed a way to seal the access hole when the camera was not in use. His many years at Dyson taught him that implementing a removable, water-tight, rubber seal is not as easy as people may think. Fortunately, the rubber stopper at the tip of the syringe’s plunger was naturally a perfect removable seal and he could use it to plug the access hole when the endoscope was not in use.
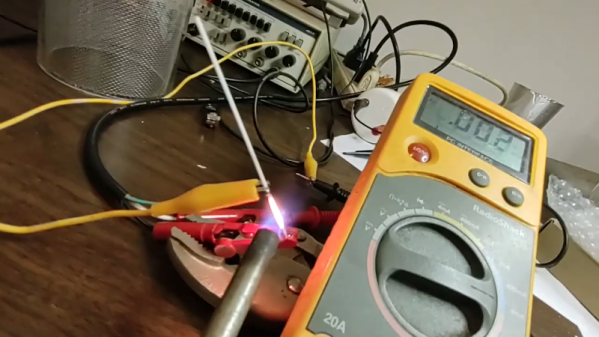
The endoscope was mostly waterproof, except for the WiFi transmitter, so [Jude] needed to place that end of the device in a waterproof enclosure. He said these are often called “IP rated” enclosures and he figured these could come in handy for any number of outdoor electronics projects so we imagine this might come in handy for a lot of our readers as well.
Mother nature has certainly inspired many projects here at Hackaday and [Jude]’s bird box is no exception. Cool project!