Engine stands are great to have on hand for when you need to work on an engine outside a vehicle. However, if your engine is particularly large, you might find off-the-shelf solutions difficult to find. [Liebregts] was recently contacted by someone in just such a pickle, who had an 8-litre Bentley engine from 1928 and nothing to put it on. Thus, constructing a custom engine stand was in order.

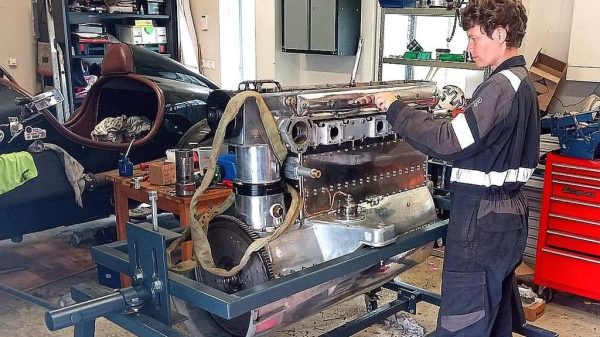
The stand is built out of stout 50x50x4mm steel tubing in order to handle the weight of the gigantic vintage engine. It’s designed with an eye to ground clearance, such that an engine crane can easily slide under the stand when it’s time to lift the engine back in the car. It also allows the whole engine to be turned upside down, and even raised and lowered. This makes it easier to get to different parts of the engine, while keeping the center of gravity where it needs to be to avoid the whole assembly falling over.
It’s not a hugely complicated build, but it goes to show just how much of a difference it can make when you have the right tools for the job. With the engine out and on its stand, it’s much easier to work on and handle the many complicated tasks in its restoration. It also benefits from being custom built to suit the dimensions of the Bentley engine. Everything fits and it just works!
While few of us have rare 1928 Bentleys in need of an engine-out service, it’s a build that should serve as great inspiration for those working on similar tasks. Meanwhile, consider building yourself a custom engine crane to help out around the garage.