Listen To The RF Around You

These days, we are spoiled for choice with regard to SDRs for RF analysis, but sometimes we’re more interested in the source of RF than the contents of the transmission. For this role, [Drew] created the RFListener, a wideband directional RF receiver that converts electromagnetic signal to audio.

The RF Listener is built around a AD8318 demodulator breakout board, which receives signals using a directional broadband (900 Mhz – 12 Ghz) PCB antenna, and outputs an analog signal. This signal is fed through a series of amplifiers and filters to create audio that can be fed to the onboard speaker. Everything is housed in a vaguely handgun shaped enclosure, with some switches on the back and a LED amplitude indicator. [Drew] demonstrates the RFListener around his house, pointing it at various devices like his router, baby monitor and microwave. In some cases, like with a toy drone, the modulation is too high frequency to generate audio, so the RF listener can also be switched to “tone mode”, which outputs audio tone proportional to the signal amplitude.

The circuit is completely analog, and the design was first done in Falstad Circuit Simulator, followed by some breadboard prototyping, and a custom PCB for the final version. As is, it’s already an interesting exploration device, but it would be even more so if it was possible to adjust the receiver bandwidth and frequency to turn it into a wideband foxhunting tool.

Some Of The Many Ways To Build AM Transmitters And Receivers

AM radios are relatively simple devices, and building one is a good way to start exploring the world of radio communications. [GreatScott] does exactly this in the video after the break, building both a transmitter and receiver.

At the most basic level, AM radio works by generating a carrier wave with an oscillator, and then modulating the amplitude with an audio signal. Around these parts, the venerable 555 timer is always brought up whenever things get to oscillating; so you’ll no doubt be happy to see [GreatScott] decided to give it a shot for his first experiments, testing two popular 555 transmitter circuits. One uses the control voltage pin to input the audio signal, while the other uses the reset pin. The CV-pin version worked slightly better, but it was still just barely possible to distinguish a voice over a standard commercial AM/FM receiver.

The next attempt was with a XR2206 function generator kit, which worked quite well when combined with a simple microphone amplifier circuit. But this time the receiving side was swapped out, as [GreatScott] built a basic circuit around a TA7642 AM amplifier/demodulator IC, with only six passive components and a hand-wound coil.

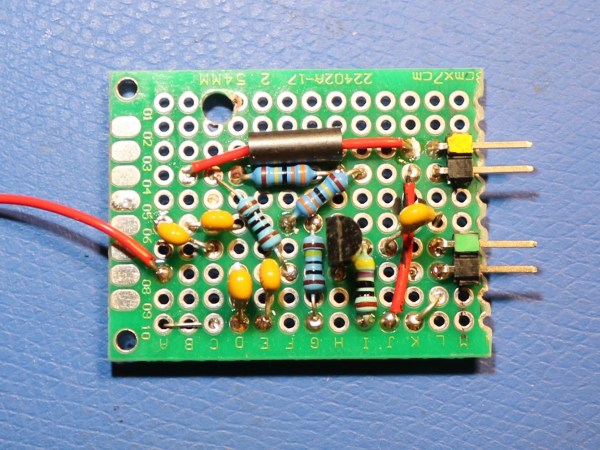
There is no shortage of ways to build AM radios, and we’ve covered quite a few over the years. Off course a 555 timer can also be used in a receiver, and building transmitters using only discrete components is quite simple, as demonstrated by the 10-minute transmitter and single transistor transmitter.

Continue reading “Some Of The Many Ways To Build AM Transmitters And Receivers”

Raspberry Pi Hat Adds SDR With High Speed Memory Access

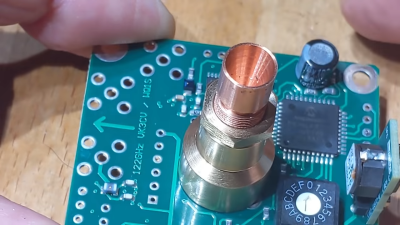
An SDR add-on for the Raspberry Pi isn’t a new idea, but the open source cariboulite project looks like a great entry into the field. Even if you aren’t interested in radio, you might find the project’s use of a special high-bandwidth memory interface to the Pi interesting.

The interface in question is the poorly-documented SMI or Secondary Memory Interface. [Caribou Labs] helpfully provides links to others that did the work to figure out the interface along with code and a white paper. The result? Depending on the Pi, the SDR can exchange data at up to 500 Mbps with the processor. The SDR actually uses less than that, at about 128 Mbps. Still, it would be hard to ship that much data across using conventional means.

On the radio side, the SDR covers 389.5 to 510 MHz and 779 to 1,020 MHz. There’s also a wide tuning channel from 30 MHz to 6 GHz, with some exclusions. The board can transmit at about 14 dBm, depending on frequency and the receive noise figure is under 4.5 dB for the lower bands and less than 8 dB above 3,500 MHz. Of course, some Pis already have a radio, but not with this kind of capability. We’ve also seen SMI used to drive many LEDs.

Vacuum Tube Magic Comes To The 741

Some of you may remember a recent project that featured on these pages, a 555 timer reproduced using vacuum tubes. Its creator [Usagi Electric] was left at loose ends while waiting for a fresh PCB revision of the 555 to be delivered, so set about creating a new vacuum tube model of a popular chip, this time the ubiquitous 741 op-amp. (Video, embedded below.)

The circuit is fairly straightforward, using six small pentodes. The first two are  a long-tailed pair as might be expected, followed by two gain stages, then a final gain stage feeding a cathode follower with feedback. It’s neatly built on a PCB with IC-style “pins” made from more PCB material, then put in a huge replication of an IC socket on a wooden baseboard.

The result is an op-amp, but not necessarily a good one. He looks at the AC performance instead of the DC even though it’s a fully DC-coupled circuit, and finds that while it performs as expected in a classic op-amp circuit it still differs from the ideal at higher gain. The frequency response is poor too, something he rectifies by replacing the feedback capacitor with a smaller value. Sadly he doesn’t look at its common mode performance, though we’d expect that without close matching of the tubes it might leave something to be desired.

It’s obvious that this project would never be selected as an op-amp given the quality of even the cheapest silicon op-amp in comparison. But its value is in a novelty, a talking point, and maybe a chance to learn about op-amps. For that, we like it.

We covered the vacuum tube 555 when details of it emerged, but if op-amps are your bag we’ve looked at a simple one very closely indeed.

Continue reading “Vacuum Tube Magic Comes To The 741”

APRS Implemented At Low Cost And Small Size

Before smartphones and Internet of Things devices were widely distributed, the Automatic Packet Reporting System (APRS) was the way to send digital information out wirelessly from remote locations. In use since the 80s, it now has an almost hipster “wireless data before it was cool” vibe, complete with plenty of people who use it because it’s interesting, and plenty of others who still need the unique functionality it offers even when compared to more modern wireless data transmission methods. One of those is [Tyler] who shows us how to build an APRS system for a minimum of cost and size.

[Tyler]’s build is called Arrow and operates on the popular 2 metre ham radio band. It’s a Terminal Node Controller (TNC), a sort of ham radio modem, built around an ESP32. The ESP32 handles both the signal processing for the data and also uses its Bluetooth capability to pair to an Android app called APRSDroid. The entire module is only slightly larger than the 18650 battery that powers it, and it can be paired with a computer to send and receive any digital data that you wish using this module as a plug-and-play transceiver.

While the build is still has a few limitations that [Tyler] notes, he hopes that the project will be a way to modernize the APRS protocol using methods for radio transmission that have been improved upon since APRS was first implemented. It should be able to interface easily into any existing ham radio setup, although even small balloon-lofted radio stations can make excellent use of APRS without any extra equipment. Don’t forget that you need a license to operate these in most places, though!

Balloon Antenna Doesn’t Need A Tower

What do you do with floral wire and balloons from Dollar Tree? If you are [Ham Radio Crash Course], you make a ham radio antenna. Floral wire is conductive, and using one piece as a literal sky hook and the other as a ground wire, it should do something. He did use, as you might expect, a tuner to match the random wire length.

The first attempt had too few balloons and too much wind. He eventually switched to a non-dollar store helium tank. That balloon inflates to about 36 inches and appears to have plenty of lift. It looks like by the end he was using two of them.

Continue reading “Balloon Antenna Doesn’t Need A Tower”

Ham Radio Traffic Logger Using A Bug In Baofeng Electronics

A Baofeng radio is often one of the first purchases a new ham radio operator makes these days due to the decent features and low price tag. They are far from perfect, but with a bit of creative inspiration, it’s possible to make the quirks work in your favor. By taking advantage of a loud pop on the earphone outputs whenever the LCD backlight turns on, [WhiskeyTangoHotel] built a radio traffic counter using an ESP8266.

Whenever there is a transmission on one of the frequencies the radio is tuned to, the backlight turns on. Connecting the audio output to an oscilloscope, [WhiskeyTangoHotel] measured a 5V spike whenever this happens. Using a pair of diodes in series to drop the voltage to a safe level, the ESP8266 detects the voltage spike and updates a Google spreadsheet with the timestamp via IFTTT.

This gave [WhiskeyTangoHotel] empirical data on how much traffic passes through the local VHF repeater, but we wouldn’t blame them if the hack itself was the real motivator.

Of course, this would also be a perfect application for the RTL-SDR, which should allow you to do the above and much more, all in software. Add a bit of AI and you can even extract the call signs. The RTL-SDR is also a good tool for learning about RF modulation.

UV5-R image via PE1RQM