
Raspberry Pi just dropped the new Raspberry Pi 500, which like its predecessor puts the similarly named SBC into a keyboard. In a detailed review and teardown video, [Jeff Geerling] goes over all the details, and what there is to like and not like about this new product.

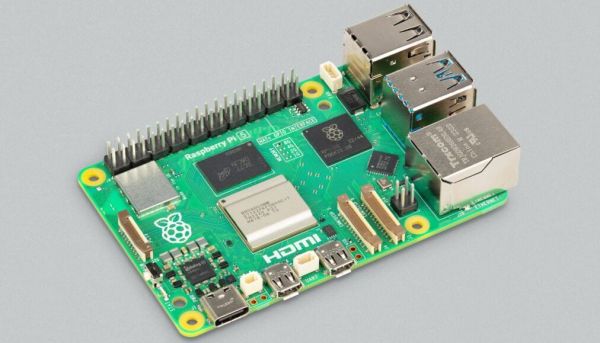
Most of the changes relative to the RP400 are as expected, with the change to the same BCM2712 SoC as on the Raspberry Pi 5, while doubling the RAM to 8 GB and of course you get the soft power button. As [Jeff] discovers with the teardown, the odd thing is that the RP500 PCB has the footprints for an M.2 slot, as seen on the above image, but none of the components are populated.
Naturally, [Jeff] ordered up some parts off Digikey to populate these footprints, but without luck. After asking Raspberry Pi, he was told that these footprints as well as those for a PoE feature are there for ‘flexibility to reuse the PCB in other contexts’. Sadly, it seems that these unpopulated parts of the board will have to remain just that, with no M.2 NVMe slot option built-in. With the price bump to $90 from the RP400’s $70 you’ll have to do your own math on whether the better SoC and more RAM is worth it.
In addition to the RP500 itself, [Jeff] also looks at the newly launched Raspberry Pi Monitor, a 15.6″ IPS display for $100. This unit comes with built-in speakers and VESA mount, but as [Jeff] notes in his review, using this VESA mount also means that you’re blocking all the ports, so you have to take the monitor off said VESA mount if you want to plug in or out any cables.
Continue reading “Raspberry Pi 500 And The Case Of The Missing M.2 Slot”


![[miko_tarik] wearing diy AR goggles in futuristic setting](https://hackaday.com/wp-content/uploads/2024/11/diy-ar-goggles-1200.jpg?w=600&h=450)
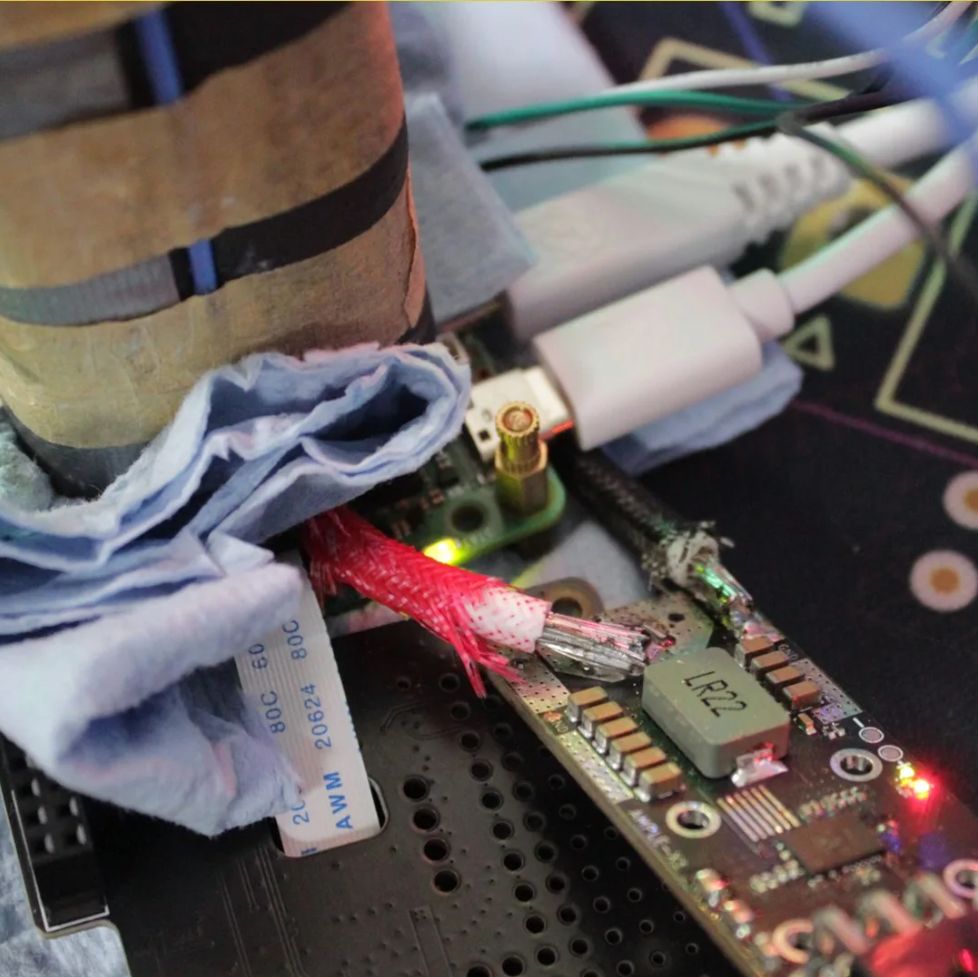
![[miko_tarik] wearing diy AR goggles](https://hackaday.com/wp-content/uploads/2024/11/diy-ar-goggles-smallphoto.jpg?w=400) Creating Zero wasn’t simple. From designing the frame in Tinkercad to experimenting with transparent PETG to print lenses (ultimately switching to resin-cast lenses), [mi_kotalik] faced plenty of challenges. By customizing SPI displays and optimizing them to 60 FPS, he achieved an impressive level of real-time responsiveness, allowing him to explore AR interactions like never before. While the Raspberry Pi Zero’s power is limited, [mi_kotalik] is already planning a V2 with a Compute Module 4 to enable 3D rendering, GPS, and spatial tracking.
Creating Zero wasn’t simple. From designing the frame in Tinkercad to experimenting with transparent PETG to print lenses (ultimately switching to resin-cast lenses), [mi_kotalik] faced plenty of challenges. By customizing SPI displays and optimizing them to 60 FPS, he achieved an impressive level of real-time responsiveness, allowing him to explore AR interactions like never before. While the Raspberry Pi Zero’s power is limited, [mi_kotalik] is already planning a V2 with a Compute Module 4 to enable 3D rendering, GPS, and spatial tracking.


