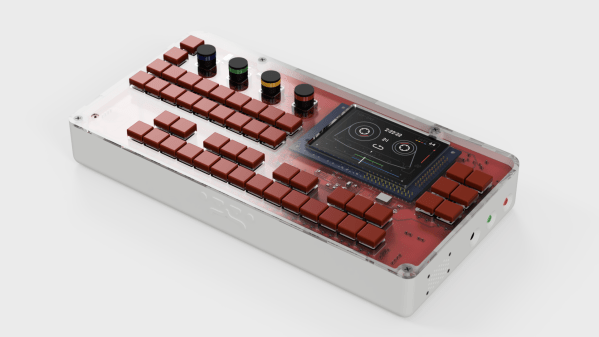
Want an open source portable synth workstation that won’t break the bank? Check out OTTO. [Topisani] started OTTO as a clone of the well-known Teenage Engineering OP-1. However, soon [Topisani] decided to branch away from simply cloning the OP-1 — instead, they’re taking a lot of inspiration from it in terms of form factor, but the UI will eventually be quite different.
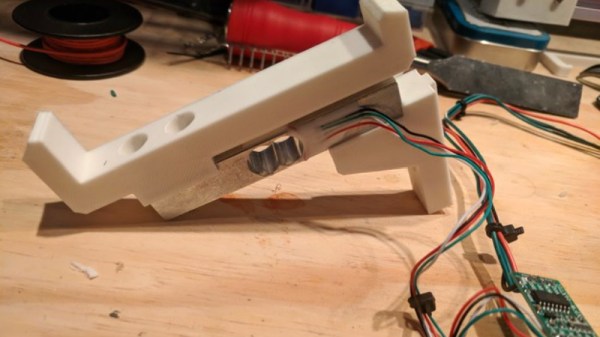
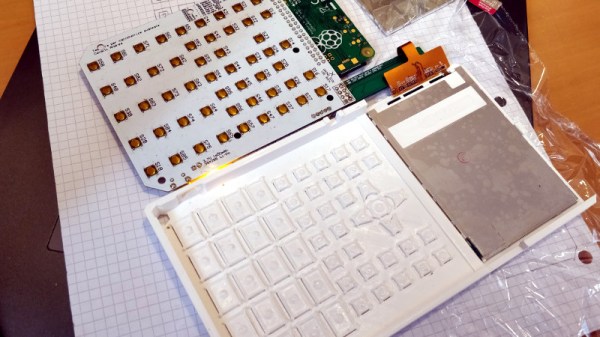
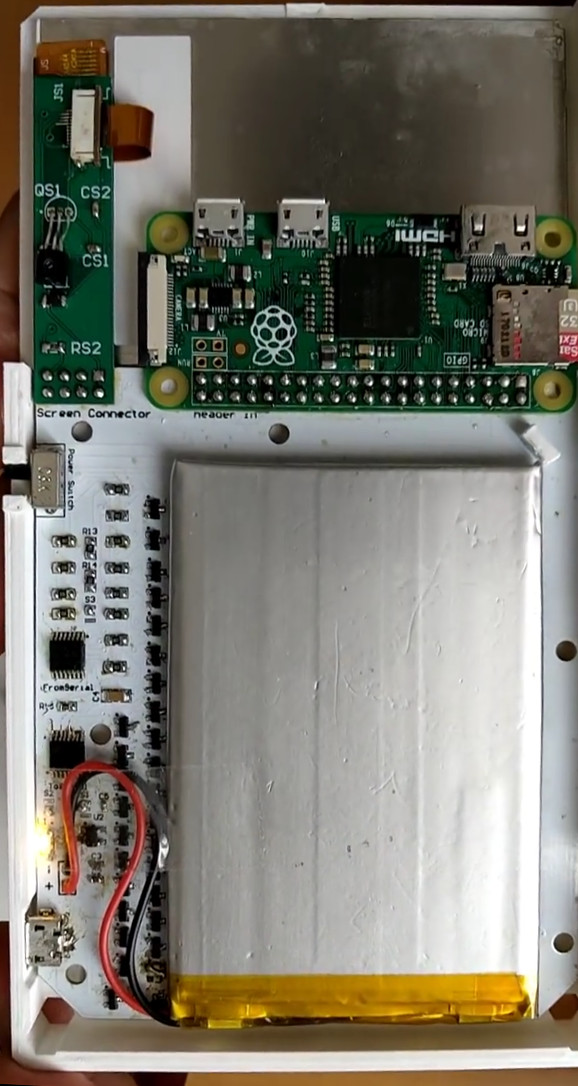
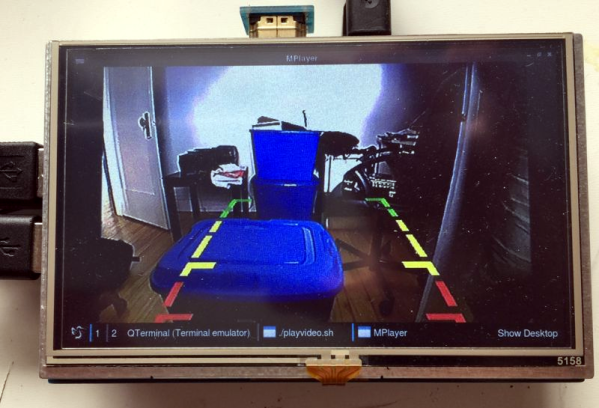
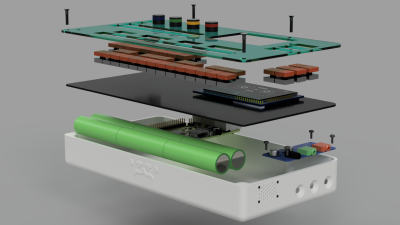 On the hardware side, the heart of the OTTO is a Raspberry Pi 3. The all-important audio interface is a Fe-Pi Audio Z V2, though a USB interface can be used. The 48 switches and four rotary encoders are wrangled by a pair of Arduino pro micros which pass the data on to the Pi. Data is related to the user through a 320×200 LCD.
The software is being written from scratch in C++17. If you’re not a hardcore C++ developer, don’t worry. The synth engines, audio effects, and other DSP software is written in Faust, which is a bit easier to learn.
OTTO is actively being developed, with synth engines already running, a prototype in progress, and fleshed out guidelines for programming the UI. If you’re into creating music, this one is worth checking out, as is Zynthian, another Raspberry Pi based synth.