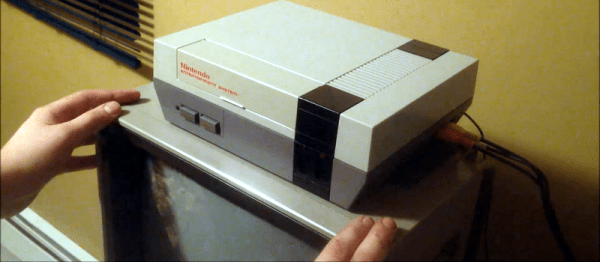
[ModPurist] sent us his Raspberry-Pi-in-a-Nintendo casemod. Before you go hitting the back button, this is a good one because it’s so well executed. And it’s actually a two-fer: he’d previously built up a wireless NES controller that completes the setup.
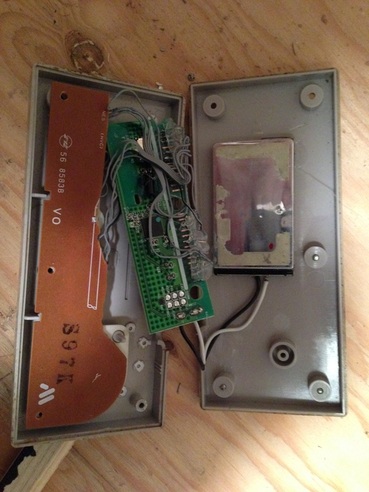 Both of these mods are hacks in the purest sense of the word. The controller mod took a wireless keyboard’s sending circuit board and wedged it inside the NES controller. The original NES controller reads out the buttons into a shift register and sends that down a wire. That’s all gone. [ModPurist] just wired up each button to the sender PCB and figured out which keys they corresponded to on the PC by pressing the buttons. Simple.
The best part of his video about building the controller? After about a minute in, he forgets that he’s filming a technical how-to video and plays Pokemon for the remaining four minutes. That’s the sign of success.
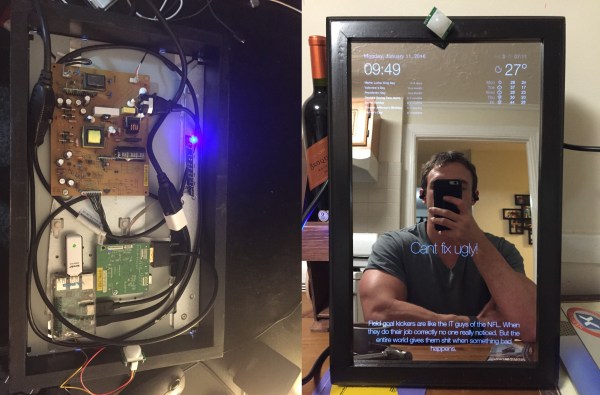
Then there’s the NES hack itself. He stripped everything out, added a Raspberry Pi 2 and a fan, made it all work with the power switch and the original TV outs, and it’s done. Again, nothing more than needs doing, but nothing less. It looks just right plugged up to the CRT monitor (from a C64, no less), and there’s no doubt that being able to play wirelessly on an original NES controller is cool.
This isn’t [ModPurist]’s first time here on Hackaday either, and his “Cold Boy” fridge-turned-Gameboy is a work of art.

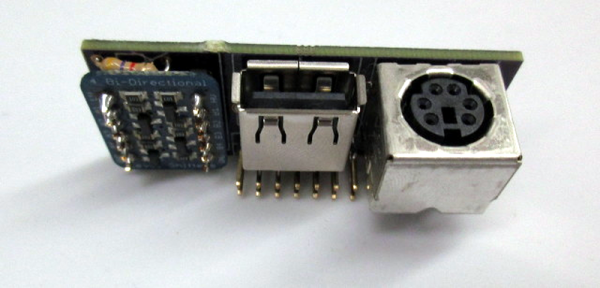
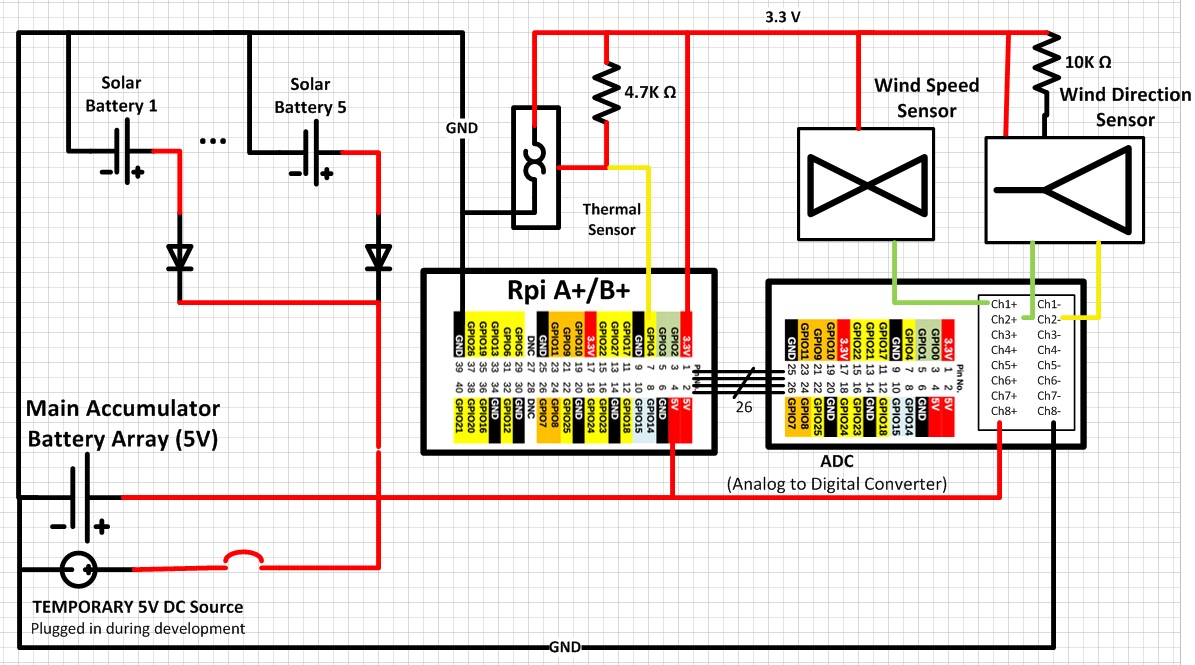 The anemometer and direction sensors are stock units wired to a Raspberry Pi A+ using an analog to digital daughter board. The data from the temperature sensor is acquired using I2C. During one part of the experiment he uses an EDIMAX WiFi adapter for collecting the data.