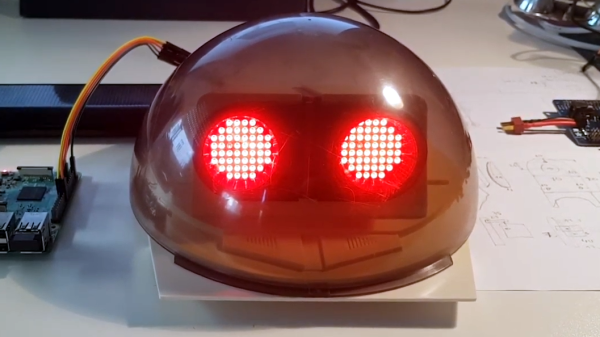
It can be difficult to appreciate when the air quality is decent and when it’s poor, unless conditions are so bad that you can literally see the smog hanging in the air. Rather than try to digest a bunch of air quality numbers, [guillaume_slizewicz] built Canari — a lovely lamp that sheds light on the air pollution problem by taking local air quality data and turning it into light patterns.
Canari is of course named after the brave birds that once alerted miners to dangerous air conditions before they were forced to switch to carbon monoxide sensors. This bird has a Raspberry Pi Zero W that gets air quality data from a public API and controls the lights with a PWM bonnet based on the concentration of particulates in the air. The more particulates, the dimmer the LEDs are, and the faster they fade in and out.
The main piece of data that Canari grabs is the amount of particulate matter, and the display can switch between representing the level of PM2.5 (particulate matter with diameter less than 2.5 micrometers) in the air and PM10. Check out the demo and setup video after the break.
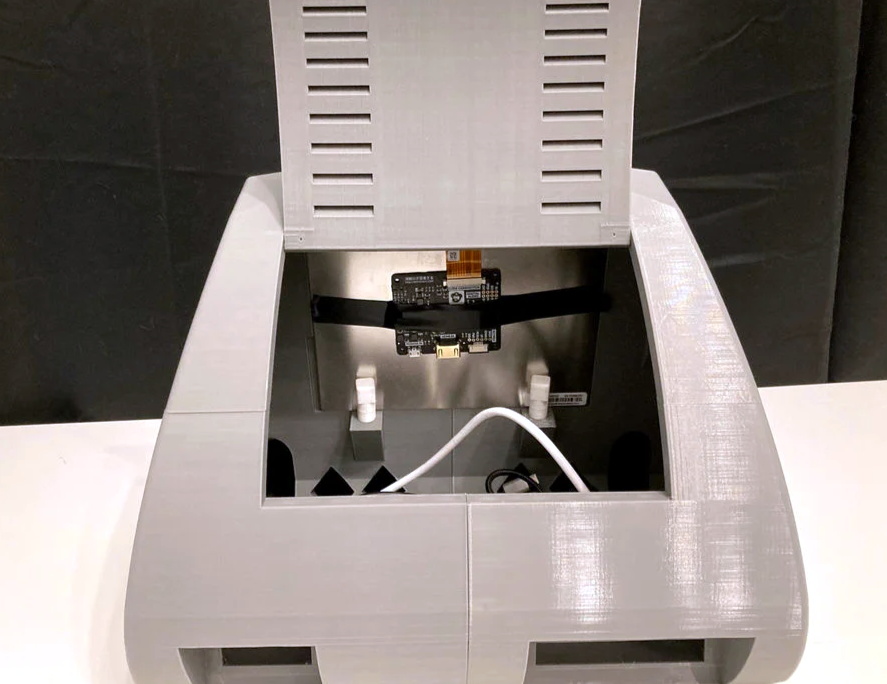
More of a numbers person? All you really need is a microcontroller, an air quality sensor, and a display.