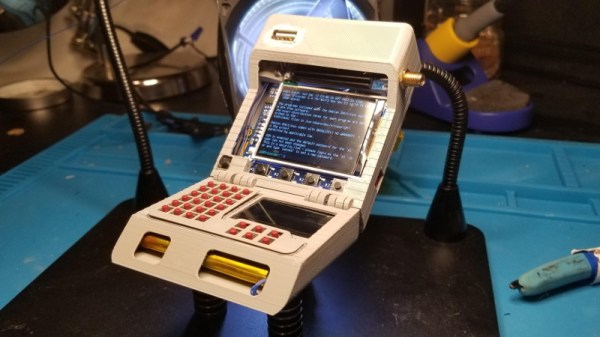
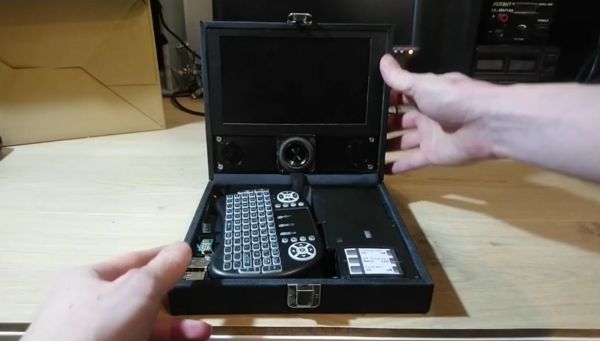
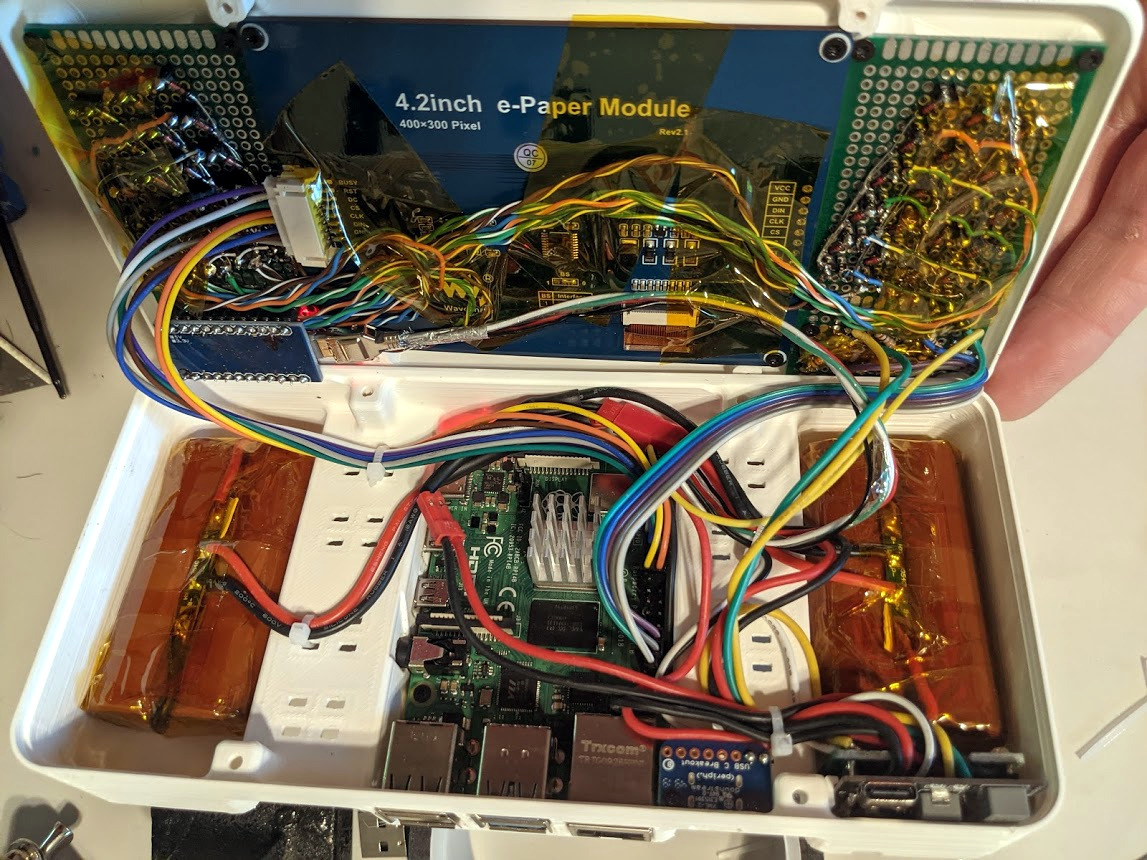
We’ll say upfront that we don’t have nearly as much information about this 3D printed Star Trek: The Next Generation tricorder as we’d like. But from the image galleries [Himmelen] has posted we know it’s running on the Raspberry Pi Zero W, has a color LCD in addition to a monochrome OLED, and that it’s absolutely packed with gear.
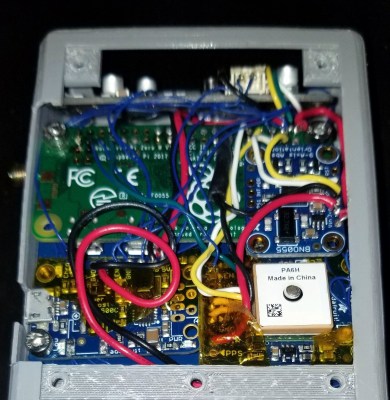
So far, [Himmelen] has fit an NESDR RTL-SDR dongle, a GPS receiver, an accelerometer, and the battery charging circuitry in the top half of the case. Calling it a tight fit would be something of an understatement, especially when you take into account all the wires snaking around in there. But as mentioned in the Reddit thread about the device, a custom PCB backplane of sorts is in the works so all these modules will have something a little neater to plug into.
 There are a lot of fantastic little details in this build that have us very excited to see it cross the finish line. The female USB port that’s been embedded into the top of the device is a nice touch, as it will make it easy to add storage or additional hardware in the field. We also love the keyboard, made up of 30 individual tact switches with 3D printed caps. It’s hard to imagine what actually typing on such an input device would be like, but even if each button just fired off its own program or function, we’d be happy.
Judging by the fact that the LCD shows the Pi sitting at a login prompt in all the images, we’re going to go out on a limb and assume [Himmelen] hasn’t gotten to writing much software for this little gadget yet. Once the hardware is done and it’s time to start pushing pixels though, something like Pygame could be used to make short work of a LCARS-style user interface that would fit the visual style of The Next Generation. In fact, off the top of our heads we can think of a few turn-key projects out there designed for creating Trek UIs, though the relatively limited computational power of the Pi Zero might be a problem.
We’ve seen several projects that tried to turn the iconic tricorder into a functional device. Some have focused on the arguably more recognizable Next Generation style such as this one, and others have targeted the more forgiving brick-shaped unit from Kirk and Spock’s era. The Wand Company is even working on a officially licensed tricorder that will supposedly be as close to we can get to the real thing with modern tech and a $250 USD price tag, though we’d wager COVID has slowed progress down on that one. In any event, whether you build it or buy it, the tricorder seems destined to become reality before too long.
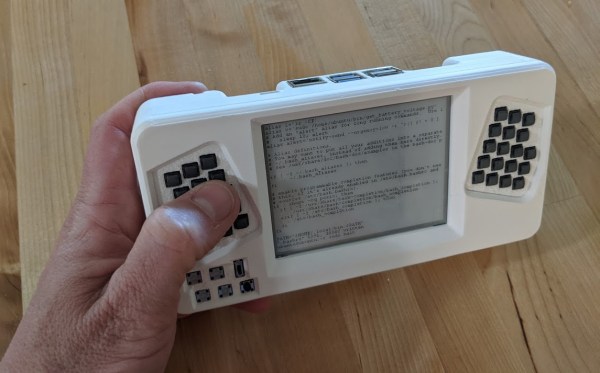
 This cyberdeck serves another purpose as well — the keyboard layout is Miryoku, so [a8ksh4] can get more practice with that at the same time. Fortunately, the layout is built for