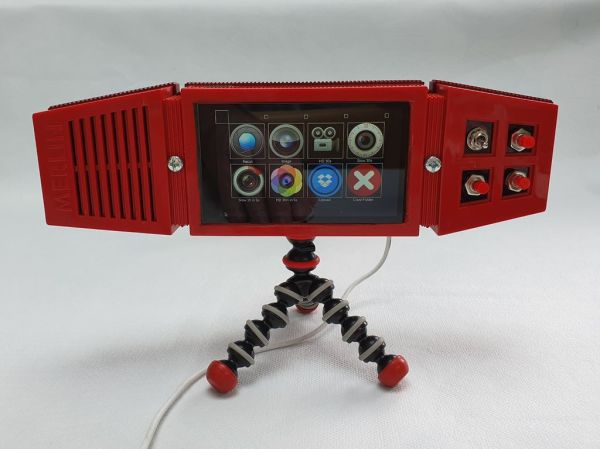
[Mister M] was quite excited to mess around with the new high-quality Raspberry Pi camera and build a project around it. Unfortunately, lockdown forced him to rummage through old tech on hand rather than hunting down a fresh eye-catching enclosure out in the wild. We spent many hours playing with one of these Merlin toys whenever six AA batteries could be spared to feed the matrix of hungry 1970s LEDs, so we would argue that [Mister M] should explore his personal stores more often.
Before we forget — it’s cool; this one was already broken. The Merlin Pi camera’s wizardry works on two levels — [Mister M] can take still pictures and record video through the GUI he built for the touchscreen, or go retro and use the little push buttons nestled in the Merlin control panel. [Mister M] worked a Dropbox uploader into the GUI, so he doesn’t have to worry about filling up the SD card with backyard bird movies in the middle of filming them.
[Mister M] says he accidentally warped the Merlin’s battery cover while trying to soak away the sticker and had to use a piece of acrylic. Although it’s unfortunate, we think it may have been for the better given the huge hole necessitated by the camera lens. Check out the build video after the break.
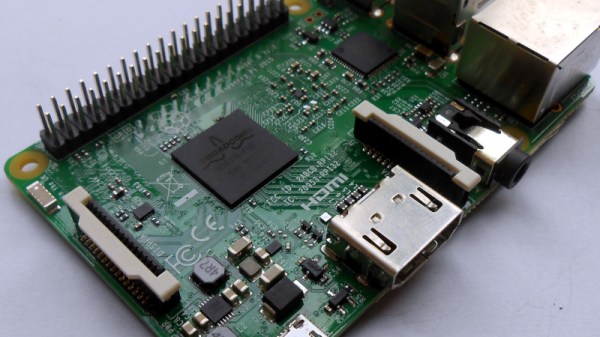
If you hadn’t heard about this beefy new camera module until now, our own [Jenny List] brought it into focus a couple months back and more recently had a go at hacking with it herself.
Continue reading “Merlin Pi Camera Is A Photographic Wizard”