Using PoE With A Raspberry Pi 3 For About Two Bucks

When the Raspberry Pi 3 Model B+ was announced in March of 2018, one of its new features was the ability to be (more easily) powered via Power-over-Ethernet (PoE), with an official PoE HAT for the low price of just twenty-one USA bucks. The thing also almost worked as intended the first time around. But to some people this just isn’t good enough, resulting in [Albert David] putting out a solution he calls “poor man’s PoE” together for about two bucks.

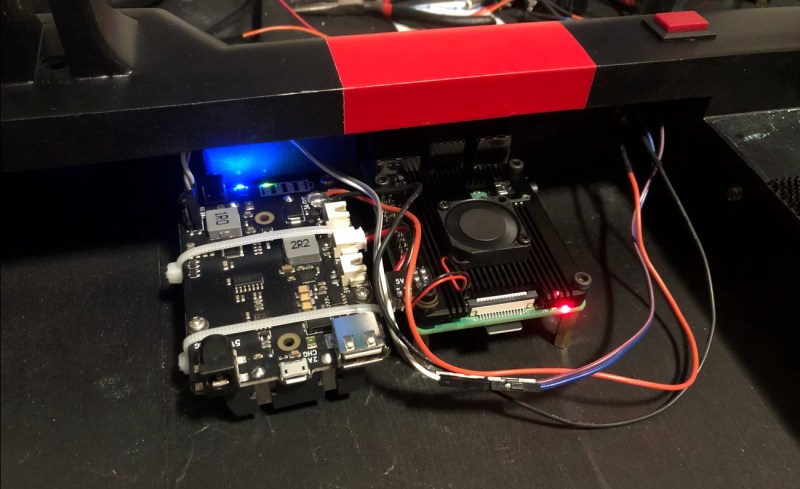
His solution makes it extra cheap by using so-called passive PoE, which injects a voltage onto the conductors of the network cable being used for PoE, without bothering with any kind of handshake. In general this is considered to be a very reliable (albeit non-standard) form of PoE that works great until something goes up in smoke. It’s also ridiculously cheap, with a PoE injector adapter (RJ-45 plug & 2.1×5.5 mm power jack to RJ-45 jack) going for about 80 cents, and a DC-DC buck converter that can handle the input of 12V for about 50 cents.

The rest of the $2 budget is mostly spent on wiring and heatshrink, resulting in a very compact PoE solution that plugs straight into the PoE header on the Raspberry Pi 3 board, with the buck converter outputs going into the ground and +5V pins on the Raspberry Pi’s GPIO header.

A fancier solution would implement any of the standard PoE protocols to do the work of negotiating a suitable voltage. Maybe this could be the high-tech, $5 solution featuring an MCU and a small PCB?

Hypnotic Visuals Synthesizer

Ever wanted to make some seriously trippy retro graphics to go along with your lo-fi hip hop beats? Now you can, with [teafella]’s aptly named Hypno Video Synthesizer, a Raspberry Pi-based video synthesizer that digitally emulates and extends analog video workflows through colorization, shape generation, and feedback, patching the modifications into a compact interface. The device allows music creators to perform with live visuals, or alternatively to create a unique visual source for a video setup. Once the CV input is plugged in, all it requires is a composite display and power to start working.

Hypno takes input through a control voltage (CV) jack using a MCP3008 ADC via SPI, with voltages scaled from -5-5V to 0-5V. The device attaches on top of a Raspberry Pi, using Raspbian for the operating system and the Pi Zero GPIO to interface with an OpenGL Engine. The input parameters are taken from knobs through a multiplexer into a single channel of the ADC, with values offset in software based on the CV inputs.

Using the Hypno ends up being fairly straight forward, as the controls are organized onto two mirrored sides for the two oscillators A & B, with global controls in the center. There are knobs that control polarization, rotation, shape, feedback modes (regular, hyper digital, zooming, rotating zoom), clock in/clock out, frequency, root hue, and master gain, as well as RGB LEDs that provide visual feedback.

A single jack outputs the composite result, although a micro-HDMI plug can also be used on the back. For advanced functionality, Hypno allows for patching, which mixes effects on top of one another and allows for shapes such as oscillator cross modulation. There are also alt-controls that open up self modulation and other shapes. Examples include bipolar drift (smoothly scrolls the oscillator) and mirroring (mirrors the oscillator’s shape in different patterns for a kaleidoscope-eque tiled madness).

The software is written in C++ and GLSL, with the main engine running with one plane in OpenGL, drawing the output of a GLSL shader. The CV and knob inputs are fed into shader uniforms that are used to change the visuals in the engine.

[teafella], a self-professed Arduino user, uses WiringPi for the GPIO interactions. The Shader system is inspired by analog video synthesis, with every shape having a simulated “scan” over the screen and function mapped to it that can be transformed into polar coordinates.

The setup for Hypno is fully compatible with analog CV equipment such as Eurorack synthesizers, which makes it easy for music creators to plug and play. Here’s a couple of sample outputs from some soundtracks inputted into Hypno:

Too many combinations to even imagine? Check out a demo of Hypno in action!

Continue reading “Hypnotic Visuals Synthesizer”

3D Printed VirtuScope Is A Raspberry Pi 4 Cyberdeck With A Purpose

William Gibson might have come up with the idea for the cyberdeck in 1984, but it’s only recently that technology like desktop 3D printing and powerful single board computers have enabled hackers and makers to assemble their own functional versions of these classic cyberpunk devices. Often the final product is little more than a cosplay prop, but when [Joe D] (better known on the tubes as [bootdsc]) started designing his VirtuScope, he wanted to create something that was actually practical enough to use. So far, it looks like he’s managed to pull it off.

Many of the cyberdeck builds we see are based around the carcass of a era-appropriate vintage computer, which looks great and really helps sell the whole retro-future vibe. Unfortunately, this can make the projects difficult and expensive to replicate. Plus there’s plenty of people who take offense to gutting a 30+ year old piece of hardware just so you can wear it around your neck at DEF CON.

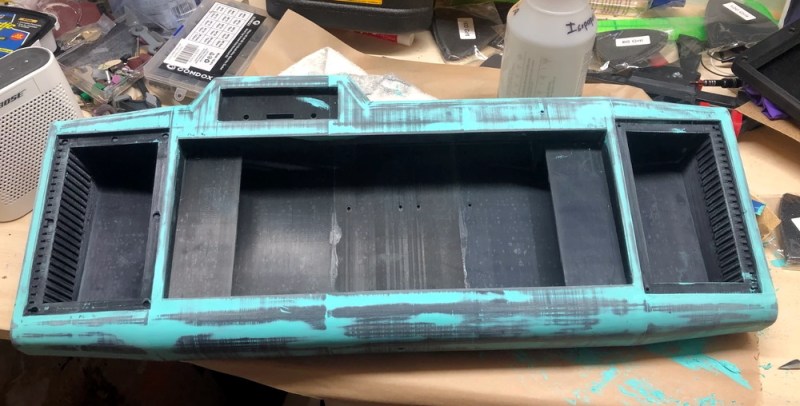
[bootdsc] deftly avoided this common pitfall by 3D printing the entire enclosure for the VirtuScope, and since he’s shared all of the STLs, he’s even made it so anyone can run off their own copy. The majority of the parts can be done on any FDM printer with a 20 x 20 x 10cm build area, though there are a few detail pieces that need the resolution of an SLA machine.

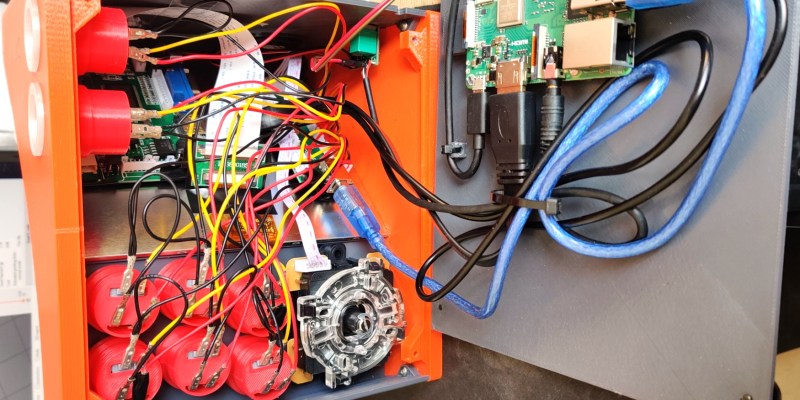
Under the hood the VirtuScope is using the Raspberry Pi 4, which [bootdsc] says is key to the build’s usability as the latest version of the diminutive Linux SBC finally has enough computational muscle to make it a viable for daily computing. Granted the seven inch LCD might be a tad small for marathon hacking sessions, but you could always plug in an external display when you don’t need to be mobile. For your wireless hacking needs, the VirtuScope features an internal NooElec SDR (with HF upconverter) and a AWUS036AC long-range WiFi adapter; though there’s plenty of room to outfit it with whatever kind of payload you’d find useful while on the go.

Documentation for this project is still in the early stages, but [bootdsc] has already provided more than enough to get you started. He tells us that there are at least two more posts coming that will not only flesh out how he built the VirtuScope, but explain why it’s now become his portable SDR rig of choice. We’re excited to see more details about this build, and hope somebody out there is willing to take on the challenge of building their own variant.

In the past we’ve seen partially 3D printed cyberdecks, and at least one that also went the fully-printed route, but none of them have been quite as accessible as the VirtuScope. By keeping the geometry of the printed parts simple and utilizing commonly available components, [bootdsc] may well have laid the groundwork for hackerdom’s first “mass produced” cyberdeck.

Continue reading “3D Printed VirtuScope Is A Raspberry Pi 4 Cyberdeck With A Purpose”

WiringPi Library To Be Deprecated

Since the release of the original Raspberry Pi single board computer, the WiringPi library by [Gordon] has been the easy way to interface with the GPIO and peripherals – such as I2C and SPI – on the Broadcom SoCs which power these platforms. Unfortunately, [Gordon] is now deprecating the library, choosing to move on rather than deal with a community which he no longer recognizes.

Among the points which he lists are the (commercial) abuse of his code, and the increasing amount of emails and messages on social media from folk who either failed to read the friendly manual, or are simply rude and inconsiderate. As [Gordon] puts it, WiringPi was never meant to be statically linked into code, nor to be used with anything other than C and RTB BASIC programmers. He never supported the use of the library with other languages, or having it statically integrated into some Java/JavaScript/NodeJS project.

As this secondary use is what’s draining the fun out of the project, he has decided to put out one final release, before making it a closed-source project, for use by himself and presumably paying clients. What the impact of this will be has to be seen. Perhaps a new fork will become the new ‘WiringPi’?

Suffice it to say, none of this is a good thing. The illegal use of open source code and the support nightmare that gets poured on the authors of said code by less than informed users is enough to drive anyone away from putting their projects out there. Fighting abuse and junking the ‘spam’ is one way to deal with it, but who has the time and energy (and money) for this?

What are your thoughts on this news, and this issue in general? How should an open source developer deal with it?

Thanks to [Dirk-Jan Faber] for sending this one in.

Over-Engineered Cat Door Makes Purrfect Sense

On paper, pet doors are pretty great. You don’t have to keep letting the cat in and out, and there should be fewer scratches on the door overall. Unfortunately, your average pet door is indiscriminate, and will let any old creature waltz right in. Well, [Jeremiah] was tired of uninvited critters, so he built a motorized door with a built-in bouncer. Now, only animals with pre-approved BLE tags can get in.

The bouncer is a Raspi 3 running Node-RED, which scans continuously for BLE advertisements from the cats’ collars. [Jeremiah] settled on Tile tags because they’re reliable and cat-proof. The first version used an Arduino and RFID tags for the cats, but they had to get too close to the door to trigger it.

We love [Jeremiah]’s choice of door actuator, a 12V retractable car antenna. [Jeremiah] uses the antenna itself to lift and lower the removable lockout panel that comes with the door. He removed the circuit that retracts the antenna when power is lost, so that power outages don’t become free-for-alls for shelter-seeking animals.

There’s also a nice feature for slow creatures—the door won’t close until 15 seconds after the last BLE ad, so they cats won’t ever have to Indiana Jones it through the opening. Magnetic switches currently limit the door travel at the top and bottom, though [Jeremiah] will eventually replace them with standard switches. Paw at the break until you get a walk-through video.

Cats will be cats, and the ones that go outside will probably rack up a body count. Here’s a cat door that looks for victims clenched between cat jaws and starts a 15-minute lockout period.

Continue reading “Over-Engineered Cat Door Makes Purrfect Sense”

Scratch Built Media Player Channels 1980s Design

No, you aren’t looking at a 30 year old Teac graphic equalizer that somebody modified. The MWA-002 Network Music Player created by [GuzziGuy] is built entirely from new components, and easily ranks up there with some of the most gorgeous pieces of homebrew audio gear we’ve ever seen. Combining modular hardware with modern manufacturing techniques, this 1980s inspired build is a testament to how far we’ve come in terms of what’s possible for the dedicated hacker and maker.

The enclosure, though it looks all the world like a repurposed piece of vintage hardware, was built with the help of a CNC router. It’s constructed from pieces of solid oak, plywood, and veneered MDF that have all been meticulously routed out and cut. Even the front panel text was engraved with the CNC and then filled in with black paint to make the letters pop.

Internally, the MWA-002 is powered by a Raspberry Pi 3 running Mopidy to play both local tracks and streaming audio. Not satisfied with the Pi’s built-in capabilities, [GuzziGuy] is using a Behringer UCA202 to produce CD-quality audio, which is then fed into a TPA3116 amplifier. In turn, the output from the amplifier is terminated in a set of female jacks on the player. Just like the stereo equipment of yore, this player is designed to be connected to a larger audio system and doesn’t have any internal speakers.

The primary display is a 256×64 Futaba GP1212A02A FVD which has that era-appropriate glow while still delivering modern features. [GuzziGuy] says it was more difficult to interface with this I2C display than the LCDs he used in the past due to the lack of available libraries, but we think the final product is proof it was worth the effort. He bought both the VFD spectrum analyzer and LED VU meter as turn-key modules, but the center equalizer controls are completely custom; with dual MCP3008 ADCs to read the state of the sliders and the Linux Audio Developer’s Simple Plugin API (LADSPA) to tweak the Pi’s audio output accordingly.

We’re no strangers to beautiful pieces of audio gear here at Hackaday, but generally speaking, most projects involve modernizing or augmenting an existing device. While those projects are to be admired, the engineering that goes into creating something of this caliber from modular components and raw building materials is really an accomplishment on a whole different level.

Warwalking For Radiation

Can’t find a recently updated survey of radioactivity in your neighborhood? Try [Hunter Long]’s DIY scintillation counter warwalking rig. (Video also embedded below.) What looks like a paint can with a BNC cable leading to an unassuming grey box is actually a complete kit for radiation surveying.

Inside the metal paint can is a scintillation counter, which works by attaching something that produces light when struck by ionizing radiation on the end of a photomultiplier tube, to make even the faintest hits “visible”. And the BNC cable leads to a Raspberry Pi, touch screen, GPS, and the high-voltage converters needed to make the photomultiplier do its thing.

The result is a sensitive radiation detector that logs GPS coordinates and counts per second as [Hunter] takes it out for a stroll. Spoilers: he discovers that some local blacktop is a little bit radioactive, and even finds a real “hot spot”. Who knows what else is out there? With a rig like this, making a radiation map of your local environment is a literal walk in the park.

[Hunter] got his inspiration for the paint-can detector from this old build by [David Prutchi], which used a civil-defense Geiger counter as its source of high voltage. If you don’t have a CD Geiger detector lying around, [Alex Lungu]’s entry into the Hackaday Prize builds a scintillation detector from scratch.
Continue reading “Warwalking For Radiation”