The humble transistor radio is one of those consumer devices that stubbornly refuses to go away, but it’s fair to say that it’s not the mover and shaker in the world of electronics it might once have been. Thus it’s also not a staple of the repair bench anymore, where fixing a pocket radio might have been all in a day’s work decades ago now they’re a rare sight. [David Tipton] has a Philips radio from we’re guessing the later half of the 1960s which didn’t work, and we’re along for the ride as he takes us through its repair.
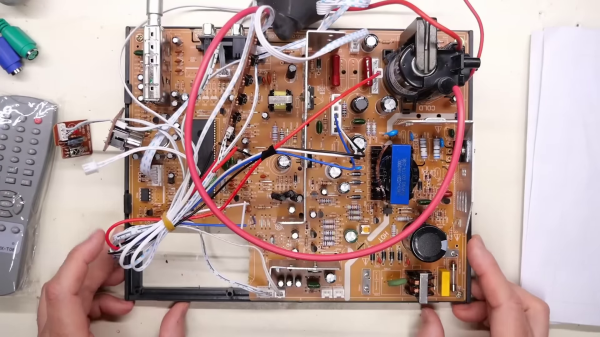
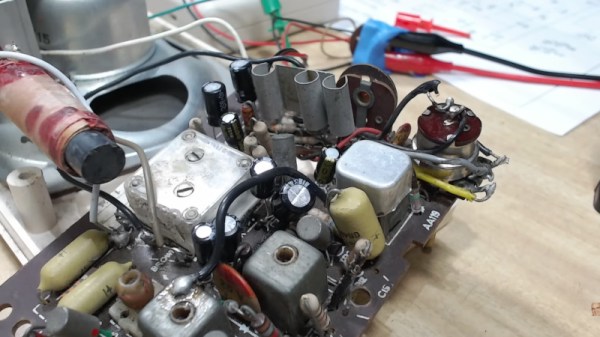
It’s an extremely conventional design of the era, with a self-oscillating mixer, 455 kHz IF amplifier, and class AB audio amplifier. The devices are a little archaic by today’s standards, with comically low-gain germanium transistors and passives from the Ark. Injecting a signal reveals that the various stages all work, but that mixer isn’t oscillating. A lot of fault-finding ensues, and perhaps with a little bit of embarrassment, he eventually discovers a blob of solder shorting a collector resistor to ground. All isn’t over though, for the volume pot is also kaput. Who knew that the track from a modern component could be transplanted into one from the 1960s?
Continue reading “Transistor Radio Repair, More Complex Than It Seems”