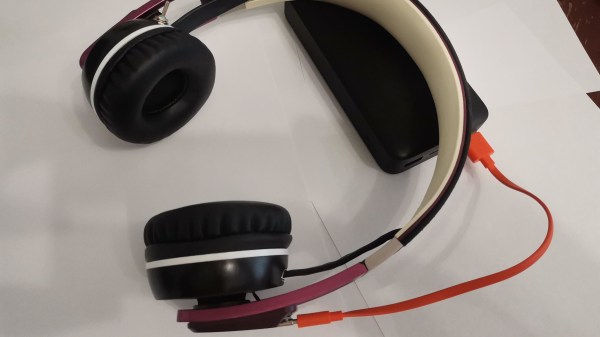
[adblu] encountered the ever-present headphone problem with their Sennheiser Urbanite headphones – the cable broke. These headphones are decent, and despite the cable troubles, worth giving a new life to. Cable replacement is always an option, but [adblu] decided to see – what would it take to make these headphones wireless? And while they’re at it, just how much battery life could they get?
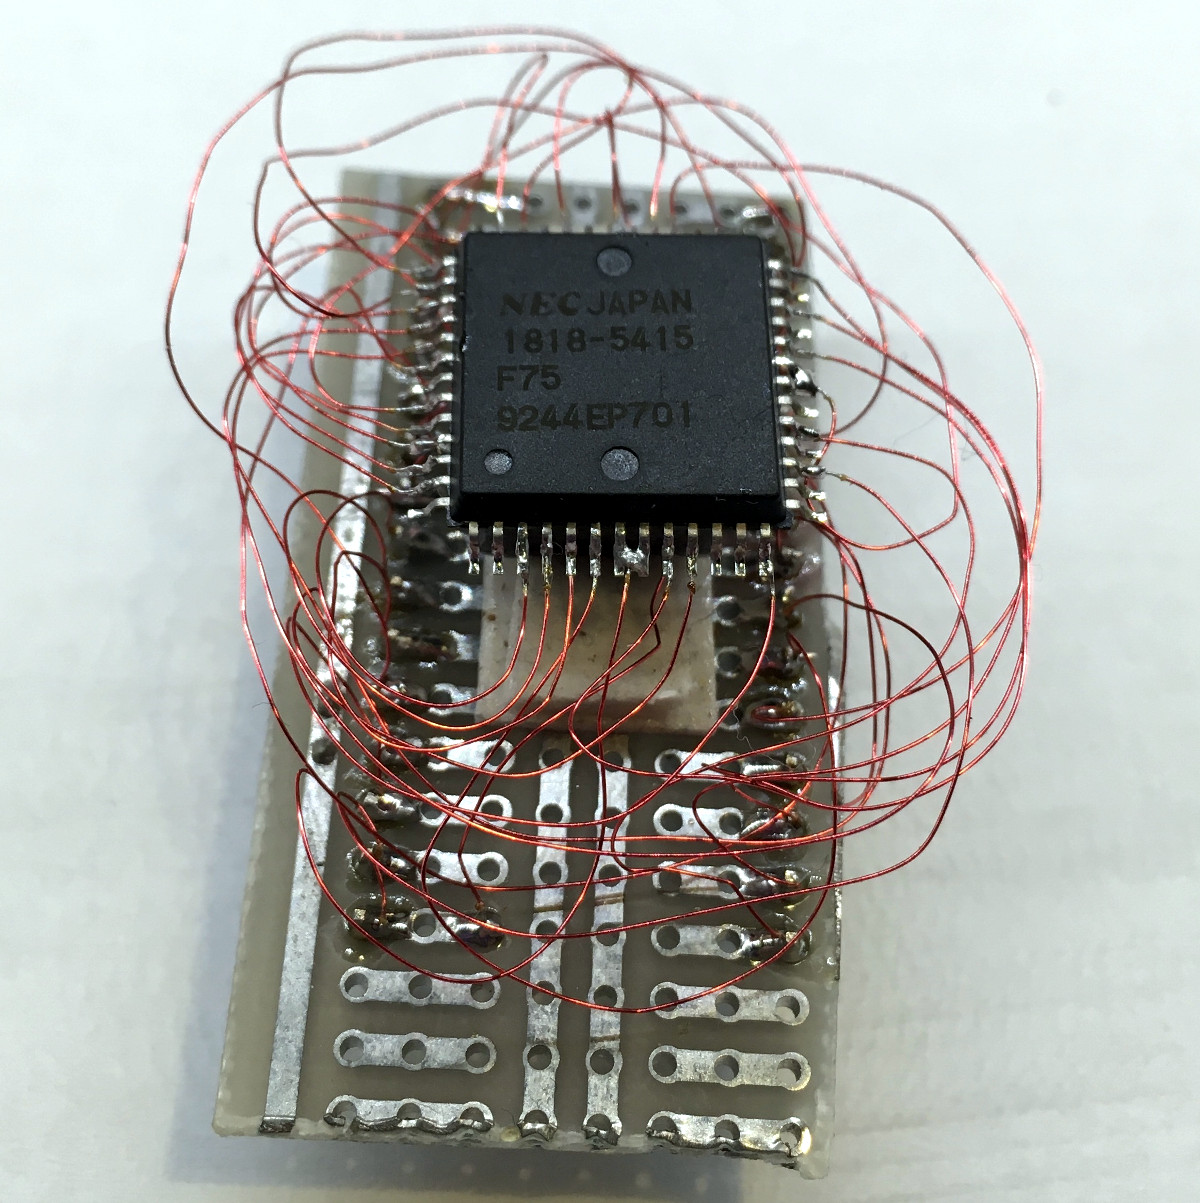
Armed with a CSR8635 Bluetooth audio receiver breakout module and a TP4056 charger, [adblu] went on rewiring the headphone internals. The CSR8635 already has a speaker amplifier inside, so connecting the headphones’ speakers didn’t require much effort – apart from general soldering difficulties, as [adblu]’s soldering iron was too large for the small pads on the BT module. They also found a 2400mAh battery, and fit it inside the headphone body after generous amounts of dremel work.
The result didn’t disappoint – not only does everything fit inside the headphone body, the headphones also provided 165 hours of music playback at varying volume. Electronics-wise, it really is that easy to retrofit your headphones with Bluetooth, but you can always go the extra mile and design an intricate set of custom PCBs! If firmware hacks are more to your liking, you can use a CSR8645 module for your build and then mod its firmware.