Who can’t resist snapping up a piece of really expensive laboratory testing gear for next to nothing when browsing eBay or similar? Maybe it’s giving you mournful eyes when browsing through a yard sale. Often such gear is sold for cheap because it’s defective, but with a bit of attention, can be brought back to life. This is how [Roberto Barrios] ended up with a Rohde & Schwarz FSIQ 7 signal analyzer lounging around his place for a few months until he got it fixed.
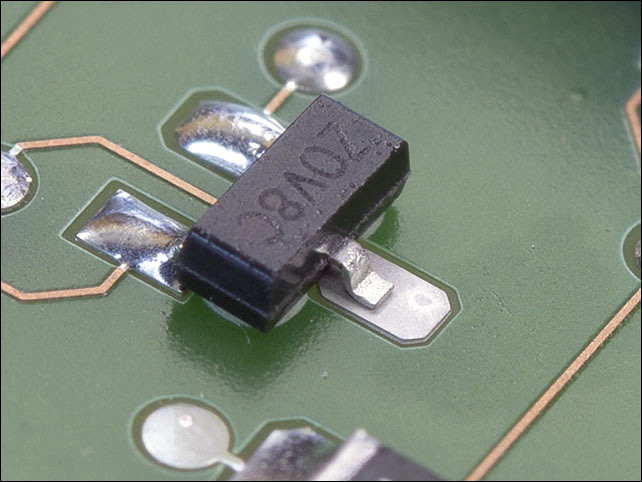
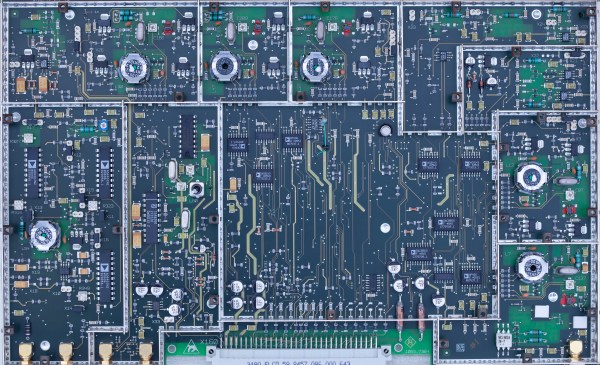
Part of the fix was replacing a busted RF converter module (A160 IF-Filter) with a used-but-working replacement, but this left the device with odd calibration failures. In the process of tracing down the cause, [Roberto] took many high-resolution images of both sides of the PCBs in order to reverse-engineer the circuit. To complicate matters, the calibration results indicated that the unit’s filters were fine on boot-up, but would deviate after a few minutes.
After extending the filter module to work outside the enclosure and experimental use of a hot air gun, ultimately the cause was tracked down to an unsoldered pad. Considering the extremely simple cause of the failure, it would seem that R&S QA had an off-day when that replacement module was produced. If there’s a lesson to be learned here it is probably that a simple visual inspection is sometimes all that is needed to fix a hardware issue.
What are your expensive gear repair stories? What did you learn that could save others hours of their time?