The 1984 Timex Computer 2048 that [Drygol] recently got his hands on was in pretty poor shape. Not only did it have the mangled exterior that comes from several decades of hard use and furious typing, but the internals appeared to be shot as well, with the machine showing nothing but vertical lines when powered up. Thankfully, this retro computer virtuoso was more than up to the challenge of bringing it back from the brink.
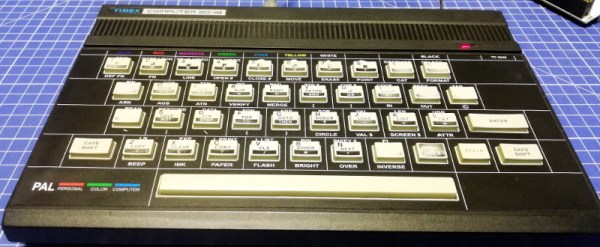
After a good cleaning and the installation of a reproduction front panel, the Timex was already looking much better. Unfortunately [Drygol] says he doesn’t currently have the equipment necessary to touch up the graphics and lettering on the key caps, but the fact that he had to qualify that statement with “currently” has us all sorts of excited to see what he’s planning down the line.

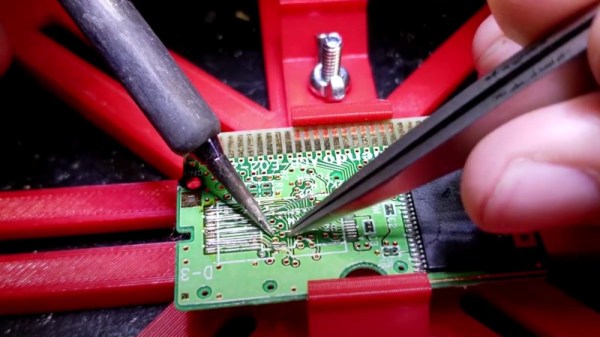
Of course beauty is only skin deep, and this particular TC-2048 was still bad to the bone. [Drygol] had a hunch its Z80 processor was dead, but after swapping it and its socket out, the machine still wouldn’t start. Though he did note that the garbled graphics shown on the screen had changed, which made him think he was on the right track. He then replaced all the RAM on the board, but that didn’t seem to change anything.
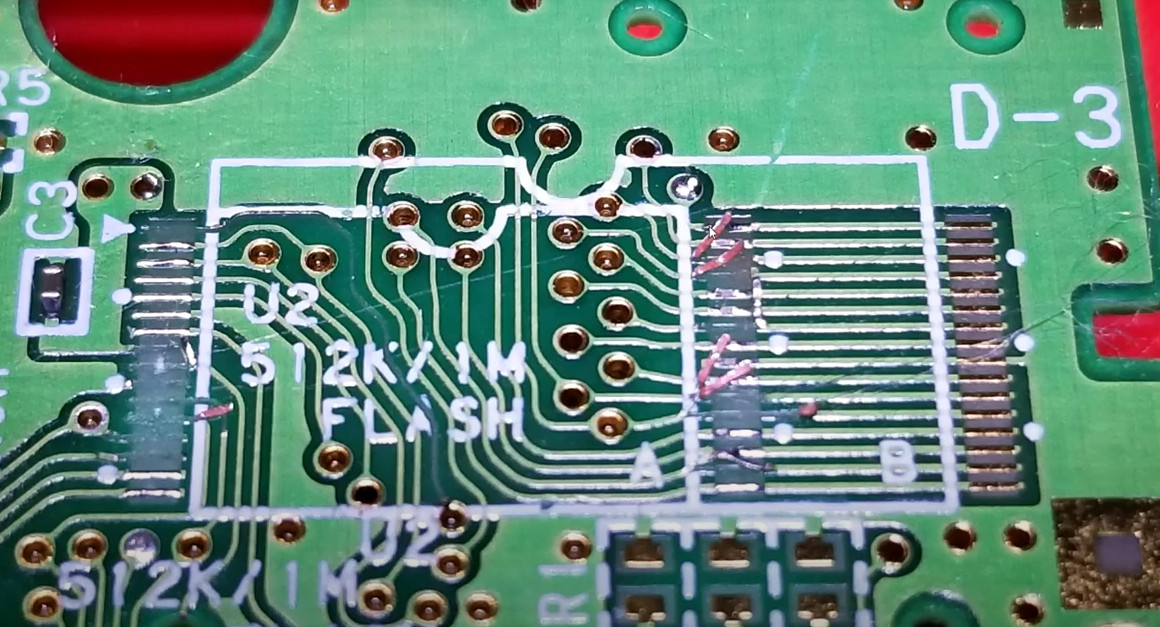
There isn’t a whole lot else to go wrong on these old machines, so the final step was to try and replace the ROM. Sure enough, after installing a new Winbond W27C512 chip with the appropriate software burned onto it, the nearly 40 year old computer sprang back to life.
Another classic computer saved from the trash heap, but it’s all in a day’s work for [Drygol]. Over the years we’ve seen him perform meticulous repairs on computer hardware that any reasonable person would have given up on. Even if you’re not into retro hardware, his restorations are always full of fascinating tips and tricks that can be applied when repairing gadgetry from whatever era happens to tickle your fancy.