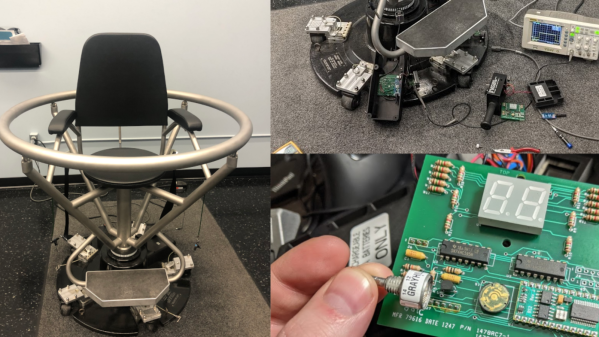
Ever heard of a Bárány chair? Neither had [Troy Denton] before he was asked to repair one, but that didn’t stop him from rolling up his sleeves and tying to get the non-functional device back in working order. As it didn’t come with a user guide, manual, schematic or any other information, he had to rely on his experience and acumen gathered over years of practical work. Luckily for us, he decided to document the whole process.
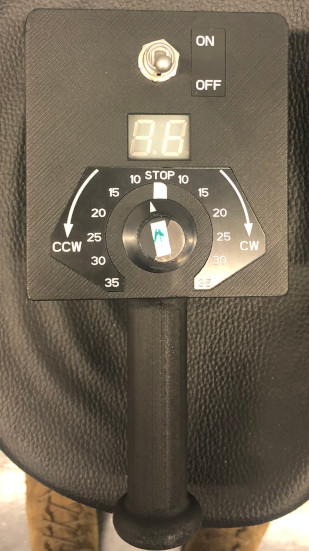 While it’s not well known outside of aviation circles, the Bárány chair is an important piece of equipment in training pilots to get used to spatial disorientation. The device is essentially a motorized revolving chair, the idea being to spin the subject to induce disorientation. Rotation speed and direction can be controlled via a handheld wireless remote terminal.
When [Troy] first powered it up, the error code on the remote indicated “no power to base unit”. That turned out to be a quick fix – he simply had to move the power connection from a switched socket that had been turned off to a different outlet. But while that cleared the error message, the chair still wouldn’t rotate for any of the knob settings.
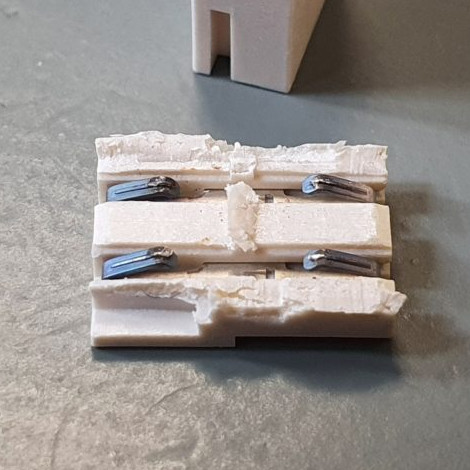
Manually rotating the chair showed the RPM on the remote, so [Troy] narrowed down his search to the motor related sections. The motor was being driven by a servo type signal, but changing the speed and direction knob on the remote didn’t seem to alter the control signal when he checked it with his scope. Opening up the hand held remote immediately uncovered the failed part – the rotary encoder for setting the speed and direction had physically split in to two pieces.
Since there was a clean split in the encoder, he was able to temporarily hold it back together to confirm that the chair could spin up. The cause was most likely “User Error” – the last person to conduct the test probably turned the knob rather enthusiastically. A new part is on the way, and the chair should be getting back to making prospective pilots dizzy in no time.
We love a good repair story here at Hackaday. Whether it’s patiently rebuilding a snapped PCB with bodge wires or coming up with replacement parts that may well be better than the originals, we never get tired of seeing a broken piece of gear put back together.