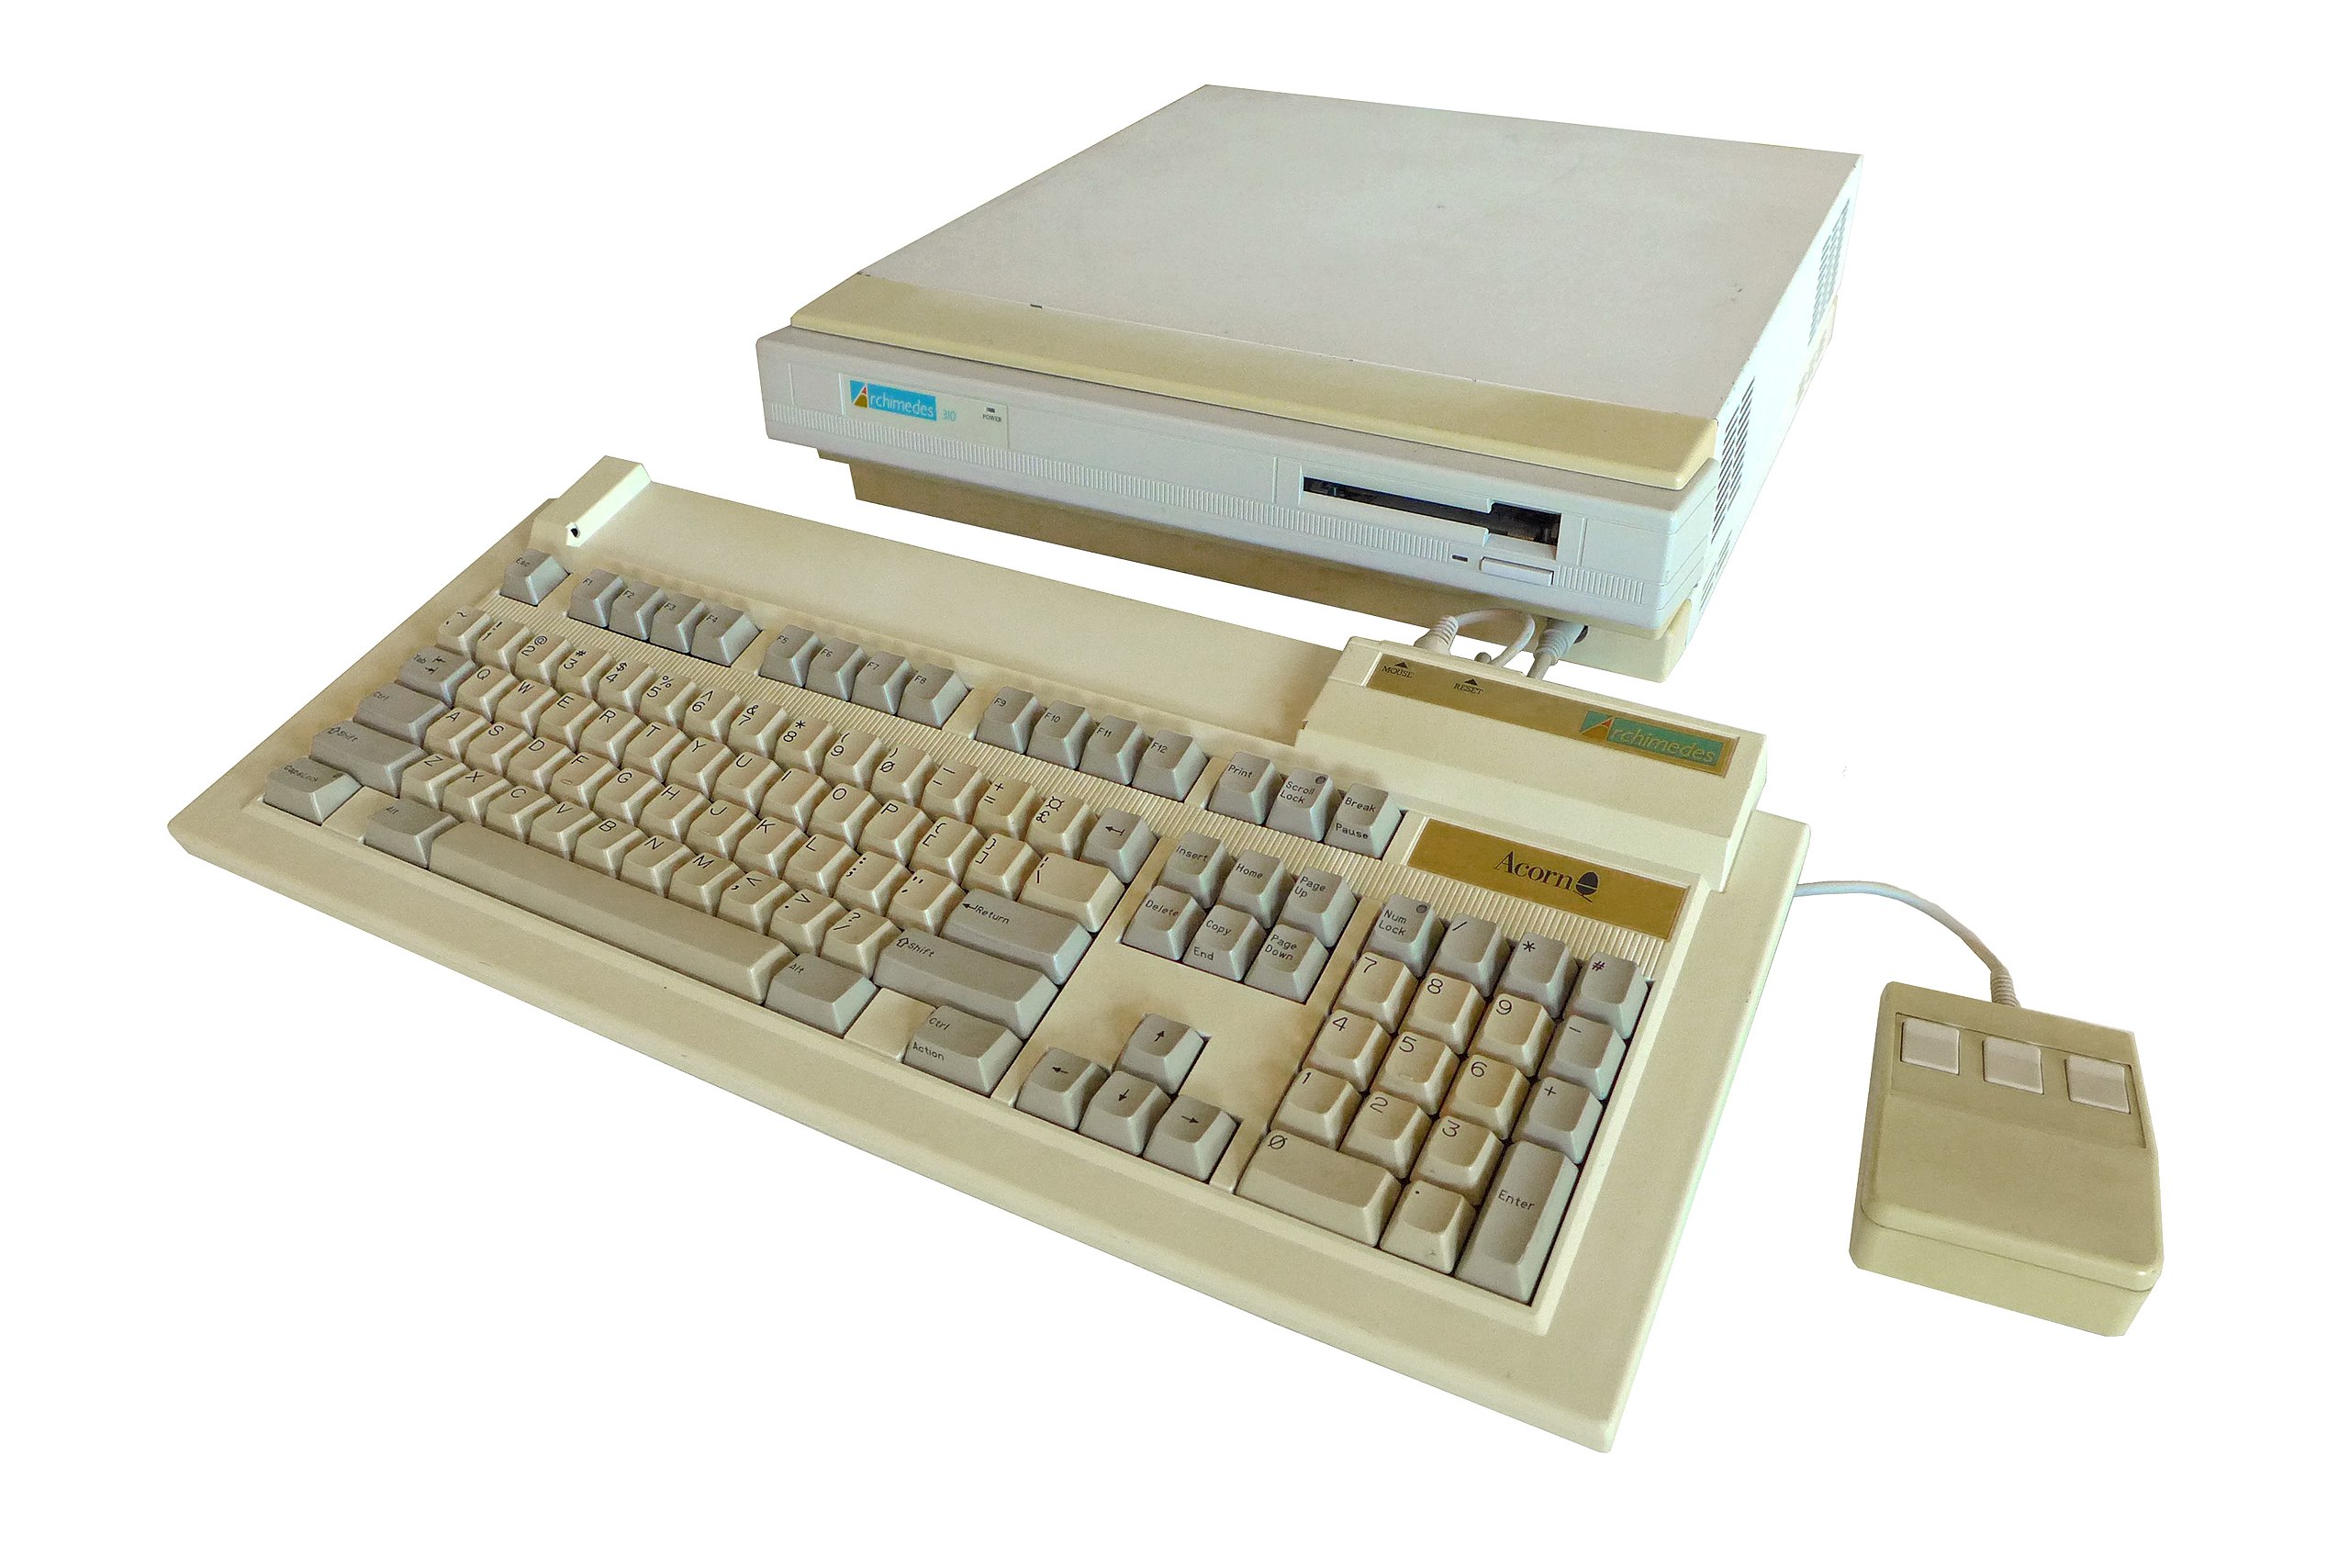
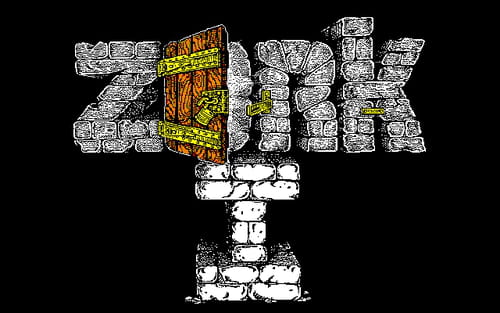
This Week In Security: QueueJumper, JS VM2 Escape, And CAN Hacking

You may not be familiar with the Microsoft Message Queuing (MSMQ) service, a store and forward sort of inter-process and inter-system communication service. MSMQ has become something of a legacy product, but is still available as an optional component in Windows. And in addition to other enterprise software solutions, Microsoft Exchange turns the service on by default. That’s why it’s a bit spooky that there’s a one packet Remote Code Execution (RCE) vulnerability that was just patched in the service.

CVE-2023-21554, also known as QueueJumper, is this unauthenticated RCE with a CVSS score of 9.8. It requires sending a packet to the service on TCP port 1801. The Check Point Research team scanned for listening MSMQ endpoints on the public Internet, and found approximately 360,000 of them. And no doubt far more are listening on internal networks. A one packet exploit is a prime example of a wormable problem, and now that the story has broken, and the patch is available, expect a rapid reverse engineering. Beware, the queue jumpers are coming.

JavaScript VM Escape

The VM2 library is a rather important JavaScript package that sandboxes code, letting a project run untrusted code securely. Or, that’s the idea. CVE-2023-29017 is an example of how hard sandboxing is to get right. It’s another CVSS 9.8 vulnerability, and this one allows a sandbox escape and code execution.

This one now has public Proof of Concept code, and this package has over 16 million monthly installs, so the attack surface is potentially pretty wide. The flaw is fixed in version 3.9.15. Continue reading “This Week In Security: QueueJumper, JS VM2 Escape, And CAN Hacking”

Tinkercad Gets A Move On

Going to the movies is an experience. But how popular do you think they’d be if you went in, bought your popcorn, picked your seat, and the curtain would rise on a large still photograph? Probably not a great business model. If a picture is worth 1,000 words, then a video is worth at least a million, and that’s why we thought it was awesome that Tinkercad now has a physics simulator built right in.

Look for this icon on the top right toolbar.

It all starts with your 3D model or models, of course. Then there’s an apple icon. (Like Newton, not like Steve Jobs.) Once you click it, you are in simulation mode. You can select objects and make them fixed or movable. You can change the material of each part, too, which varies its friction, density, and mass. There is a play button at the bottom. Press it, and you’ll see what happens. You can also share and you have the option of making an MP4 video like the ones below.

We, of course, couldn’t resist. We started with a half-sphere and made it larger. We also rotated it so the flat side was up. We then made a copy that would become the inside of our bowl. Using the ruler tool, we shaved about 2 mm off the length and width (X and Y) of the inner sphere. We also moved it 2 mm up without changing the size.

Using the alignment tools, you can then center the inner piece in the X and Y axis. Change the inner color to a hole and group the objects. This forms a simple bowl shape. Then we moved the workplane to a random part of the inner surface of our bowl and dropped a sphere. Nothing complicated.

Continue reading “Tinkercad Gets A Move On”

It Isn’t WebAssembly, But It Is Assembly In Your Browser

You might think assembly language on a PC is passe. After all, we have a host of efficient high-level languages and plenty of resources. But there are times you want to use assembly for some reason. Even if you don’t, the art of writing assembly language is very satisfying for some people — like an intricate logic puzzle. Getting your assembly language fix on a microcontroller is usually pretty simple, but on a PC there are a lot of hoops to jump. So why not use your browser? That’s the point of this snazzy 8086 assembler and emulator that runs in your browser. Actually, it is not native to the browser, but thanks to WebAssembly, it works fine there, too.

No need to set up strange operating system environments or link to an executable file format. Just write some code, watch it run, and examine all the resulting registers. You can do things using BIOS interrupts, though, so if you want to write to the screen or whatnot, you can do that, too.

The emulation isn’t very fast, but if you are single-stepping or watching, that’s not a bad thing. It does mean you may want to adjust your timing loops, though. We didn’t test our theory, but we expect this is only real mode 8086 emulation because we don’t see any protected mode registers. That’s not a problem, though. For a learning tool, you’d probably want to stick with real mode, anyway. The GitHub page has many examples, ranging from a sort to factorials. Just the kind of programs you want for learning about the language.

Why not learn on any of a number of other simulated processors? The 8086 architecture is still dominant, and even though x86_64 isn’t exactly the same, there is a lot of commonalities. Besides, you have to pretend to be an 8086, at least through part of the boot sequence.

If you’d rather compile “real” programs, it isn’t that hard. There are some excellent tutorials available, too.

Tired Of Web Scraping? Make The AI Do It

[James Turk] has a novel approach to the problem of scraping web content in a structured way without needing to write the kind of page-specific code web scrapers usually have to deal with. How? Just enlist the help of a natural language AI. Scrapeghost relies on OpenAI’s GPT API to parse a web page’s content, pull out and classify any salient bits, and format it in a useful way.

What makes Scrapeghost different is how data gets organized. For example, when instantiating scrapeghost one defines the data one wishes to extract. For example:

from scrapeghost import SchemaScraper
scrape_legislators = SchemaScraper(
schema={
"name": "string",
"url": "url",
"district": "string",
"party": "string",
"photo_url": "url",
"offices": [{"name": "string", "address": "string", "phone": "string"}],
}
)

The kicker is that this format is entirely up to you! The GPT models are very, very good at processing natural language, and scrapeghost uses GPT to process the scraped data and find (using the example above) whatever looks like a name, district, party, photo, and office address and format it exactly as requested.

It’s an experimental tool and you’ll need an API key from OpenAI to use it, but it has useful features and is certainly a novel approach. There’s a tutorial and even a command-line interface, so check it out.

Your Fuji Digital Camera Is Hackable

There was a time when a digital camera was a surprisingly simple affair whose on-board processor didn’t have much in the way of smarts beyond what was needed to grab an image from the sensor and compress it onto some storage. But as they gained more features, over time cameras acquired all the trappings of a fully-fledged computer in their own right, including full-fat operating systems and the accompanying hackability opportunities.

Prominent among camera manufacturers are Fujifilm, whose cameras it turns out have plenty of hacking possibilities. There’s something of a community about them, with all their work appearing in a GitHub repository, and a cracking April Fool in which a Fujifilm camera appears able to be coaxed into running DOOM.

Correction: We’ve since heard from creator [Daniel] who assures us that not only was the DOOM hack very much real, but that he’s released the instructions on how to run the classic shooter on your own Fujfilm X-A2.

Fujifilm cameras past 2017 or so run the ThreadX real-time operating system on a variety of ARM SoCs, with an SQLite data store for camera settings and some custom software controlling the camera hardware. The hackability comes through patching firmware updates, and aside from manipulating the built-in scripting language and accessing the SQLite database, can include code execution.

Don’t have a Fujifilm? They’re not the only hackable camera to be found.

Spice Up The Humble 16×2 LCD With Big Digits

The 16×2 LCD display is a classic in the microcontroller world, and for good reason. Add a couple of wires, download a library, mash out a few lines of code, and your project has a user interface. A utilitarian and somewhat boring UI, though, and one that can be hard to read at a distance. So why not spice it up with these large-type custom fonts?

As [upir] explains, the trick to getting large fonts on a display that’s normally limited to two rows of 16 characters each lies in the eight custom characters the display allows to be added to its preprogrammed character set. These can store carefully crafted patterns that can then be assembled to make reasonable facsimiles of the ten numerals. Each custom pattern forms one-quarter of the finished numeral, which spans what would normally be a two-by-two character matrix on the display. Yes, there’s a one-pixel wide blank space running horizontally and vertically through each big character, but it’s not that distracting.

Composing the custom patterns, and making sure they’re usable across multiple characters, is the real hack here, and [upir] put a lot of work into that. He started out in Illustrator, but quickly switched to a spreadsheet because it allowed him to easily generate the correct binary numbers to pass to the display for each pattern. It seems to have really let his creative juices flow, too — he came up with 24 different fonts! Our favorite is the one he calls “Tron,” which looks a bit like the magnetic character recognition font on the bottom of bank checks. Everyone remembers checks, right?

Hats off to [upir] for a creative and fun way to spice up the humble 16×2 display. We’d love to see someone pick this up and try a complete alphanumeric character set, although that might be a tall order with only eight custom characters to work with. Then again, if Bad Apple on a 16×2 is possible…

Continue reading “Spice Up The Humble 16×2 LCD With Big Digits”

Opening Up ASIC Design

The odds are that if you’ve heard about application-specific integrated circuits (ASICs) at all, it’s in the context of cryptocurrency mining. For some currencies, the only way to efficiently mine them anymore is to build computers so single-purposed they can’t do anything else. But an ASIC is a handy tool to develop for plenty of embedded applications where efficiency is a key design goal. Building integrated circuits isn’t particularly straightforward or open, though, so you’ll need some tools to develop them such as OpenRAM.

Designing the working memory of a purpose-built computing system is a surprisingly complex task which OpenRAM seeks to demystify a bit. Built in Python, it can help a designer handle routing models, power modeling, timing, and plenty of other considerations when building static RAM modules within integrated circuits. Other tools for taking care of this step of IC design are proprietary, so this is one step on the way to a completely open toolchain that anyone can use to start building their own ASIC.

This tool is relatively new and while we mentioned it briefly in an article back in February, it’s worth taking a look at for anyone who needs more than something like an FPGA might offer and who also wants to use an open-source tool. Be sure to take a look at the project’s GitHub page for more detailed information as well. There are open-source toolchains if you plan on sticking with your FPGA of choice, though.