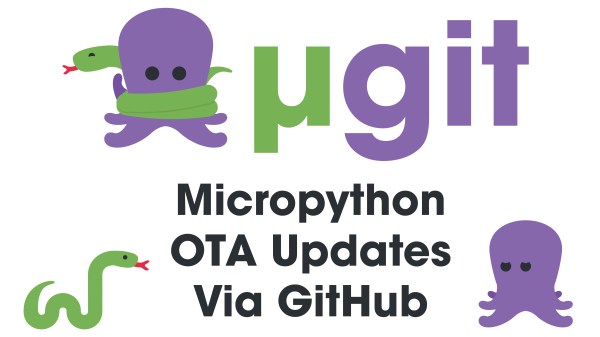
Wouldn’t it be great if you could keep all of your small Internet-connected hacks up to date with a single codebase? A couple of weeks ago, we wrote up a project that automagically pulls down OTA updates to an ESP32 from GitHub, using the ESP32 C SDK. [Pascal] asked in the comments, “but what about MicroPython?” Gauntlet thrown, [TURFPTAx] wrote ugit.py – a simple library that mirrors all of the code from a public GitHub Python repo straight to your gizmo running Micropython.
[Damped] wrote in about Senko, another library that does something very similar, but by then [TURFPTAx] was already done. Bam! Part of the speed is that MicroPython includes everything you need to get the job done – parsing streamed JSON was the hard part with the original hack. MicroPython makes those sorts of things easy.
This is one of those ideas that’s just brilliant for a hacker with a small flock of independent devices to herd. And because ugit.py itself is fairly simple and readable, if you need to customize it to do your own bidding, that’s no problem either. Just be sure that when you’re storing your WiFi authentication info, it’s not publicly displayed. ([TURFPTAx], could I log into your home WiFi?)
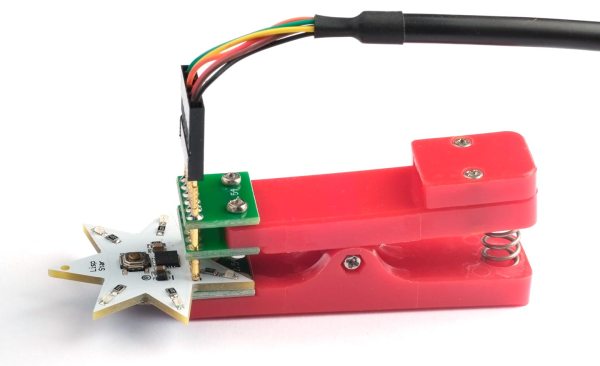
What’s [TURFPTAx] going to be using this for? We’re guessing it’s going to be deploying code to his awesome Open Muscle sensing rigs. What will we be using it for? Blinky Christmas decorations for the in-laws, now remotely updatable without them having to even learn what a “repo” is.
Continue reading “GitHub ESP32 OTA Updates, Now In MicroPython Flavor”