The other day I saw a plastic part that was so beautiful that I had to look twice to realize it hadn’t been cast — and no, it didn’t come out of a Stratysys or anything, just a 3D printer that probably cost $1,500. It struck me that someone who had paid an artisan to make a mold and cast that part might end up spending the same amount as that 3D printer. It also struck me that the little guys are starting to catch up with the big guys.
Haz Bridgeport, Will Mill
Sometimes it’s just a matter of getting a hold of the equipment. If you need a Bridgeport mill for your project, and you don’t have one, you have to pay for someone else to make the thing — no matter how simple. You’re paying for the operator’s education and expertise, as well as helping pay for the maintenance and support of the hardware and the shop it’s housed in.
I once worked in a packaging shop, and around 2004 we got in a prototype to use in developing the product box. This prototype was 3D printed and I was told it cost $12,000 to make. For the era it was mind blowing. The part itself was simplistic and few folks on Thingiverse circa 2017 would be impressed; the print quality was roughly on par with a Makerbot Cupcake. But because the company didn’t have a 3D printer, they had to pay someone who owned one a ton of cash to make the thing they wanted.
Unparalleled Access to Formerly Professional-Only Tools
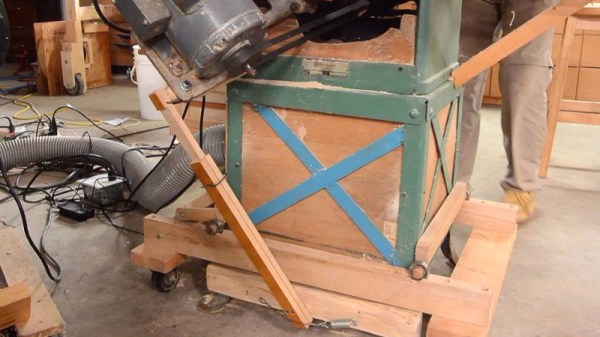
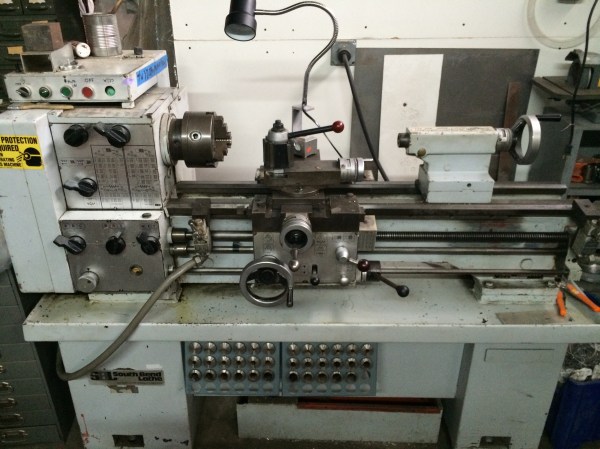
But access to high end tools has never been easier. Hackerspaces and tool libraries alone have revolutionized what it means to have access to those machines. There are four or five Bridgeports (or similar vertical mills) at my hackerspace and I believe they were all donated. For the cost of membership, plus the time to get trained in and checked out, you can mill that part for cheap. Repeat with above-average 3D printers, CNC mills, vinyl cutters, lasers. The space’s South Bend lathe (pictured) is another example of the stuff most people don’t have in their basement shops. This group ownership model may not necessarily grant you the same gear as the pros, but sometimes it’s pretty close.
Continue reading “The Narrowing Gap Between Amateur And Professional Fabrication”