For anyone who has worked with radioactive materials, there’s something that’s oddly comforting about the random clicks of a Geiger counter. And those comforting clicks are exactly why we like this simple pocket Geiger counter.
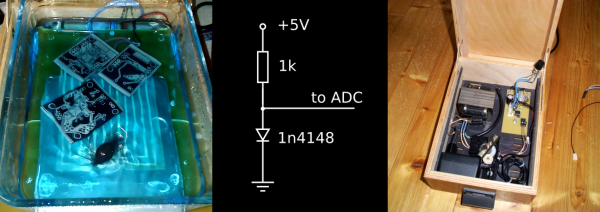
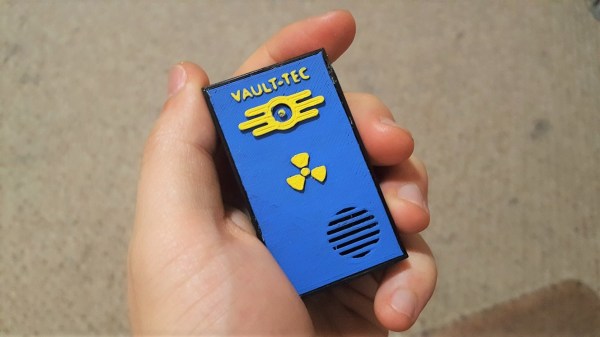
Another good reason to like [Tim]’s build is the Fallout theme of the case. While not an item from the game, the aesthetic he went for with the 3D-printed case certainly matches the Fallout universe. The counter itself is based on the popular Russian SBT-11A G-M tubes that are floating around eBay these days. You might recall them from coverage of this minimalist Geiger counter, and if you were inspired to buy a few of the tubes, here’s your chance for a more polished build. The case is stuffed with a LiPo pack, HV supply, and a small audio amp to drive the speaker. The video below shows it clicking merrily from a calibration source.
We can see how this project could be easily expanded — a small display that can show the counts per minute would be a great addition. But there’s something about how pocketable this is, and just the clicking alone is enough for us.
Continue reading “Roam The Wastelands With This Fallout-Themed Mini Geiger Counter”

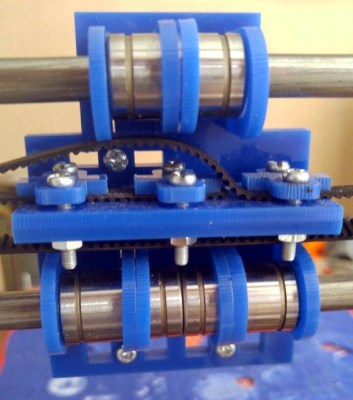 The printer design chosen for the project is the Prusa i3. We have certainly seen custom builds of this popular design before using laser-cut plywood for the frame. Still, these builds use 3D-printed parts for some of the more complicated parts like the extruder carriage and motor brackets. To the right is the X-carriage mechanism. It is complicated but requires no more than 6 mm and 3 mm acrylic stock and the type of hardware traditionally associated with printer builds.