We use the Internet to do everything from filing our taxes to finding good pizza, but most critically it fulfills nearly all of our communication needs. Unfortunately, this reliance can be exploited by those pulling the strings; if your government is trying to do something shady, the first step is likely to be effecting how you can communicate with the outside world. The Internet is heavily censored and monitored in China, and in North Korea the entire country is effectively running on an intranet that’s cutoff from the wider Internet. The need for decentralized information services and communication is very real.
 While it might not solve all the world’s communication problems, [::vtol::] writes in to tell us about a very interesting communication device he’s been working on that he calls “Hot Ninja”. Operating on the principle that users might be searching for accessible Wi-Fi networks in a situation where the Internet has been taken down, Hot Ninja allows the user to send simple messages through Wi-Fi SSIDs.
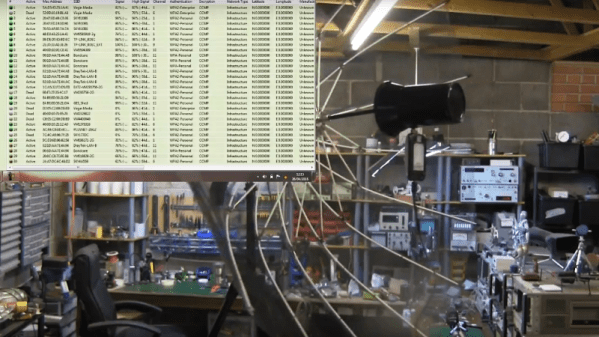
We’ve all seen creatively named Wi-Fi networks before, and the idea here is very much the same. Hot Ninja creates a Wi-Fi network with the user’s message as the SSID in hopes that somebody on a mobile device will see it. The SSID alone could be enough depending on the situation, but Hot Ninja is also able to serve up a basic web page to devices which actually connect. In the video after the break, [::vtol::] even demonstrates some rudimentary BBS-style functionality by presenting the client devices with a text field, the contents of which are saved to a log file.
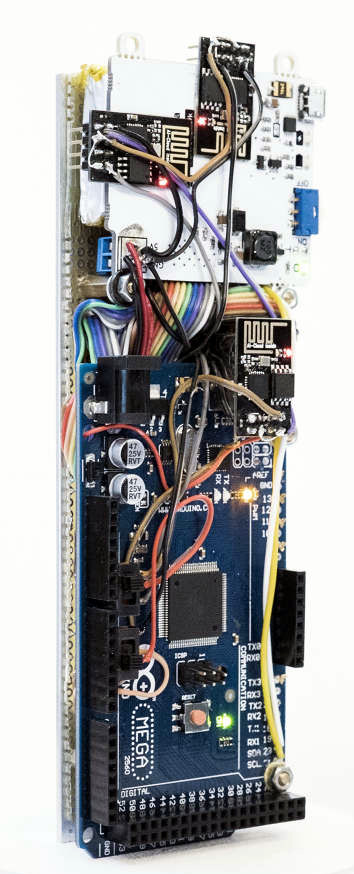
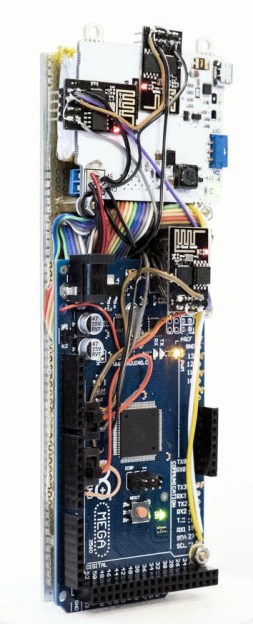
In terms of hardware, Hot Ninja is made up of an Arduino Mega coupled to three ESP8266 boards, and a battery to keep it all running for up to eight hours so you can subvert a dictatorship while on the move. The user interface is provided by a small OLED screen and a keyboard made entirely of through-hole tactile switches, further reinforcing the trope that touch-typing will be a must have skill in the dystopian future. It might not be the most ergonomic device we’ve ever seen, but the fact it looks like something out of a Neal Stephenson novel more than makes up for it in our book.
This is not the first time we’ve seen Wi-Fi SSIDs used as a method of communication, thanks largely to how easy the ESP8266 makes it. For his part, [::vtol::] has previously experimented with using them to culturally enrich the masses.
Continue reading “A Mobile Terminal For Guerrilla Communications” →