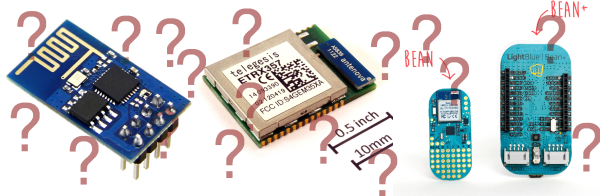
Do you have loved ones who live far away? Or do you just want an interesting starter ESP8266 project to get your feet wet? If the answer to either of these questions is “yes”, we’ve got just the project for you. [Craig Lindley] built a “thinking of you” button-and-LED display device that helps people keep in touch, in a very simple way.
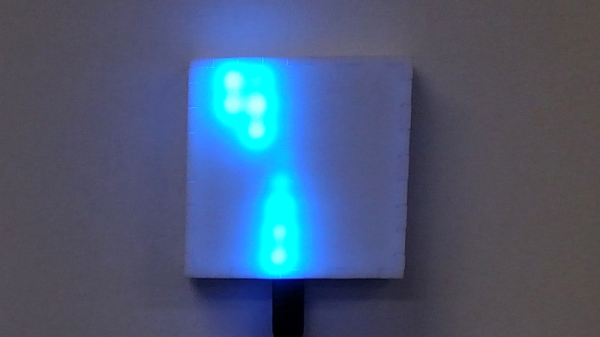
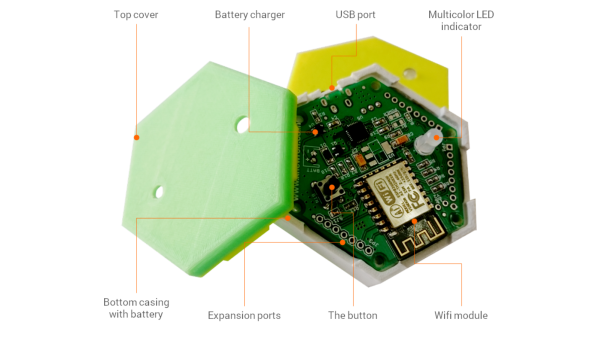
We like the minimalism of the design. One party presses their button, electrons flow, WiFis WiFi, data travels through a set of tubes, and an LED far away glows a pre-arranged color. The other side can signal back to say “hi” as well. It’s a cute item to have on your desk, or wherever you spend the most time. If you’re new to all of this, you can hardly beat the circuit for its simplicity.
Yeah, you could totally just send the other person a text message or an e-mail. But then you don’t get an excuse to play around with NodeMCU, and it just lacks the personal hacker touch. The code is available in a zip file here, and if you want to stay in touch with someone other than [Craig]’s sisters, you’ll probably want to customize it a bit.
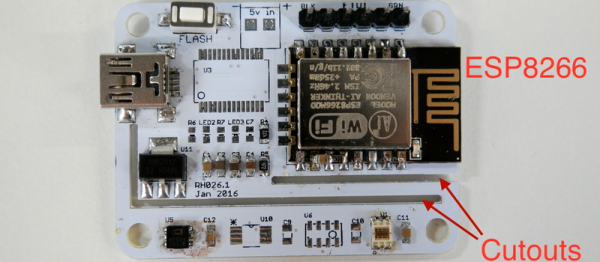
 Next came the clever bit. [Richard] put cutouts into the board to hopefully stop the flow of heat from the ESP8266 module to the temperature sensor. Again, he found that the board heats up by around four degrees Celcius or nine degrees Farenheit. That’s a horrible result in any units.
 Fail of the Week is a Hackaday column which celebrates failure as a learning tool. Help keep the fun rolling by writing about your own failures and