We’ve all seen 3D printed zoetropes, and drawn flip book animations in the corner of notebooks. The shifting, fluid shape of the layers forming on a 3D printer is satisfying. And we all know the joy of hidden, nested objects.
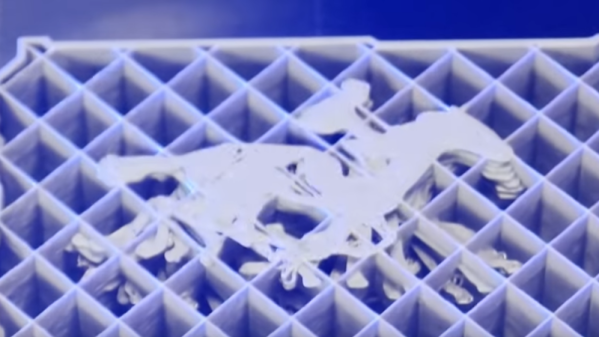
Hackaday alumnus [Caleb Kraft] has a few art pieces that all reflect all these. He’s been making animations by recording a 3D printer. The interesting bit is that his print is made of two objects. An outer one with normal infill that gives a solid form, and a layer cake like inner one with solid infill. It’s documented in this video on YouTube.
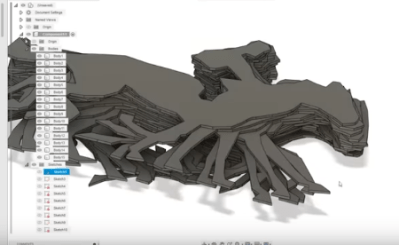
There are lots of things to get right. The outer object needs to print without supports. The thickness of the “layer cake” layers determines the frame rate. I had to wonder how he triggered the shutter when the head wasn’t in the way.
His first, experimental, piece is the classic ‘bouncing ball’ animation, inside a ball, and his mature piece is Eadward Muybridge’s “The Horse, In Motion” inside a movie camera.
We’ve covered [Caleb Kraft] before, of course. His Moon On A Budget piece is wonderful. And we’ve covered a number of 3D printer animations. and 3D zoetropes. We particularly were drawn to this one.
Thanks [jmc] for the tip!
Continue reading “Flip Book Animations On The Inside Of 3D Prints”