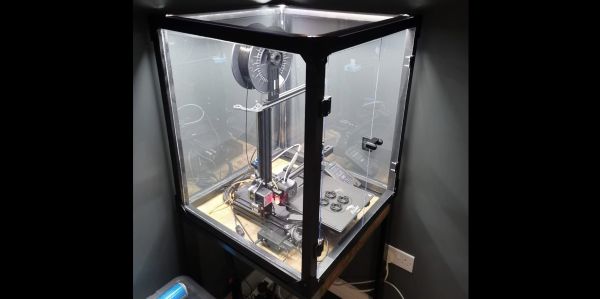
For a certain kind of intricate, highly-detailed manufacturing, there’s really no substitute for a resin 3D printer, and it’s therefore unfortunate that they require so many poisonous chemicals. The resin itself usually contains irritating acrylates and methacrylates, it can emit a wide spectrum of volatile organic compounds (VOCs) during printing, and even the isopropyl alcohol used in cleaning is moderately toxic. [Allie Katz] accordingly built this fume-control enclosure for resin printing and other ventilation-critical processes.
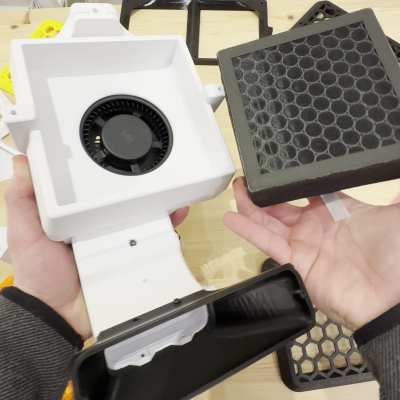
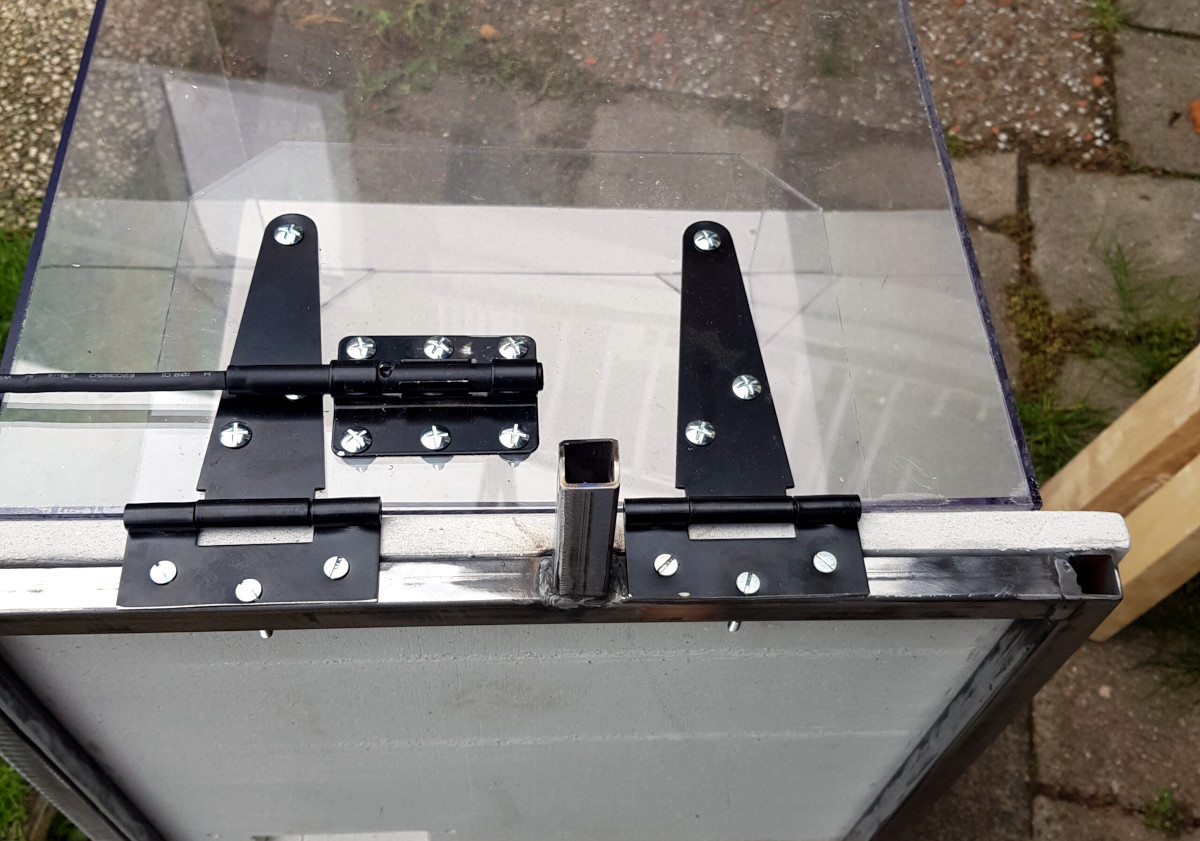
The biggest constraint was space: [Allie]’s workspace had a fairly limited volume available, and the enclosure needed to hold an SLA printer, an isopropyl alcohol washing station, a UV curing chamber, and miscellaneous supplies. Most of the enclosure was made out of IKEA cabinets, using some large cabinets at the base to hold the printer and curing station, a countertop over these to hold the washing station, and more cabinets above to hold supplies. An MDF backing panel and acrylic side panels enclose the workspace between the cabinets. There was no safe way to exhaust fumes, so the enclosure recycles its air: a fan pulls air in through an activated-carbon filter mounted above the work area and into the plenum behind the chamber, from which it passes through the printer’s cabinet back into the workspace enclosure. Panel filters surround the carbon filter to catch particulate matter.
The enclosure uses four ESP32-based boards for automation: one uses a touchscreen to display data, and three are paired with BME680 sensors, primarily to report VOC concentrations. One, which also has a particulate matter sensor, senses air quality in the main chamber and plenum, one monitors air quality in the rest of the shop, and the third detects clogging from within the filter enclosure. The first real test of the chamber was to 3D print and paint some handles for the cabinets. It worked as expected, detecting the increased VOCs and ramping up the fan to keep them in check.
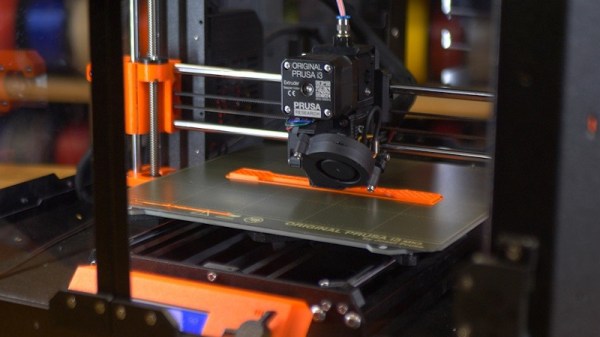
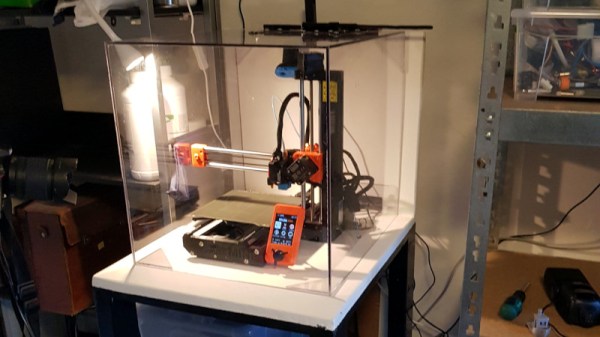
We’ve seen a ventilated printer enclosure before, that time for an FDM printer. Although their hazards are less blatant, they too can produce dangerous fumes, which could possibly be carcinogenic.
Thanks to [Keith Olson] for the tip!