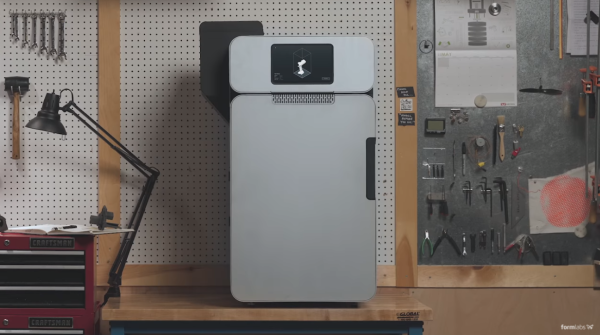
Formlabs have just announced the Fuse 1 — a selective laser sintering (SLS) 3D printer that creates parts out of nylon. Formlabs is best known for their Form series of resin-based SLA 3D printers, and this represents a very different direction.
SLS printers, which use a laser to sinter together models out of a powder-based material, are not new but have so far remained the domain of Serious Commercial Use. To our knowledge, this is the first time an actual SLS printer is being made available to the prosumer market. At just under 10k USD it’s definitely the upper end of the prosumer market, but it’s certainly cheaper than the alternatives.
The announcement is pretty light on details, but they are reserving units for a $1000 deposit. A few things we can throw in about the benefits of SLS: it’s powder which is nicer to clean up than resin printers, and parts should not require any kind of curing. The process also requires no support material as the uncured powder will support any layers being cured above it. The Fuse 1’s build chamber is 165 x 165 x 320 mm, and can be packed full of parts to make full use of the volume.
In the past we saw a detailed teardown of the Form 2 which revealed excellent workmanship and attention to detail. Let’s hope the same remains true of Formlabs’ newest offering.
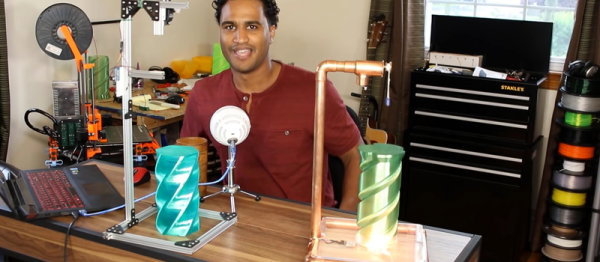


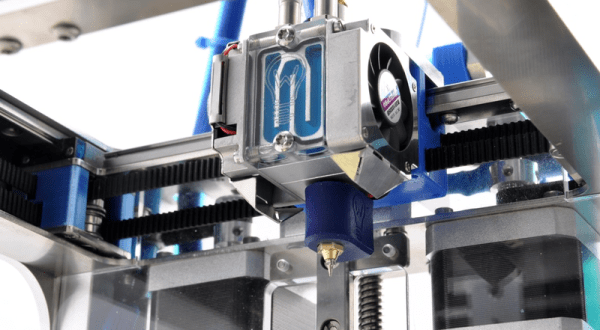
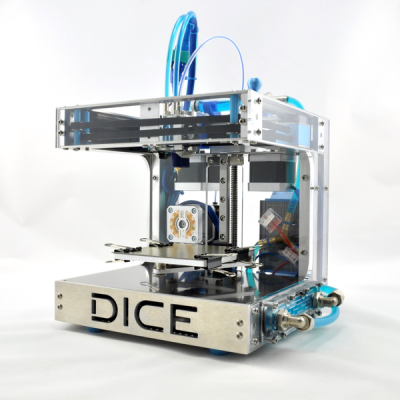 [René] had built a few 3D printers before, so he had a good feel for the parameters and design tradeoffs before he embarked on the DICE project. Making a small print volume, for instance, means that the frame can be smaller and thus exponentially more rigid. This means that it’s capable of very fast movements — 833 mm/s is no joke! It also looks to make very precise little prints. What could make it even more awesome? Water-cooled stepper motors, magnetic interchangeable printheads, and in-built lighting.