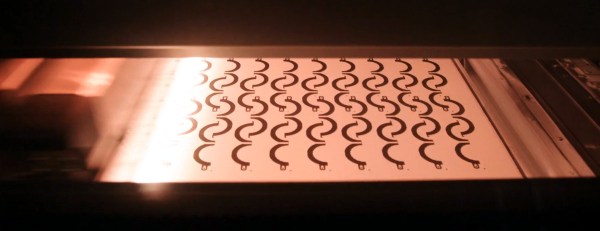
If you haven’t noticed, diode laser engraver/cutters have been getting more powerful lately. [Cranktown City] was playing with an Atomstack 20 watt laser and wondered if it would sinter sand into glass. His early experiments were not too promising, but with some work, he was able to make a crude form of glass with the laser as the source of power. However, using glass beads was more effective, so he decided to build his own glass 3D printer using the laser.
This isn’t for the faint of heart. Surfaces need to be flat and there’s aluminum casting and plasma cutting involved, although some of it may not have been necessary for the final construction. The idea was to make a system that would leave a layer of sand and then put down a new layer on command. This turned out to be surprisingly difficult.
This VR Haptic Gun by [Robert Enriquez] is the result of hacking together different off-the-shelf products and tying it all together with an ESP32 development board. The result? A gun frame that integrates a VR controller (meaning it can be tracked and used in VR) and provides mild force feedback thanks to a motor that moves with each shot.
But that’s not all! Using the WiFi capabilities of the ESP32 board, the gun also responds to signals sent by a piece of software intended to drive commercial haptics hardware. That software hooks into the VR game and sends signals over the network telling the gun what’s happening, and [Robert]’s firmware acts on those signals. In short, every time [Robert] fires the gun in VR, the one in his hand recoils in synchronization with the game events. The effect is mild, but when it comes to tactile feedback, a little can go a long way.
The fact that this kind of experimentation is easily and affordably within the reach of hobbyists is wonderful, and VR certainly has plenty of room for amateurs to break new ground, as we’ve seen with projects like low-cost haptic VR gloves.
[Robert] walks through every phase of his gun’s design, explaining how he made various square pegs fit into round holes, and provides links to parts and resources in the project’s GitHub repository. There’s a video tour embedded below the page break, but if you want to jump straight to a demonstration in Valve’s Half-Life: Alyx, here’s a link to test firing at 10:19 in.
There are a number of improvements waiting to be done, but [Robert] definitely understands the value of getting something working, even if it’s a bit rough. After all, nothing fills out a to-do list or surfaces hidden problems like a prototype. Watch everything in detail in the video tour, embedded below.
While it isn’t for everyone, some of the best creators we know are experts at working with textiles. While the art is ancient, it isn’t easy and requires clever tools. [Lauren] collected a few 3D prints that can help you with knitting, crochet, and even a knitting loom.
Some of the designs are pretty basic like the yarn bowl, or pretty easy to figure out like the simple machine for re-spooling wool. We were frankly surprised that you can 3D print a crochet hook, although the post does mention that breaking them is a real problem.
We were really impressed though, with the sock knitting machine. There are actually a few of these out there, and you can see a similar one in the video below. Of course, like a RepRap printer, it needs “vitamins” in the form of metal rods, fasteners, and the like. There’s also a portable knitting loom which looked interesting.
We aren’t adept enough with fabric arts to know if these tools are serious contenders compared to commercial products, but we have to admit the sock knitting machine looks like it could be. We recently saw a sophisticated loom, although that might be a bit more than most people need. We have looked at open-source knitting machines, too. Of course, if you’d rather not create with textiles, you can always 3D print on them, instead.
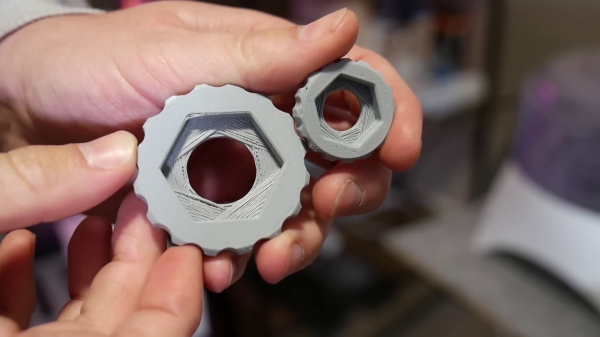
We always look forward to [Stefan’s] CNC Kitchen videos. They are usually useful, but always carefully thought out and backed with experimental data. His latest is about creating transparent and strong FDM prints. You normally don’t associate the FDM process with clear prints even with clear filament. The problem is the filament doesn’t lay down in a particular structure, so light scatters producing a sort of white color. However, [Stefan] found a post on Printables called “How to Print Glass” which changes the structure of the part and, of course, [Stefan] wanted to see if the process also led to stronger parts.
The process is slow and the basic idea is to use no top and bottom layers. The entire part is essentially infill. You also need to set the infill to go in the same direction for each layer. As [Stefan] mentions, there have been other efforts to make transparent parts, especially in vase mode. Of course, you can also get transparent parts using resin printing, although it isn’t always as easy as you might think.
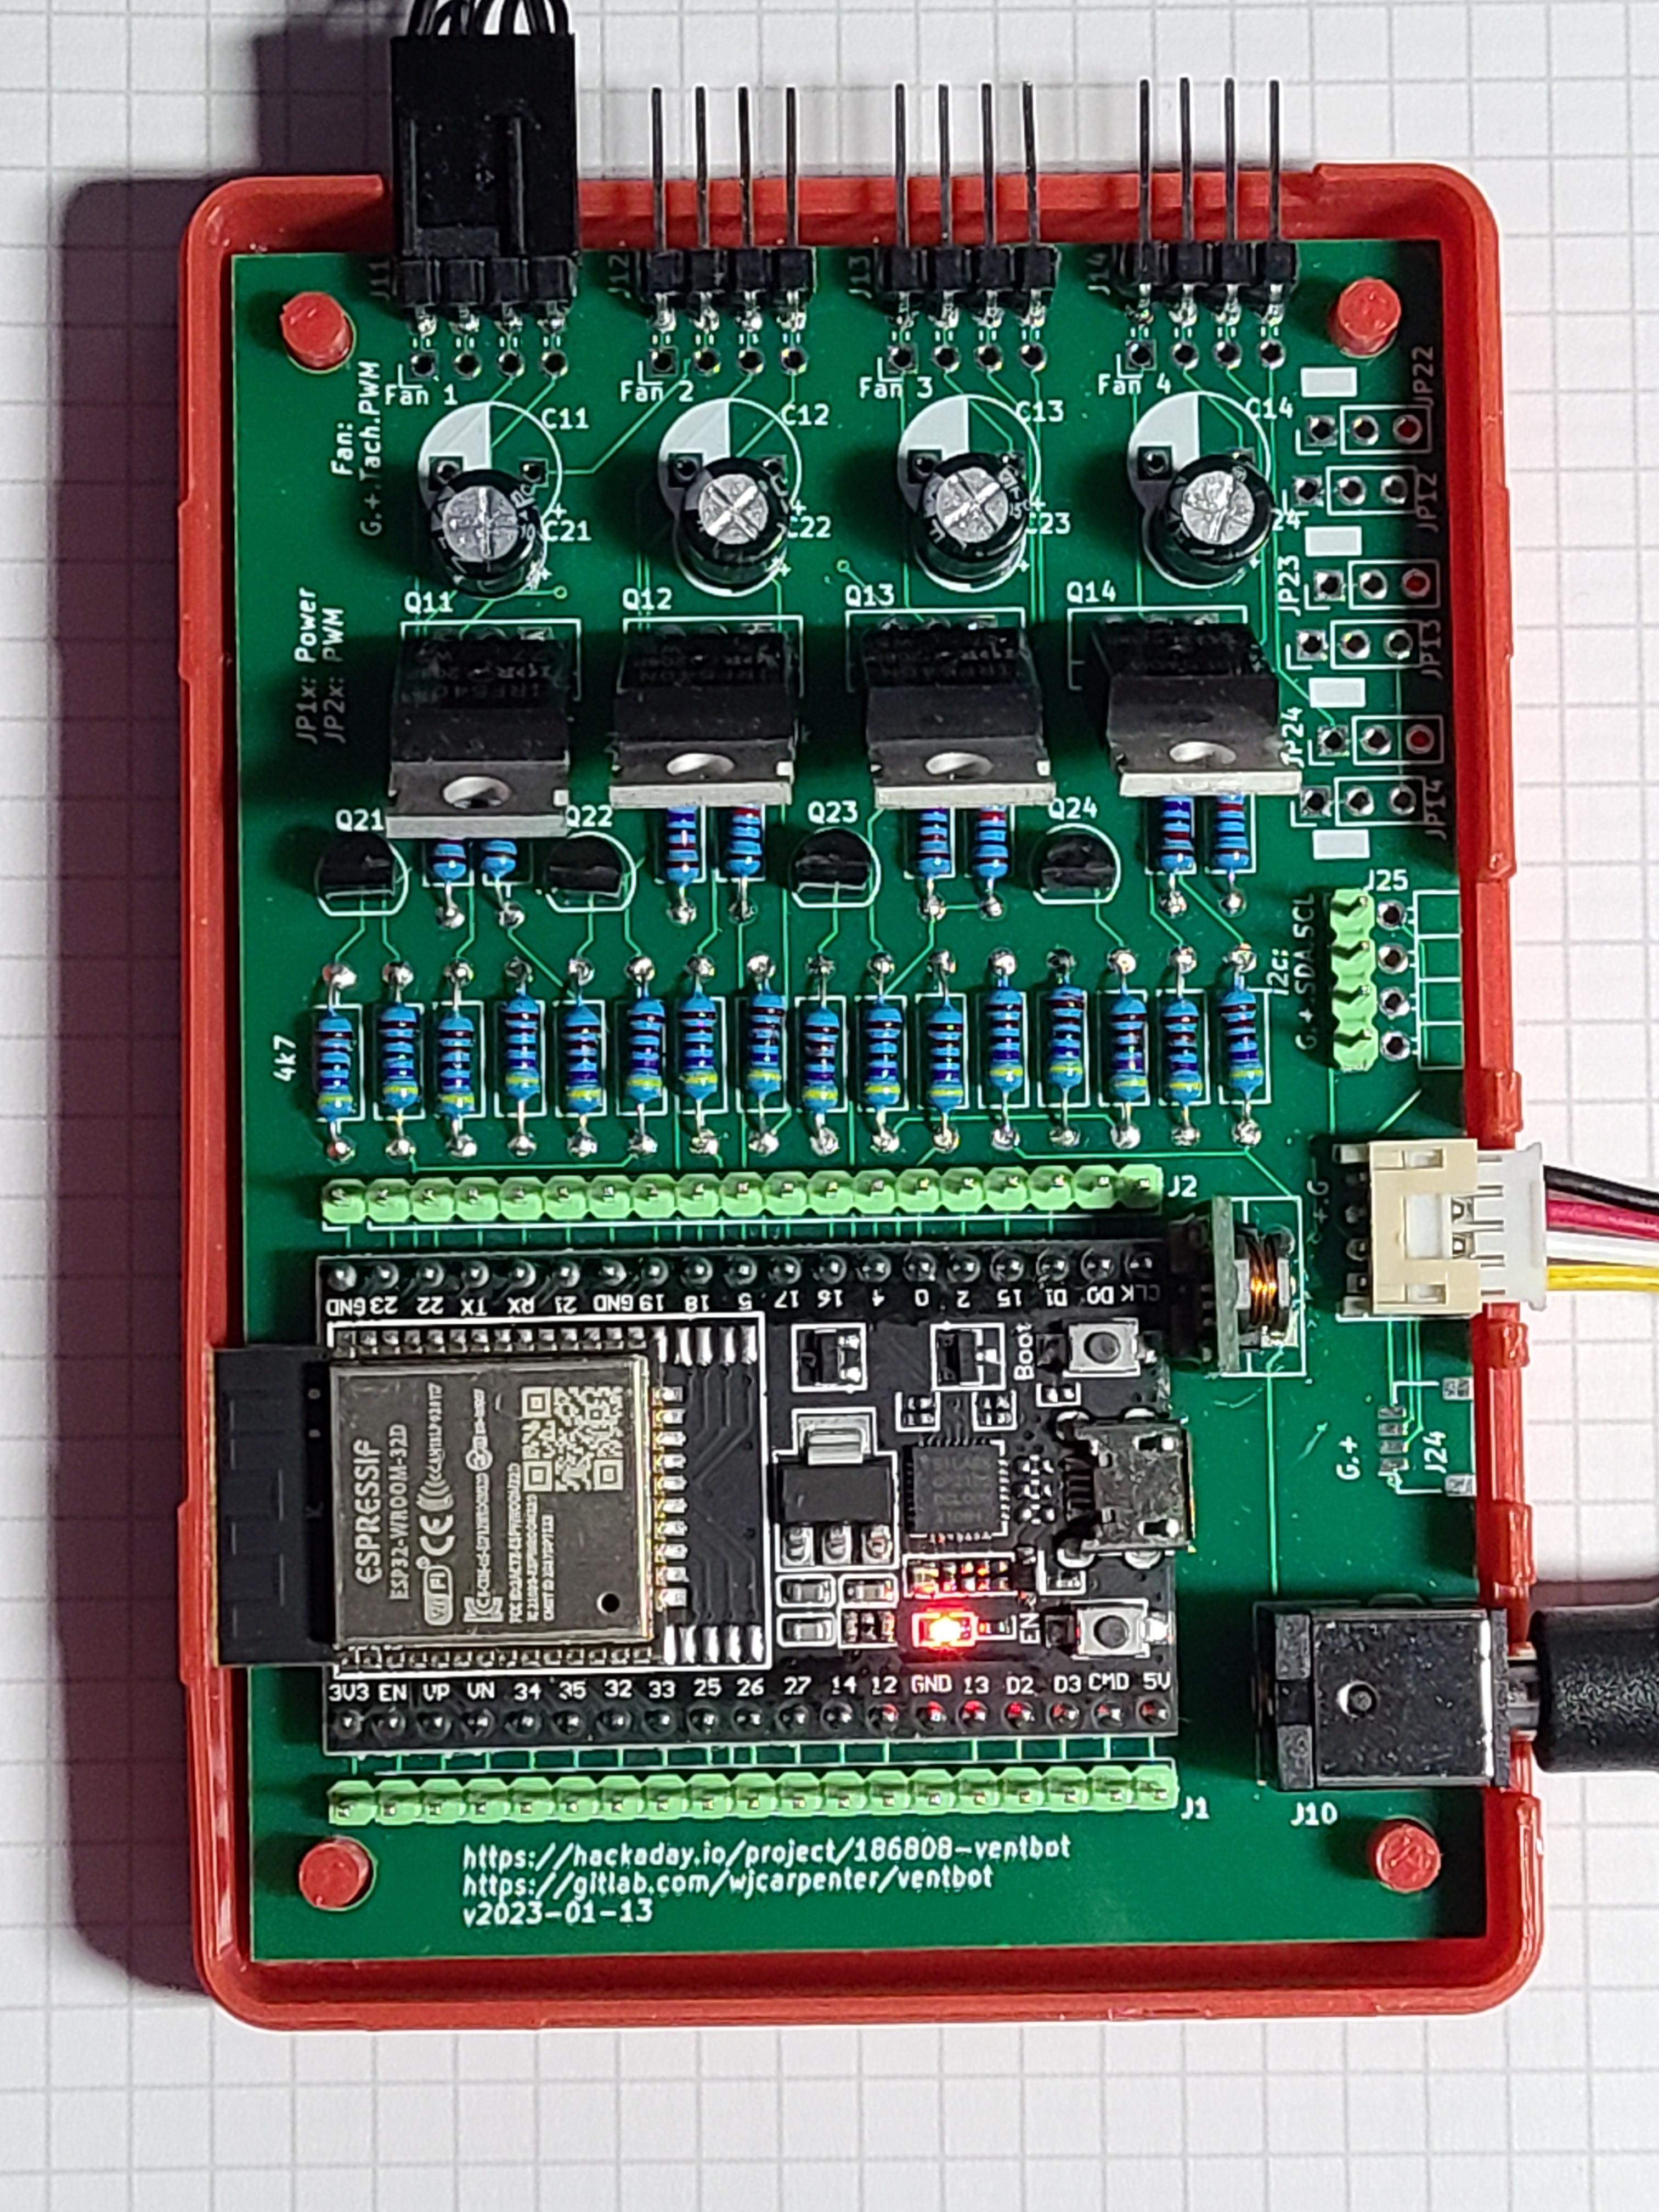
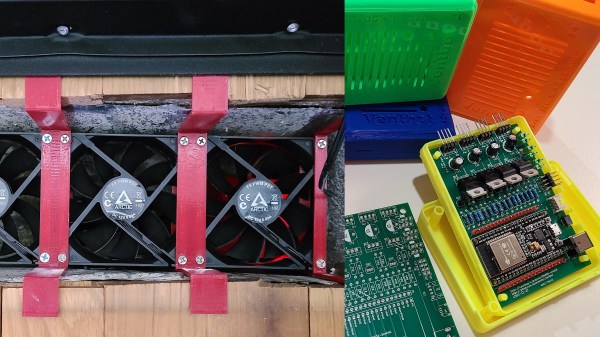
What happens when an air filter for 3D printers gets designed by engineers with a passion for function, a refusal to compromise, and a desire to do without bad smells or fumes? You get the Nevermore, a design for a recirculating active-carbon filtration system to deal with VOCs (volatile organic compounds) from 3D printing.
The Nevermore Micro (and larger Nevermore Max) were originally intended to complement the Voron 3D printer design, but are made such that they can be used with just about anything else. These filters use 3D-printable parts, and are designed to be easily filled (and refilled) using bulk-activated carbon instead of some kind of proprietary pre-packed filter like most commercial offerings. The Voron project is all about a printer without compromises, and the Nevermore comes from that same design ethos.
A Nevermore filter sits inside the build chamber, and works by recirculating air inside while passing it through the activated carbon. The idea is that by concentrating on dealing with the problem at the source inside a relatively small build chamber, one doesn’t need a lot of airflow. A small recirculating air filter can do the job efficiently, though for best results, the build chamber should be as sealed as possible.
One interesting caution is that it seems not all activated carbon is the same, and it is absolutely crucial to use only acid-free, steam-activated (not acid-washed) carbon in a recirculating filter like the Nevermore. There are horrifying photos of oxidized metal surfaces resulting from using acid-residue carbon, some of which took only minutes to occur. Thankfully, there are pointers to trusted sources for the known-good stuff.
It’s known that 3D printing results in chemical and particle emissions. These differ significantly depending on both material and type of printer, but it’s enough of an issue to warrant attention. One deals with particulates with something like a HEPA filter, but VOCs require a carbon filter. This is where the Nevermore comes in. Active carbon filters will wear out simply from exposure to the air, so if one is serious about cleaning VOCs when printing, it is definitely worth looking into bulk carbon with a design like the Nevermore.
Resin printing is a fantastic way to create parts, but multi-material printing isn’t really a possibility with resin. That is, unless you use [Cameron Coward]’s method for creating multi-material resin prints.
[Cameron]’s idea relies on the fact that handling and curing UV resin can easily be done outside of the printer itself. First, one prints what we’ll call the primary object. This object has empty spaces representing the secondary object. Once the primary object is printed and finished, these voids are carefully filled with a different resin, then cured with UV light. The end result is a single multi-material object that is, effectively, made from two different resins.
If you have problems getting a 3D print to stick to the bed, you might consider using glue to — hopefully temporarily — attach the print to the bed. In addition, some plastics glue together well if you use a solvent. [Stefan] asks the question: What if you use solvent to glue each layer of a 3D print to the previous layer? The answer is in the video below.
If you know [Stefan], he is always meticulous, so the first test was with normal ABS parts. Then he used a solvent to glue two broken parts together to show how a single layer does with bonding. Then he moved toward trying the solvent for each layer.