The 3D Printing Dream Is Still Alive At 2019’s Midwest RepRap Festival

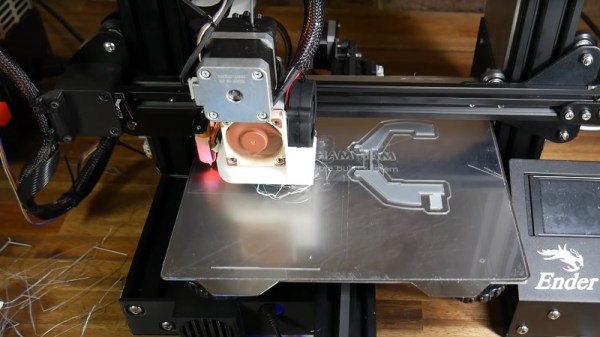
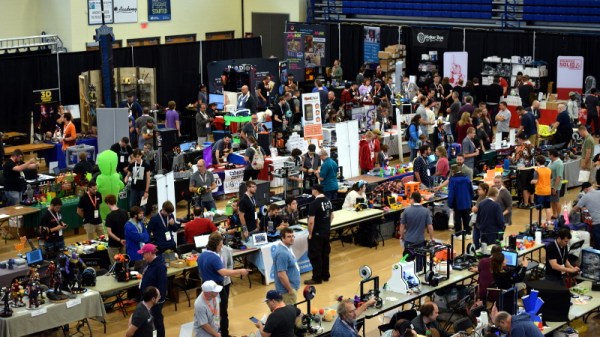
3D Printers have been in the hands of hackers for well over ten years, but the dream is far from over and certainly not overslept. This year’s Midwest RepRap Festival is a testament to the still-growing excitement, and world where 3D printing is alive and kicking on the next level.

This past weekend, I took up my friend [Eric’s] advice to come down and participate firsthand, and I was simply blown away. Not only did we witness the largest number of attendees to date, MRRF 2019 spilled into not one but two conference halls at the Goshen Fairgrounds.

In what follows, I tell my tale of the times. Continue reading “The 3D Printing Dream Is Still Alive At 2019’s Midwest RepRap Festival”

Get Great 3D Scans With Open Photogrammetry

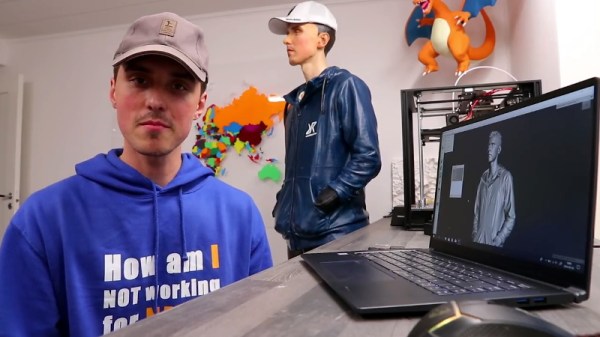
Not long ago, photogrammetry — the process of stitching multiple photographs taken from different angles into a 3D whole — was hard stuff. Nowadays, it’s easy. [Mikolas Zuza] over at Prusa Printers, has a guide showing off cutting edge open-source software that’s not only more powerful, but also easier to use. They’ve also produced a video, which we’ve embedded below.

Basically, this is a guide to using Meshroom, which is based on the AliceVision photogrammetry framework. AliceVision is a research platform, so it’s got tremendous capability but doesn’t necessarily focus on the user experience. Enter Meshroom, which makes that power accessible.

Meshroom does all sorts of cool tricks, like showing you how the 3D reconstruction looks as you add more images to the dataset, so that you’ll know where to take the next photo to fill in incomplete patches. It can also reconstruct from video, say if you just walked around the object with a camera running.

The final render is computationally intensive, but AliceVision makes good use of a CUDA on Nvidia graphics cards, so you can cut your overnight renders down to a few hours if you’ve got the right hardware. But even if you have to wait for the results, they’re truly impressive. And best of all, you can get started building up your 3D model library using nothing more than that phone in your pocket.

If you want to know how to use the models that come out of photogrammetry, check out [Eric Strebel]’s video. And if all of this high-tech software foolery is too much for you, try a milk-based 3D scanner.

Continue reading “Get Great 3D Scans With Open Photogrammetry”

Hackaday Links Column Banner

Hackaday Links: April 7, 2019

It’s April, which means all the people responsible for doubling the number of badges at DEF CON are hard at work getting their prototypes ready and trying to fund the entire thing. The first one out of the gate is Da Bomb, by [netik] and his crew. This is the same team that brought you the Ides of DEF CON badge, a blinky wearable multiplayer game that’s SPQR AF. Da Bomb is now a Kickstarter campaign to get the funding for the run of 500, and you’re getting a wearable badge filled with puzzles, Easter eggs, and a radio-based sea battle game that obviously can’t be called Battleship, because the navy doesn’t have battleships anymore.

Speaking of badges and various badge paraphernalia, there’s a new standard for add-ons this year. The Shitty Add-On V.1.69bis standard adds two pins and a very secure shrouded connector that solves all the problems of last year’s standard. [AND!XOR] just released a Shitty Brooch that powers all Shitty Add-Ons with a CR2032 battery. All the files are up on the Gits, so have fun.

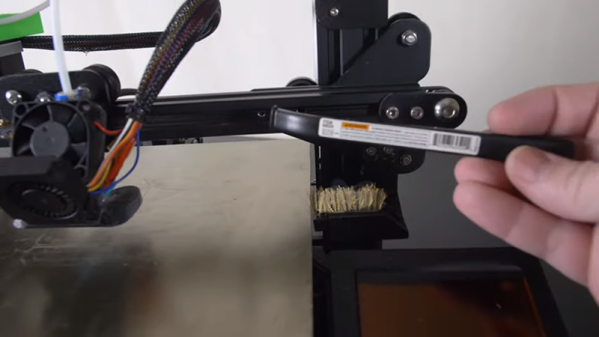
You can 3D print anything if you don’t mind dealing with supports. But how to remove supports? For that [CCecil] has a great tip: use Chap stick. This is a print that used supports and it’s perfectly clean, right off the bed. By inserting a suspend (M600) command at the z-height of the top of the interface layer, then adding Chap stick on the top layer, everything comes off clean. Neat.

Speaking of 3D printing, here’s a project for anyone with the patience to do some serious modeling. It’s a pocket Soviet record player, although I think it’s more properly called a gramophone. It’s crank powered, so there’s a spring in there somewhere, and it’s entirely acoustic with zero electronics. Yes, you’re going to need a needle, but I’d be very interested in seeing somebody remake this using modern tools and construction materials.

Yet Another DIY Handheld Pi Gaming Console

The Raspberry Pi is a great platform for running retro video games, and with the addition of some buttons, a TFT screen and some speakers it’s relatively inexpensive and easy to get a working console up and running. If you have access to even a cheap 3D printer, a good-looking DIY console is well within reach for not a lot of money. YouTube user [DIY Engineering] has a bunch of consumer-grade fabrication tools and has designed and built a high-end but still DIY RetroPi gaming console, the RKDR II.

Among the tools that [DIY Engineering] has are both a FDM and DLP 3D printer, a reflow oven, a couple of different CNC machines and a laser cutter. They are all consumer grade, but not necessarily cheap – especially combined! [DIY Engineering] uses Fusion3D to model the case, bezel and circuit board, the latter of which is a 4 layer board designed in Eagle and sent off to be fabbed. The buttons, D-pad, screen and battery are bought off the shelf, but everything else is DIY. Check out the video for the details – the tools used, and the design files, are linked in the information section under the video on YouTube.

Continue reading “Yet Another DIY Handheld Pi Gaming Console”

Threaded 3D Printed Part Comparison

If you want to make serious assemblies out of 3D printed parts, you’ll eventually need to deal with threading. The easiest way is to make a nut trap that you can either insert a standard nut into after printing or even during printing. However, there are limitations to this method. If you want a real threaded part you can print the thread, cut the thread with a tap or bolt, or use a threaded insert. [Stefan] ran some tests to see how each of those methods held up to real use. (YouTube, embedded below.) He used fifty test parts to generate data for comparison.

We like the threaded insert method where a brass insert is pushed into the plastic while hot. Special features in the insert cause the brass part to grab the plastic, making it difficult to pull the insert out or twist it within the hole. Another thing we liked was that the tests used holes printed in the horizontal and vertical plane. You can clearly see that the orientation does alter how the holes work and fail to work.

Continue reading “Threaded 3D Printed Part Comparison”

3D Printing Logic Gates

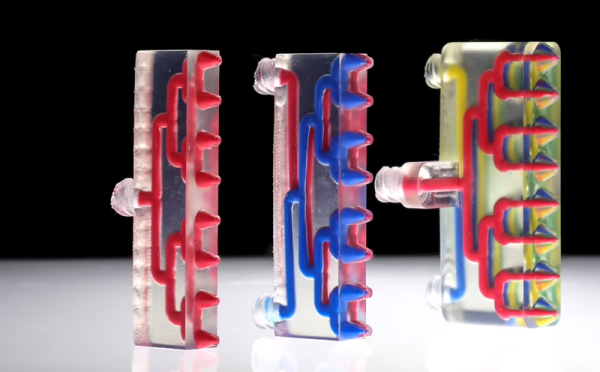
It may seem a paradox, but in the future tiny computers may dump electronics and return to their mechanical roots. At the macroscale, mechanical computers are fussy and slow, but when your area is down to a few molecules, electronics have trouble working but mechanical systems do just fine. In addition, these devices don’t use electricity directly, don’t generate electronic signatures, and may be less sensitive to things like radiation that damage electronics. A recent paper in Nature Communications discusses how to 3D print common logic gates using both macro-scale 3D printing techniques and a much smaller version with microstereolithography. You can see a video of gates in action below.

The gates use a bistable flexible mechanism. The larger gates use ABS plastic and measure about 250mm square. The smaller gate measures less than 25 mm square. They also use a special technique to make gates as small as 100 microns theoretically possible, although some of that is future work for the team.

Continue reading “3D Printing Logic Gates”

Threading 3D Printed Parts: How To Use Heat-Set Inserts

We can make our 3D-printed parts even more capable when we start mixing them with some essential “mechanical vitamins.” By combining prints with screws, nuts, fasteners, and pins, we get a rich ecosystem for mechanism-making with capabilities beyond what we could simply print alone.

Today I’d like to share some tips on one of my favorite functional 3D-printing techniques: adding heat-set inserts. As someone who’s been installing them into plastic parts for years manually, I think many guides overlook some process details crucial to getting consistent results.

Make no mistake; there are a handful of insert guides already out there [1, 2]. (In fact, I encourage you to look there first for a good jump-start.) Over the years though, I’ve added my own finishing move (nothing exotic or difficult) which I call the Plate-Press Technique that gives me a major boost in consistency.

Join me below as I fill in the knowledge gaps (and some literal ones too) to send you back to the lab equipped with a technique that will give you perfectly-seated inserts every time.

Continue reading “Threading 3D Printed Parts: How To Use Heat-Set Inserts”