A question: does anyone who was around in the early days of the 8-bit computer revolution remember a dual-CPU 6502 portable machine like this one? Or just a dual-CPU machine? Or even just a reasonably portable computer? We don’t, but that begs a further question: if [Mitsuru Yamada] can build such a machine today with parts that were available in the era, why weren’t these a thing back then?
 We’re not sure we have an answer to that question, but it just may be that nobody thought of it. Or, if they did, the idea of putting two expensive CPUs into a single machine was perhaps too exorbitant to take seriously. Regardless, the homemade mobile is another in a growing line of beautifully crafted machines in the PERSEUS line, all of which have a wonderfully similar look and feel.
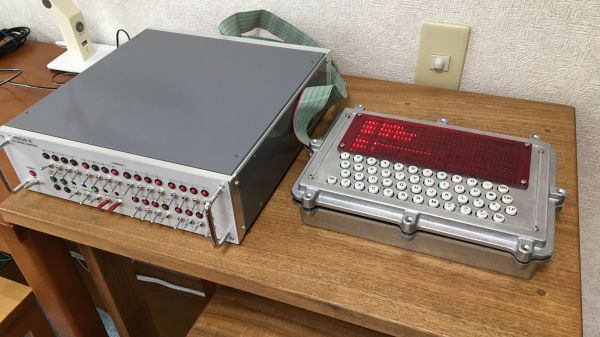
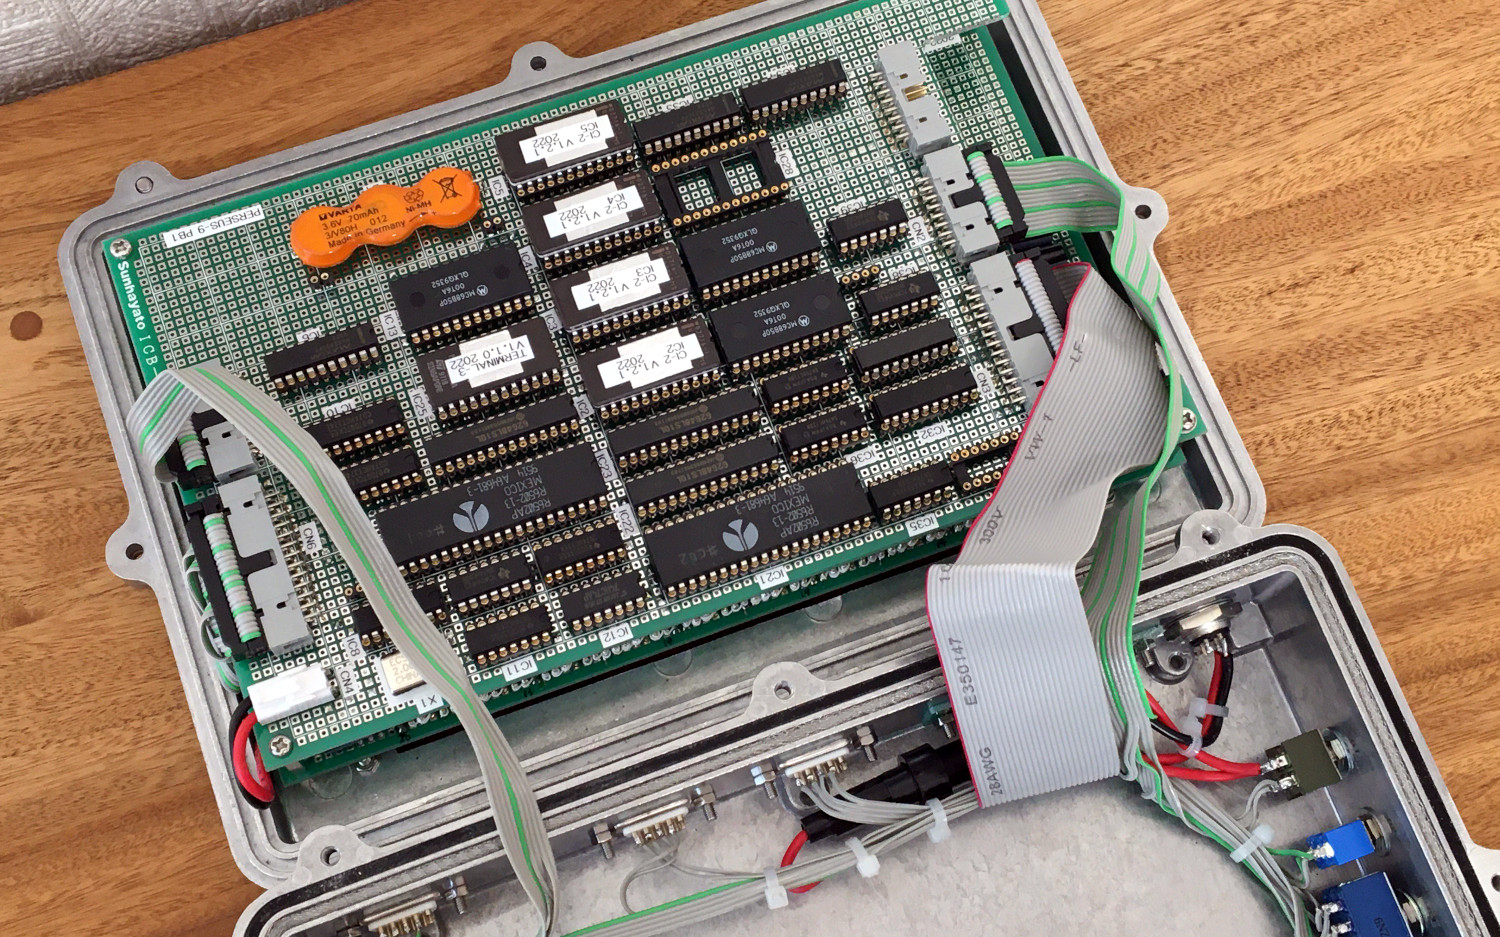
For the PERSEUS-9, [Yamada-san] chose a weatherproof aluminum enclosure with just the right form-factor for a mobile computer, as well as a sturdy industrial look. Under the hood, there are two gorgeous wire-wrap boards, one of which is home to the 48-key keyboard and the 40×7 alphanumeric LED matrix display, while the other is a densely packed work of art holding the two 6502s and a host of other DIPs.
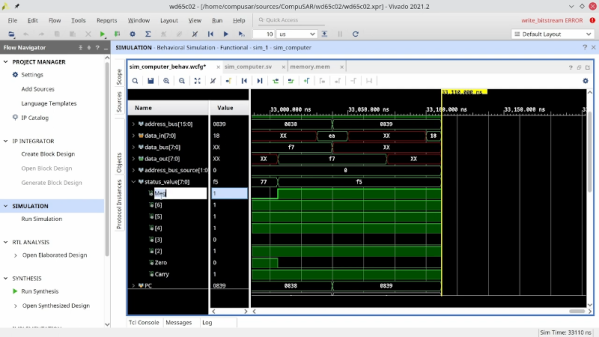
The machine is a combination of his PERSEUS-8 computer, his 6802 serial terminal, and the CI-2 floating point interpreter he built for the PERSEUS-8. A brief video of the assembly of this delightful machine is below. One of the many things about these builds that impress us is the precision with which the case is machined, apparently all by hand. How he managed to drill out all those holes for the keyboard without having one even slightly out of alignment without the aid of CNC is beyond us.
Continue reading “PERSEUS-9, The Dual-6502 Portable Machine That Should Have Been”