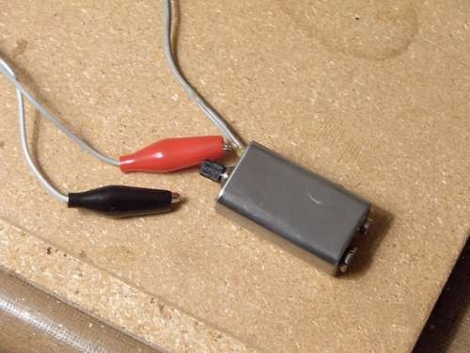
It’s pretty creative to use a 9v battery as an enclosure. That’s what [Osgeld] did when building this amplifier. There are several advantages; they’re easy to find, it keeps a bit of the dead battery out of the landfill, and this method provides a built-in connector for a 9v power source. In this case the circuit is built around a LM386 audio amplifier. It’s glued to the back of a potentiometer and wired up with the other components for a package smaller than a quarter. A stereo jack reside in the side of the battery case with a cable and alligator clips for connection with a speaker. Now the amp can be quickly connect to any 4-8 ohm speaker.
amp41 Articles
C-clamp Current Monitoring
[Hydronic] did some tests to make his own current sensor using a c-clamp wrapped with wire. He tried several different cores including an aluminum carabiner, the C-clamp, and what he calls a u-lock (removable chain link). There is some success here that could be improved with cleaner winding and by adjusting readings based on the length of wire used in the wrapping.
This did make us perk up a bit right off the bat. Reader [Mure], who tipped us off about this, suggested that this could be used to make your own Kill-a-Watt without including it in the circuit. We made the jump to house monitoring. We’d love to have a data tracker for our home circuits to curb wasteful energy use. Perhaps we’ll try to make our own sensors and produce a diy Cent-a-Meter.
Center Speaker Amp For An IPod
A few weeks ago we saw [Jaroslaw’s] universal credit card spoofer. Now he’s sent in a project that incorporates an amplifier into a center speaker for use with an iPod or any device with an audio jack.
The build has two main components; an LM4950 audio amplifier and a center channel speaker he picked up for $3 at Goodwill. The circuit used is straight from the datasheet and he’s provided the four necessary resistor values for you in his writeup. An old set of headphones was butchered for the audio connector and DC power can be provided by any 6-12V source.
The final circuit was built on some protoboard. The speaker housing has plenty of room to fit everything in for a nice finished look. Pretty simple, and except for the IC, this should be an easy salvage project for most folks.
Tube Amplifier In A PSU
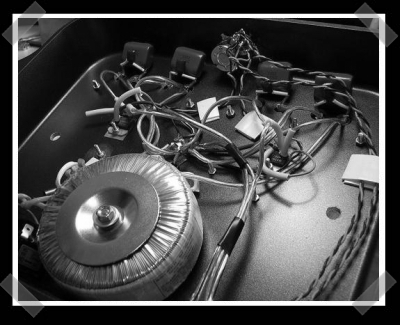
[Niclas] sent us his home made tube amplifier. For the case he used a computer power supply unit, took out the guts and replaced them with the amplifier board. He based this build off of an existing design but took a more minimalist approach. The wooden face plate has an on/off switch, an audio jack, and volume control. Apparently, the tubes are floating loose inside of the case. We’d recommend a more secure mounting method for these delicate parts.
How-To: Introduction To Soldering
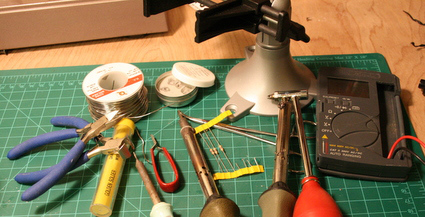
It’s been a while since we’ve had a fresh How-To on the Hack-A-Day, and frankly we’ve missed them. To get things rolling, [Eliot] and I wanted to build a good knowledge base to help you hack your own stuff. I know that soldering won’t be new to many of our readers, but everyone has to start sometime. Our hope is simple: that this new series of How-To’s will help inspire new and experienced hackers alike.
Roasting Pan Audio Amplifier
When you need a rigid, vibration-free chassis for your amplifier, look no further than a roasting pan. I’ve used cast cement for subwoofers, but using a cooking pan bolted to a heavy wooden chopping board is a cheap way to get a rigid surface on which to build audio gear. The amp circuitry used by [Mark] is not complex, but it gets the job done. The “oxygen free copper cable” and “pure silver wire” are not needed, just make sure you have a solid mechanical connection. In other words, just tin your wires, bend small “u” shapes at each end, hook them together, and apply solder to the heated ends. Alternatively, hold the ends of stranded wires parallel to each other and twist the ends together before tinning, then solder. Test everything with a multimeter while moving wire joints to make sure you have no weak connections. Now you won’t waste your money on hyped-up cabling materials.
Thanks to [Gio] (who seems to have some personal audio projects as well) for the tip.