An unfastened piece of pipe in a drill press, rotating away

Drill Press Piece Fastening 101

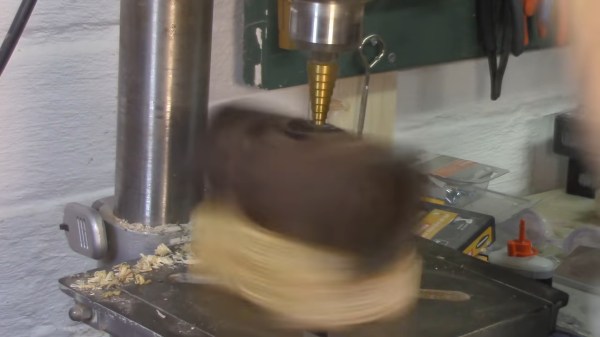
What are the options you have for securing your workpiece to the drill press table? [Rex Krueger] shows us that there’s plenty, and you ought to know about them. He goes through the disadvantages of the usual C-clamps, and shows options like the regular drill press vice and a heavy-duty version that even provides a workpiece tilting mechanism, and points out small niceties like the V-grooves on the clamps helping work with round stock. For larger pieces, he recommends an underappreciated option — woodworkers’ wooden handscrew clamps, which pair surprisingly well with a drill press. Then, he talks about the hold-down drill press clamps, a favourite of his, especially when it comes to flat sheets of stock like sheet metal or plastic.

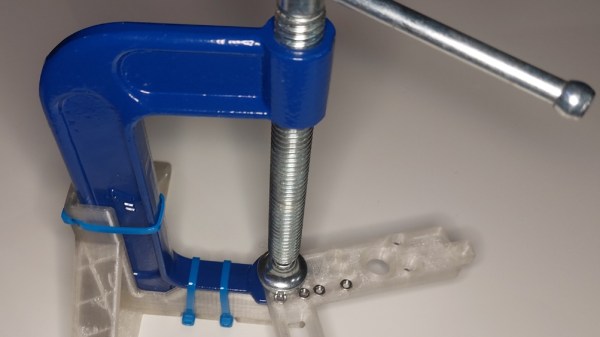
As a bonus for those of us dealing with round stock, he shows a V-block he’s made for drilling into its side, and round stock clamp, made by carefully drilling a pair of wooden hand screw clamps, for when you need to drill into a dowel from its top. The ten-minute video is a must watch for anyone not up to speed on their drill press piece fastening knowledge, and helps you improve your drilling game without having skin in it.

We’ve covered a few ingenious and unconventional drill piece fastening options before, from this wise held down by repurposed bicycle quick-release parts, to an electromagnetic wise that left our readers with mixed opinions.

Continue reading “Drill Press Piece Fastening 101”

Upside-down c-clamp held in a frame, forming a crude press

C-Clamp Becomes Light-Duty Arbor Press

[ThingaUser] made a tool to solve a specific problem of theirs, but the design also happens to be a pretty good way to turn a c-clamp into a poor man’s light duty arbor press.

The frame is made for a common 4-inch c-clamp.

The problem they had was a frequent need to press nuts and occasionally bearings into other parts. Some kind of press is really the best tool for the job, but rather than buy a press, they opted to make their own solution. By designing and 3D printing an adapter for a common 4-inch c-clamp, a simple kind of light duty press was born.

Sure, one has to turn the handle on the clamp to raise and lower the moveable jaw, and that’s not the fastest operation. But the real value in the design is that the clamp can now stand by itself on a tabletop, leaving the operator to dedicate one hand to manipulating the part to be pressed, while twisting the clamp’s handle with the other hand. There’s no need for a third hand to keep the clamp itself stable in the process. As a bonus, it can print without supports and the clamp secures with zip ties; no other fasteners or glue needed.

Not all c-clamps are the same, so there is a risk that this frame that fits [ThingaUser]’s clamp might not fit someone else’s. In those cases, it’s best to have access to not just the STL file, but also to a version in a portable CAD format like STEP to make it easy to modify. But there are still ways to make changes to an STL that isn’t quite right.

Universal Quick-Release Bar Clamps

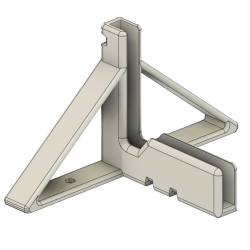
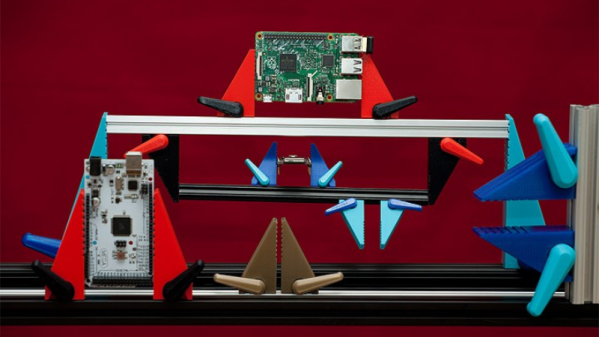
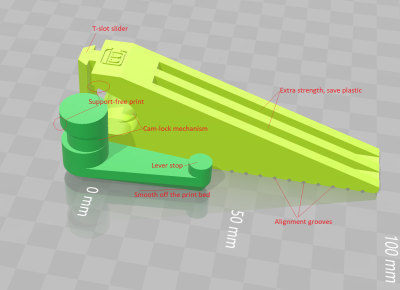
The typical hacker can never say no to more tools. And when it comes to clamps, one just can’t have enough of them. From holding small PCB’s to clamping together large sheets of plywood, you need a variety of sizes and quantities. So it would be pretty neat if we could just 3D print them whenever needed. [Mgx3d] has done that by designing 3D printable bar clamp jaws with a quick release mechanism that can be used with standard T-slot aluminum extrusion. This allows you to create ad-hoc bar clamps of any size and length quickly.

The design consists of two pieces – the jaw and its quick release lever, and does not require any additional parts or fasteners for assembly. Both pieces can be easily 3D printed without supports. The quick release lever is a simple eccentric cam design which locks the jaw in place by pushing down on the extrusion. The design is parametric and can be easily customized for different sizes, either in OpenSCAD or via the online customizer.  The online customizer supports Misumi 15 mm and 20 mm extrusion, 1″ 1010-S and 20 mm 20-2020 from 80/20 Inc., 15 mm from OpenBeam and 10 mm from MicroRax. But it ought to be easy to create fresh designs in OpenSCAD. Check out the video after the break to see the bar-clamps in action.

If you’d like to start equipping your shop with more 3D printed tools, look no further. We’ve featured many types over the years, such as the StickVise and its Gooseneck System, this 3D printed rubber band PCB Vise, and even a 3D printed Mini-Lathe.

Continue reading “Universal Quick-Release Bar Clamps”

Alphabet Clamps

Why Are We Limited To Just C-Clamps?

For decades, nay, centuries, we have been limited to the C-clamp, one of the most versatile, useful and perhaps most recognized tool. But why does C get all the glory? What of the other 25 letters?

People of my generation, my father’s generation, and my grandfather’s generations have clamped with one letter, and one letter only. But why C? And why now?

Here at Clamp-Co we thought we needed a change. So we set out to develop an entire line of Alphabet Clamps.

[Robb Godshaw] is the mastermind behind this revolution in clamping technology. Designed to German standards (DIN 1451), and made in America, the Alphabet Clamp set provides unrivaled clamping functionality for work in the industry, at the shop, or even at home. Perhaps the most functional previously unheard-of clamp is the U-Clamp, providing a deep throat for those extra hard to reach parts.

Continue reading “Why Are We Limited To Just C-Clamps?”

C-clamp Current Monitoring

[Hydronic] did some tests to make his own current sensor using a c-clamp wrapped with wire. He tried several different cores including an aluminum carabiner, the C-clamp, and what he calls a u-lock (removable chain link). There is some success here that could be improved with cleaner winding and by adjusting readings based on the length of wire used in the wrapping.

This did make us perk up a bit right off the bat. Reader [Mure], who tipped us off about this, suggested that this could be used to make your own Kill-a-Watt without including it in the circuit. We made the jump to house monitoring. We’d love to have a data tracker for our home circuits to curb wasteful energy use. Perhaps we’ll try to make our own sensors and produce a diy Cent-a-Meter.