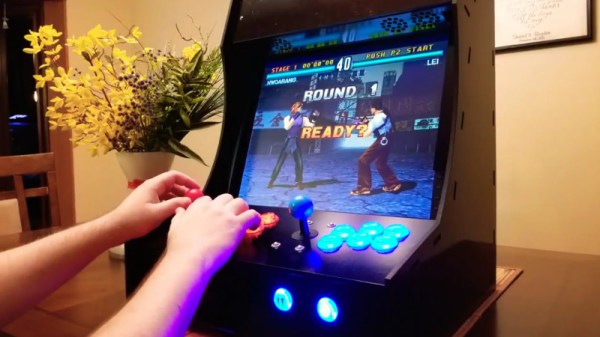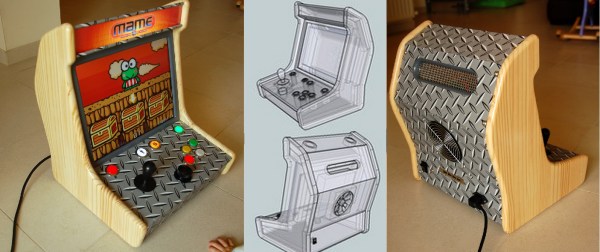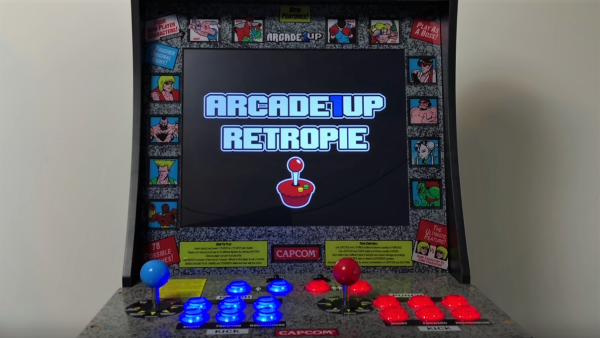
Upon announcement of the Arcade1up replica arcade cabinets earlier this year, many laid in waiting for the day they could see a teardown. A four foot tall cab with an LCD outputting the proper 4:3 aspect ratio and the simple construction of IKEA furniture certainly seemed appealing. In theory, it wouldn’t take long to customize such a piece of hardware provided the internals lent themselves to that sort of thing. Now that the cabinets are on store shelves, [ETA Prime] made a tutorial video on his method for upgrading the Arcade1up cabinet with a Raspberry Pi calling the shots.
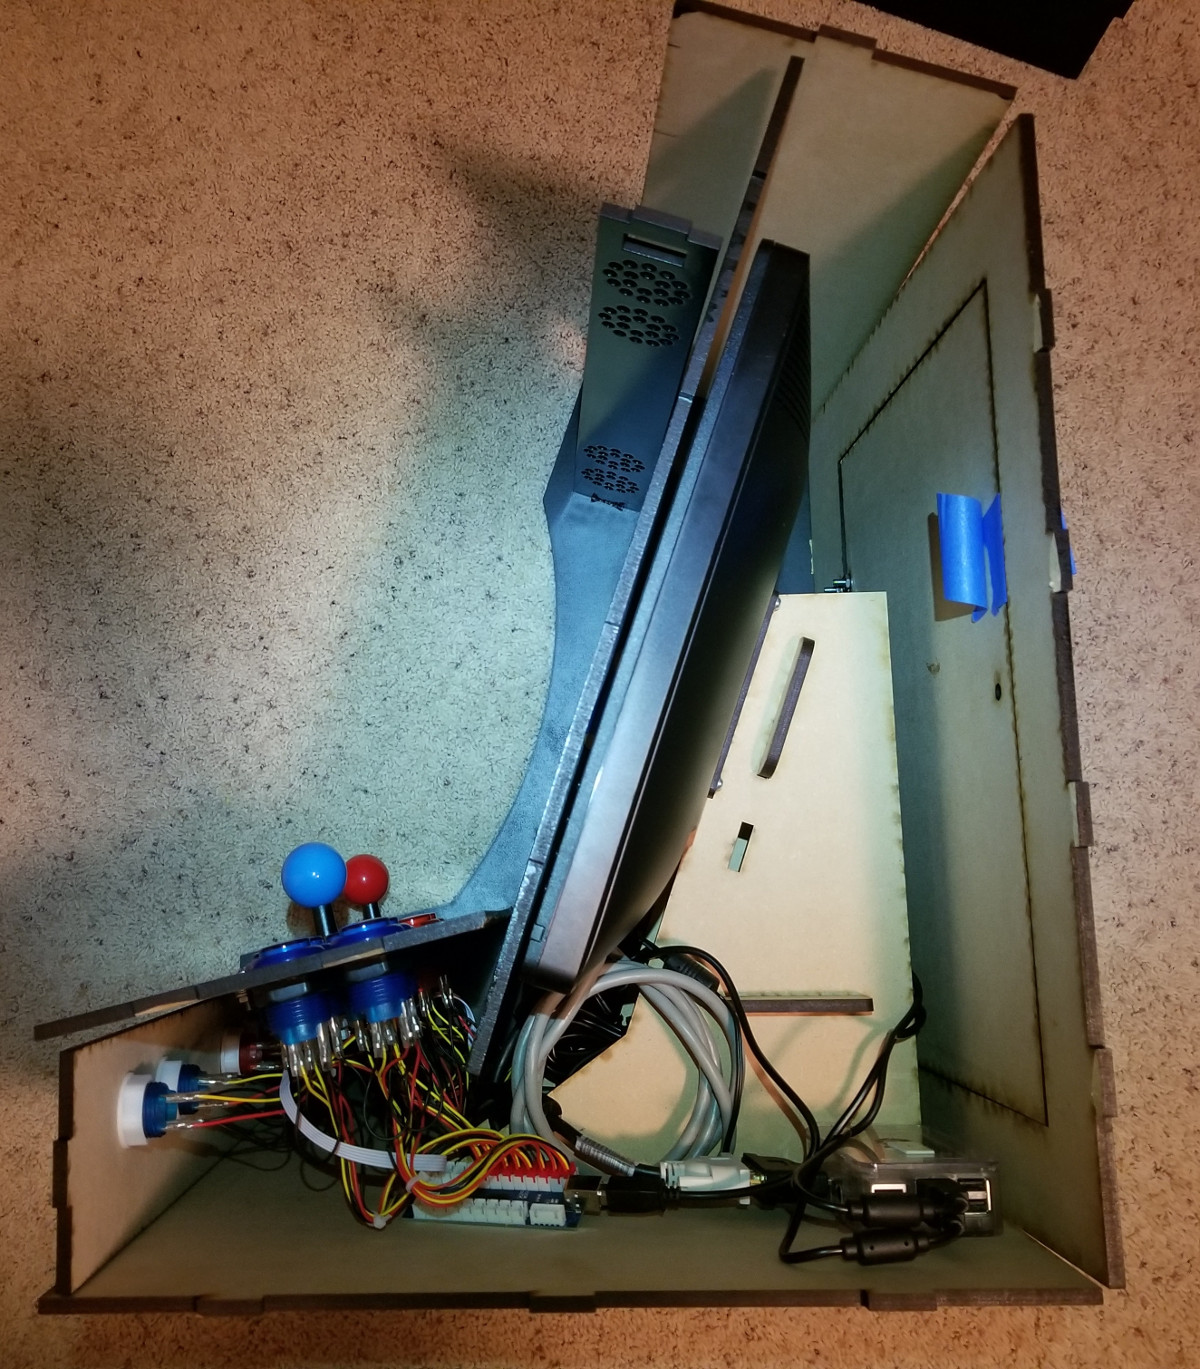
The entirety of the mod is solder-free and uses plenty of readily available parts from your favorite online reseller. The brains of the operation is a Raspberry Pi 3 Model B+ running Emulation Station. The Arcade1up Street Fighter 2 cabinet’s less than stellar audio receives an upgrade in a 2x20W car audio amp, while the middling joysticks are swapped out for some more robust Sanwa-clone ball tops.
Since there is no “select/coin” button natively, [ETA Prime] added some and in the process replaced them all with beefier LED-lit 30mm buttons. The replacement joysticks and buttons were all part of a kit, so they plug-in conveniently to a plug and play USB encoder. To adapt the 17″ LCD’s output over LVDS, [ETA Prime] elected to go with an LCD controller board that outputs DVI, VGA, or HDMI. Luckily the Arcade1up cabinet’s 12V power supply could be reused to power the LCD controller board and in the process bring down the overall cost of the upgrade.
While this Arcade1up cabinet mod won’t solve the whole “bats versus ball tops” argument, it does provide a template to build on. The tutorial video is below and the list of parts used can be found in the YouTube description.
Continue reading “Arcade1up Cabinet Solderless Upgrade With A Side Of Raspberry Pi”