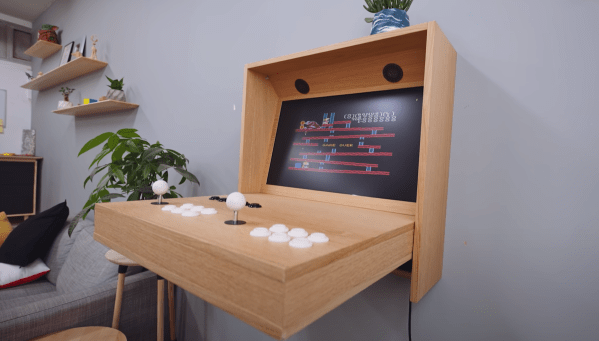
There’s something about the large imposing wooden box of an arcade machine that lends a confident presence to a room. The problem with a tall and heavy box is that it takes up quite a bit of space and readily draws the eye. So [Alexandre Chappel] set out to avoid that and build an arcade machine that could hide in plain sight.
The idea is a wooden box hung on the wall that folds up when not in use. [Alex] starts with Baltic birch plywood cut into the panels. Next, he applies edge banding (a thin veneer with some glue on the backside) so that all the exposed edges look like natural wood. Next, a screen hole is routed into the face frame, allowing an LCD monitor to sit snuggly in. A combination of pocket holes and biscuits allows [Alex] to assemble everything with no visible screws or fasteners.
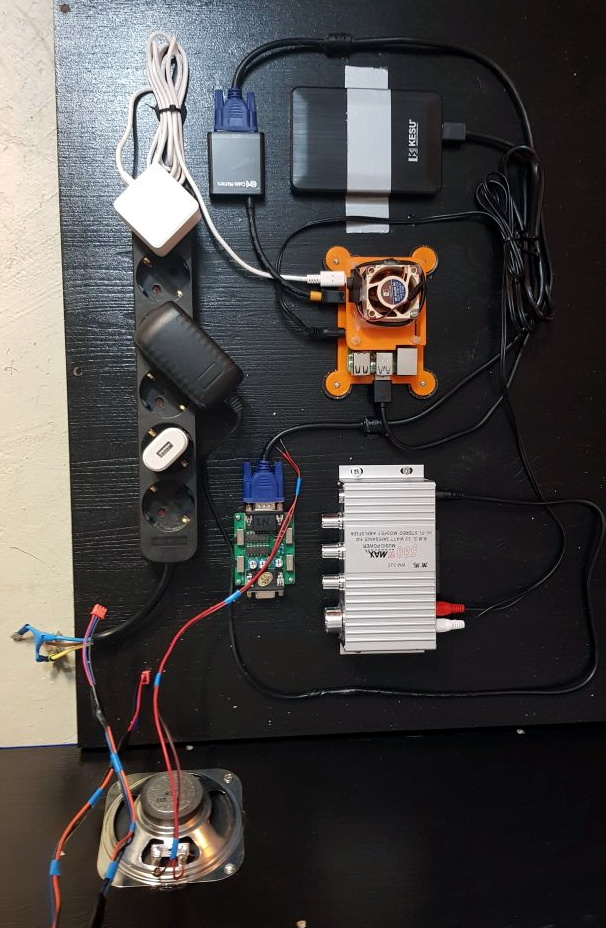
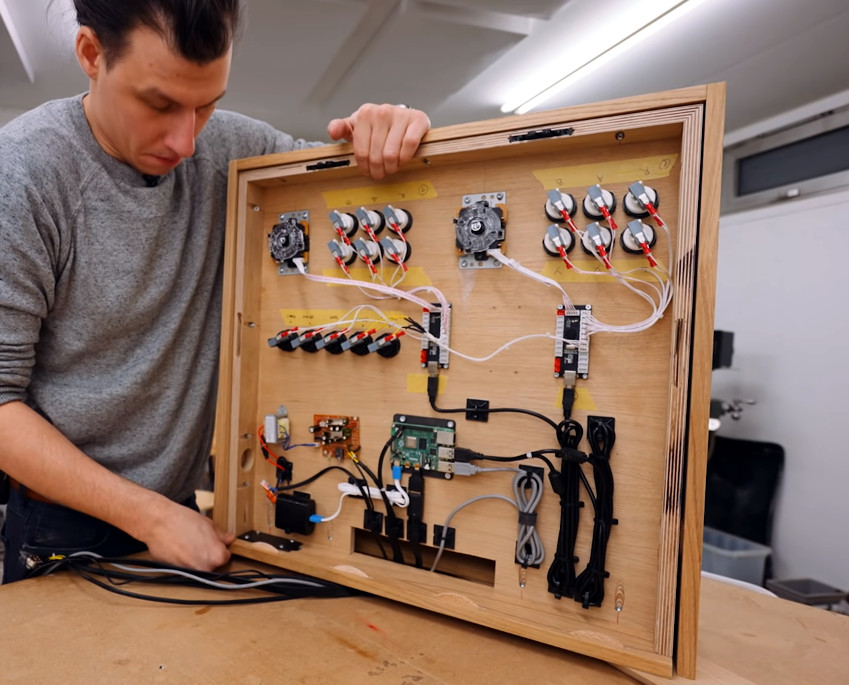
With the help of a 3D printer, he quickly fabricated a locking mechanism to keep the front panel attached when it folds up. The hinge is also 3D printed. The typical Raspberry Pi 4 powers this particular machine. Two french cleats hold the box onto the wall, and once the system is on the wall, we have to say it looks incredible.
If you’re looking for a smaller but more traditional arcade cabinet, why not take a look at this arcade cabinet for toddlers? Or, if you loved the solid wood look of the hidden arcade, this full-sized solid oak cabinet would be something you would enjoy. Video after the break.