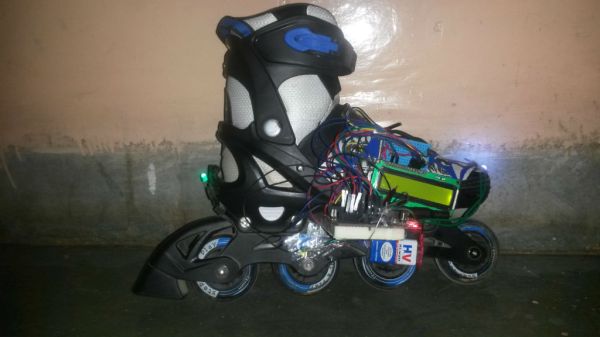
[Anurag] is a computer engineering student with a knack for rollerblading. Rollerblades are not a transportation device that are often fitted with speedometers, so [Anurag] took that more as a challenge and designed this Arduino-powered computer to give him more information on his rollerblade rides.
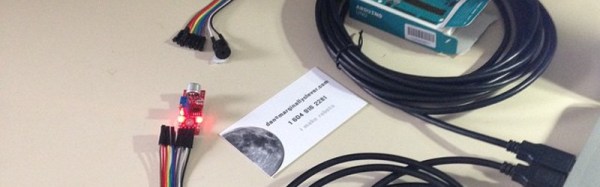
The device uses an Arduino as the brain, and counts wheel revolutions (along with doing a little bit of math) in order to calculate the speed of the rider. The only problem with using this method is that the wheels aren’t on the ground at all times, and slow down slightly when the rider’s foot is off the ground. To make sure he gets accurate data, the Arduino uses an ultrasonic rangefinder to determine the distance to the ground and deduce when it should be taking speed measurements.
In addition to speed, the device can also calculate humidity and temperature, and could be configured to measure any number of things. It outputs its results to a small screen, but it could easily be upgraded with Bluetooth for easy data logging. If speed is truly your goal, you might want to have a look at these motorized rollerblades too.