Modern microcontroller platforms spoil us with their performance and expansive spec sheets. These days it’s not uncommon to be developing for a cheap micro that has a clock rate well in excess of 100MHz, with all manner of peripherals baked in. DACs, WiFi, you name it – it’s in there, with a bunch of libraries to boot. It wasn’t always this way, and sometimes you would even find yourself lacking hardware serial support. In these cases, the bitbanged software UART is your friend, and [MarcelMG] decided to document just how it’s done.
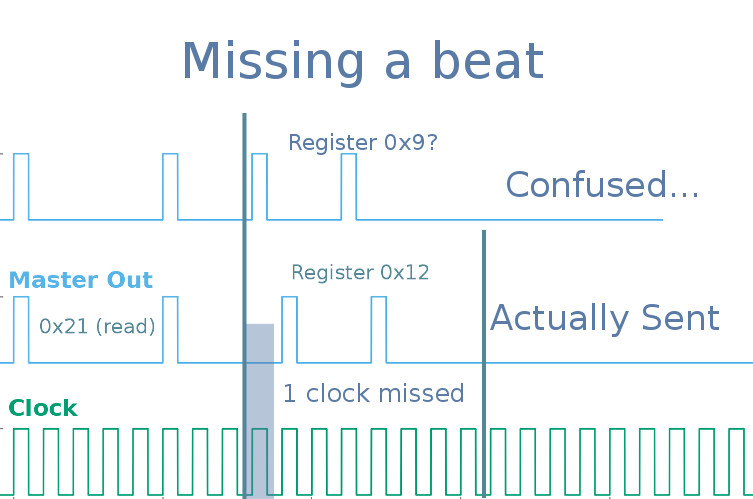
The amateur programmer’s first recourse may be to use delays to properly time the output data stream. This has the drawback of wasting processor cycles and doesn’t let the microcontroller do much else useful. Instead, [Marcel] discusses the proper way to do things, through the use of interrupt service routines and hardware timers.
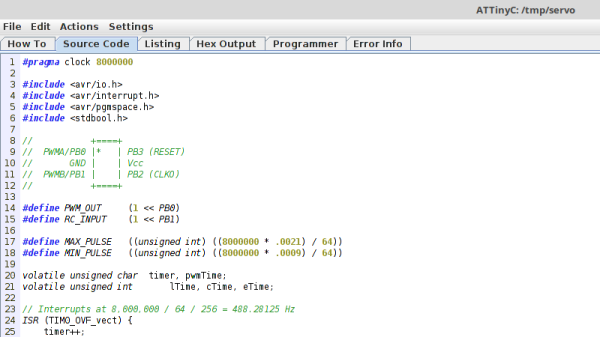
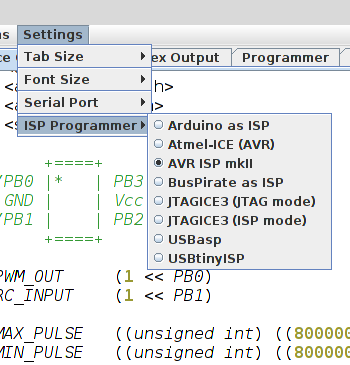
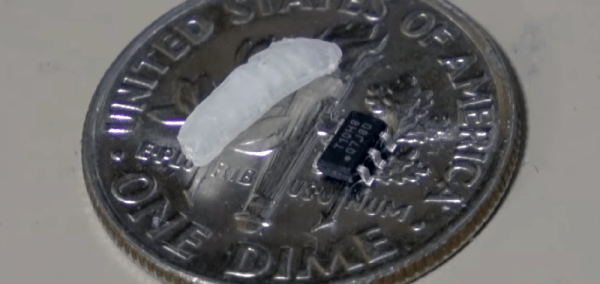
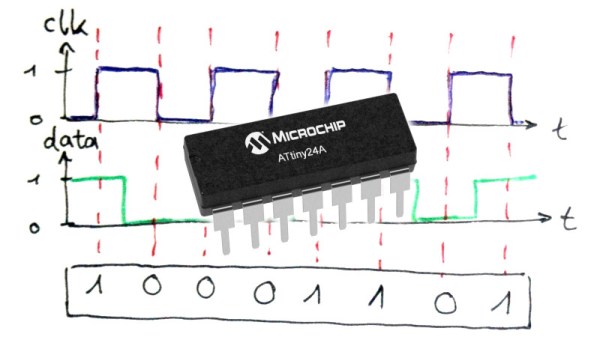
[Marcel]’s implementation is for the ATtiny24A, though it should be easily portable to other AVR8 processors. Taking up just 2 bytes of RAM and 276 bytes of program space, it’s compact – which is key on resource-limited 8-bit devices. The code is available on Github if you fancy trying it out yourself.
It’s a technique that is more than familiar to the old hands, but useful to those new to the art. It can be particularly useful if you need to get data out of a legacy platform with limited options. As times change, it’s important to pass on the techniques of yesteryear to the new generation. Of course, if things are really tight, you can even do a half-duplex UART on a single pin.