If you take a video of a spinning wheel, you’ll probably notice that the spokes appear to turn more slowly than the wheel is actually rotating, and sometimes in the wrong direction. This is caused by a near match in the frame rate of the camera and the rate of rotation of the wheel – each time the camera captures a frame, the wheel has rotated a spoke into nearly the same position as in the last frame. If you time the exposures carefully, as [Excessive Overkill] did in his latest video, this effect can seemingly freeze moving objects, such as a fan or saw blade.
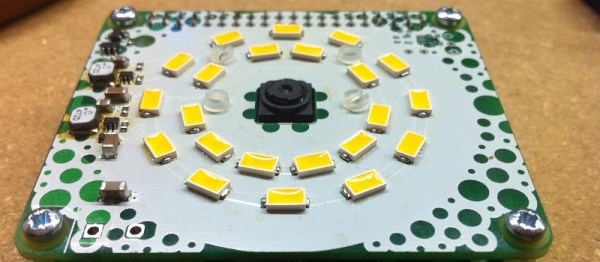
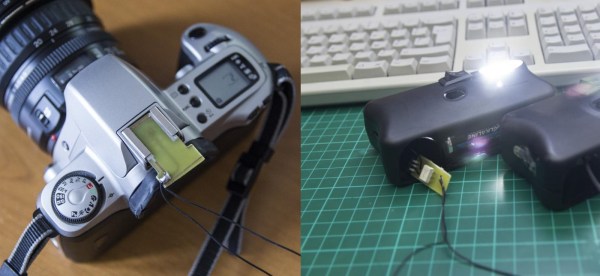
Most cameras only allow relatively coarse, fixed adjustments to frame rate, making it difficult to synchronize the shutter to an object’s motion. To get around this, [Excessive Overkill] used an industrial camera (previously used in this aimbot), which has fine frame rate control and external triggering. He connected the external trigger to a laser sensor, which detects a piece of retroreflective tape every time it passes by (for example, on one blade of a fan). When the laser sensor sends a signal, it also triggers a powerful LED flash. The flash is so powerful that dark materials create a hum when exposed to it, as pulses quickly heat the material, but each pulse is also so brief that the flash board doesn’t require any cooling.
Continue reading “Freeze Moving Tools With A Stroboscopic Camera”