The CAN bus, accessible through the OBD-II port, is the channel that holds all the secrets of the modern automobile. If you want to display those for your own perusal, you might consider this nifty tool from [EQMOD].
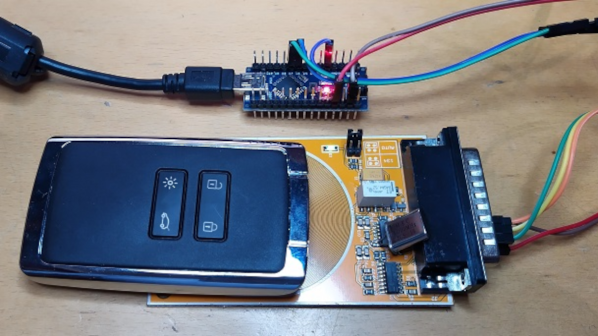
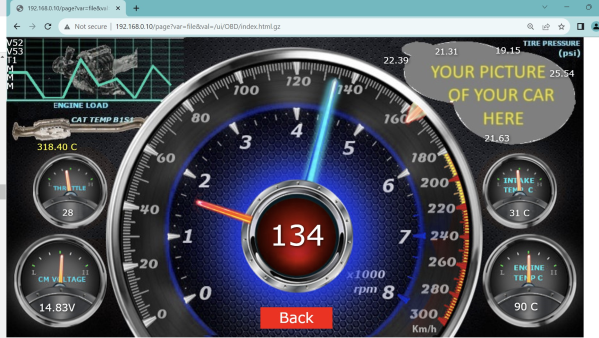
Yes, it’s an OBD-II dongle that you can build using an ESP32 WROVER module. It’s designed to read a car’s CAN bus communications and display them on a self-hosted web page, accessible over WiFi. The build relies on the dual-core nature of the ESP32, with the first core handling CAN bus duties via the SN65HVD230 CAN bus transceiver chip. The second core is responsible for hosting the web page. Data received via the CAN bus is pushed to the web user interface roughly every 60 to 100 milliseconds or so for information like RPM and speed. Less time-critical data, like temperatures and voltages, are updated every second.
It’s a neat little thing, and unlike a lot of dongles you might buy online, you don’t need to install some dodgy phone app to use it. You can just look at the ESP32’s web page for the data you seek. The graphics may be a little garish, but they do the job of telling you what’s going on inside your car. Plus, you can always update them yourself.
Getting to grips with the CAN bus is key if you want to diagnose or modify modern vehicles. Meanwhile, if you’ve been cooking up your own electronic vehicular hacks, don’t hesitate to drop us a line!