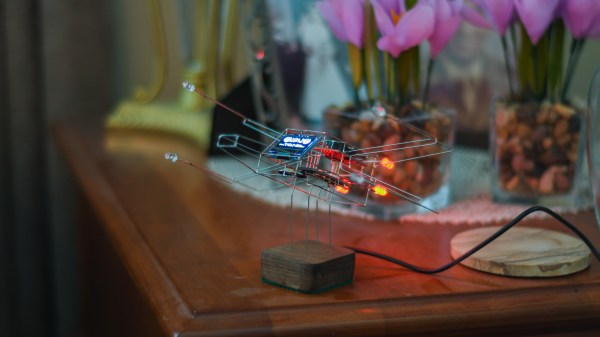
Freeform circuit sculptures are a perfect example of the realm where electronic meets art. While many of these objects only serve aesthetic purposes, [Zachary Goode]’s X-Wing clock satisfies both form and function.
He makes no secret of the fact that his project was inspired by the works of Mohit Bhoite, one of our favorite freeform circuit artists. In particular, he wanted to make an X-Wing version of Mohit’s Tie Fighter Clock.
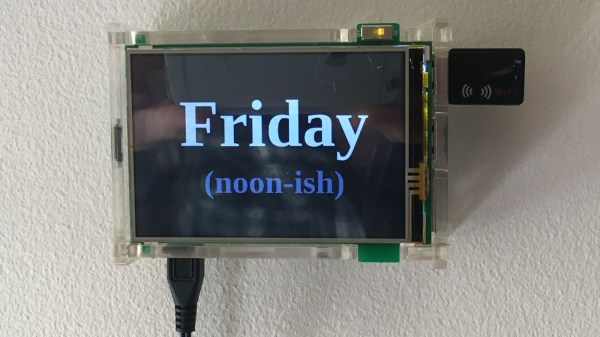
After sketching out the design in Fusion360, he printed out a paper stencil for each part to help him bend the pieces into the right shape. Next, he assembled the wireframe by soldering before mounting the electronics, an Arduino Nano, DS3231 RTC module, and OLED display. For special effects, he added a speaker that randomly plays engine and laser sounds and some Blinkenlights.
He also decided to include some woodworking in his project by making a walnut base which includes the USB cable for power supply and two slide switches. The latter enable him to disable the sound effects and switch to daylight saving time.
Considering that this is his first foray into freeform circuits the result is astonishingly beautiful. If you share our love for these intricate objects be sure to check out our compilation of equally appealing circuit sculptures.