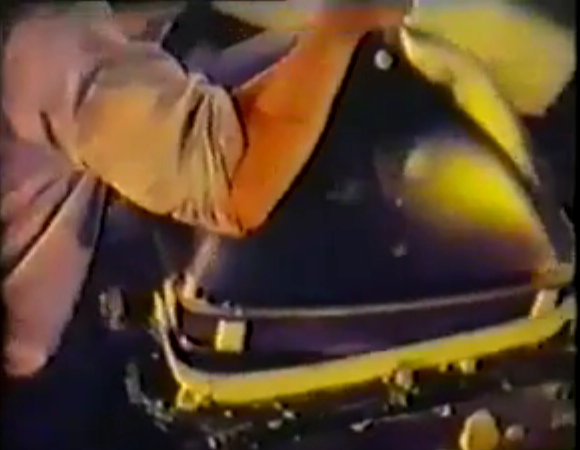
Retrotechtacular: Cathode Ray Tube (CRT) Manufacturing

This week we return to the grainy and un-color-corrected goodness that is synonymous with ancient video reels. [CNK] sent in a tip to a set of videos showing how Cathode Ray Tubes are manufactured on a massive scale. You’ll want to watch the pair of clips embedded below which total about 18 minutes. But there’s also some background to be found at this post from the Obsolete Technology Telley Web Museum.

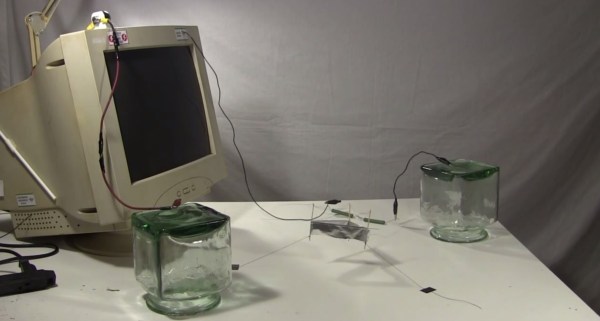
The video presentation starts off with a brief overview of the way a color CRT works. It then moves to a factory tour, carefully showing each step in the process. The footage was shot in the 1960’s and because of that we catch a glimpse of some vintage equipment, like that used to measure the curvature of the CRT glass. You may be thinking that the world of CRT is in the past, but not so. We think there may even been a coming fad of producing them in your home lab.

Continue reading “Retrotechtacular: Cathode Ray Tube (CRT) Manufacturing”

The Tiniest Video Game

As we read [Adam]’s writeup for an extremely tiny video game system through coke bottle glasses, we’re reminded of the countless times we were told that sitting, ‘too close to the Nintendo’ would ruin our eyes. We’ll happily dismiss any article from a medical journal that says there was any truth to that statement, but [Adam]’s tiny video game system will most certainly hurt your eyes.

A few years ago, Atari sold keychain-sized joysticks that contained classics such as PongBreakout, Centipede, and Asteroids. [Adam] apparently ran into a cache of these cool classic baubles and immediately thought of turning them into a stand-alone video game system.

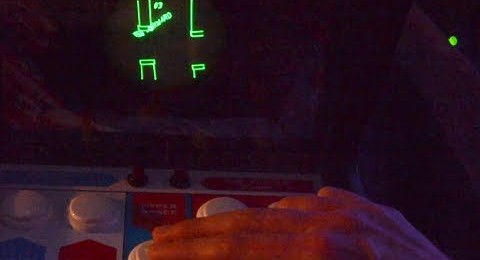
For the display, [Adam] used a CRT module from an old Sony Handicam. These modules had the right connections – power, ground, and composite video input – to connect directly to the Atari keychain games. The result is a video game that’s even smaller than a postage stamp. The picture above shows the tiny CRT next to a 25mm postage stamp; it’s small by any measure.

A Retro, Not Steampunk, Media Center

[toddfx] wanted to put his Raspberry Pi to work and set about creating one of the best stereos we’ve ever seen: It’s called the Audio Infuser 4700, and turns a conglomeration of old disused stereo equipment into a functional piece of art.

[toddfx] used a Raspberry Pi to stream music over WiFi, but also wanted to play some classic vinyl. He took apart an old Yamaha YP-D4 turntable. stripped it to the bone, and created a fantastic oak enclosure around it. To this, he added a seven-band graphic EQ, aux jacks (both in and out), and a tiny 5″ CRT from an old portable TV.

Where this build really gets great is the fabrication. The front panels have all their graphics and lettering engraved via a toner-transfer like method using copper sulphate and salt. [todd] got the idea from this thread and we have to say the results are unbelievable.

Even though this awesome device only used for music, [toddfx] used the tiny color CRT to its fullest. Flick one switch, and it’s an oscilloscope-like display. Flick another switch, and it’s the output of the Raspberry Pi loaded up with a few MAME games including Pacman, Asteroids, and Space Invaders.

[toddfx] put up a build page for his Audio Infuser and an awesome video for his project, available below.

Continue reading “A Retro, Not Steampunk, Media Center”

Bench Equipment Tip: Screenshot Of Old Oscilloscopes

oscillocam-oscilloscope-camera-accessory

Here’s a quick tip on capturing the output of oscilloscopes that don’t have that native feature. [Paulo Renato] used a cookie tin as a camera cowl for capturing CRT oscilloscope screenshots.

We figure if you’ve got any kind of functioning oscilloscope you’re lucky. And although it’s nice to pull down the measurements to your PC on the newer models, the results [Paul] gets with this rig are still satisfactory. The plastic cookie box he used blocks out ambient light while holding the camera at a consistent focal length. He used some flat black spray paint to make sure the obnoxious yellow plastic didn’t interfere with the image, then drilled a hole which fits tightly around his camera lens.

You’ll need to monkey with the exposure settings to get the best image. But once you’ve got it dialed in it should be the same every time you want to take a picture of the screen.

Modifying A CRT Television For Use As An Arcade Monitor

Finding himself in need of an arcade monitor [Eric Wright] turned to this ancient CRT television. The problem is that arcade monitors and televisions didn’t operate in the same way, differing in both resolution and refresh rate. [Eric] modified the television to work like an arcade monitor, but only with limited success. He’s hoping a few more alterations will lead him to a complete solution.

The image above shows him testing a Pac-Man machine on the altered Sharp television. Those familiar with the game will immediately notice that there is something wrong. We see most of the tracks upon which Pac-Man and the ghosts travel, but he maze itself is completely missing. To get to this point [Eric] consulted the television and arcade schematics to figure out how to connect the composite sync and three color channels directly to the arcade machine. This way the CRT timing is forced to conform to the game standard. The problem is that there is no way to adjust the drive and cutoff of the individual color channels. This is something [Eric] hopes to fix in the next iteration of his experiments.

If you already have a working arcade monitor but no gaming cabinet why not use a Raspberry Pi?

Continue reading “Modifying A CRT Television For Use As An Arcade Monitor”

Scavenged Tube Television Makes A Nice Fish Tank

aquarium-from-junked-television-set

[McCaulsey] found an old TV waiting for garbage pick-up on the side of the curb. He brought it home and gave it a new life as an aquarium.

His technique is a little rough, but the finished look is exactly what he was going for. He picked up the cheapest aquarium set he could find at the pet store. It just happens to have a curved front to it which helps to recreate the look of the original CRT. After removing most of the electrical components he went to work on the plastic fins that were used to mount them. Having somehow misplaced his Dremel tool the work was done with a drill and a 1/4″ paddle bit.

Once the demolition was over he started the rebuild by placing a backer in the tank. This is an underwater image that will save him from having to look at the inside of the TV case through the water. A piece of Styrofoam was used as a base to properly frame the front of the tank. The only thing we can’t tell from the build album is how he will manage to feed the fish without taking everything apart again.

[via Reddit]

Simulating CRT Or Vector Displays For More Realistic Emulation

simulated-crt-monitor-for-emulatorsScaled down it’s not as obvious that this image isn’t a crystal clear rendering of Mortal Kombat gameplay. But we’ve linked it to the full size version (just click on the image) so that you can get a better look. Notice the scan lines? This is the result of an effort to more accurately mimic the original hardware displays used in classic games. [Jason Scott] takes a look at the initiative by describing what he thinks is missing with the picture perfect quality of modern emulators.

One such effort is being mounted for MAME (Multiple Arcade Machine Emulator). There is a series of filters available — each with their own collection of settings — that will make your modern LCD display look like it’s a run-of-the-mill CRT. This is a novelty if you’re a casual gamer who dusts off the coin-op favorites twice a year. But if you’re building a standalone game cabinet this may be a suitable alternative to sourcing a working display that’s already decades old.