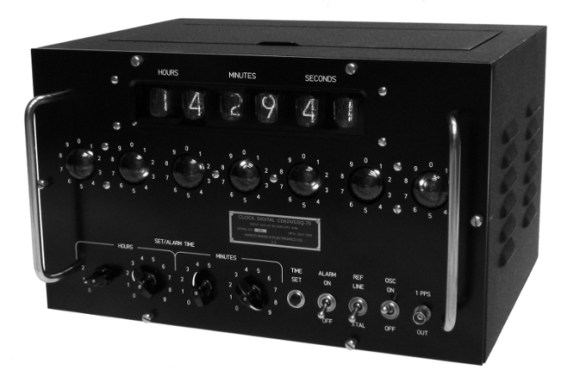
Sometimes, it’s the simple things that mesmerize. [JohnS_AZ] has created a simple dekatron style LED ring, but we can’t seem to stop watching his video. [John’s] LED ring began as a visual indicator for his Hackaday Prize entry, a water consumption display. Judging by his website, [John] is a bit of a display nut. Nixie tubes and huge clocks feature prominently.
We’ve seen plenty of LED projects using the trusty 74xx595 8-bit shift register. [John] personally isn’t a fan, as the entire chip is only rated to drive about 50mA. While hackers routinely push the chip several times past this limit, [John] found a chip designed for the task in the Texas Instruments TLC59282 16 channel constant current LED driver. (PDF link) While more expensive than the ‘595, the 59282 makes life much easier. Only one resistor is needed at the chip’s current sense pin, rather than a current-limiting resistor for each LED. The 59282 also provides a blank input, which is perfect for driving with PWM.
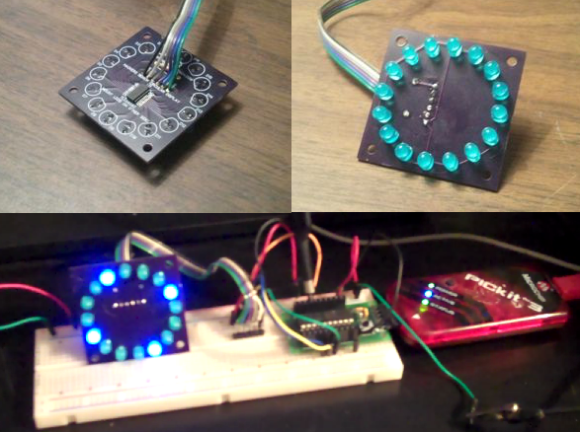
[John] designed a simple PCB with a the 59282 driving a ring of 16 LEDs. While he waited for the boards to come in, he wrote some test code for a Microchip PIC16F1509. [John’s] code is not optimized, but that makes it easy to see exactly which bit patterns he’s writing to the LEDs. It all makes for a great demo, and reminds us of those old Dekatron tubes.
It’s the demo video that makes this project. Click past the break and give it a watch. After several long days of judging entries, a really nice LED ring might be just what the doctor ordered.
Continue reading “LED Water Wheel Display Is Dekatron-tastic!”