[Michael] was playing with his ESP8266. Occasionally he would notice a WiFi access point come up with, what he described as, “a nasty name”. Perhaps curious about the kind of person who would have this sort of access point, or furious about the tarnishing of his formerly pure airspace, he decided to see if he could locate the router in question.
[Michael] built himself a warwalking machine. His ESP8266 went in along with a GPS module interfaced with a PIC micro controller. It was all housed in an off the shelf case with a keypad and OLED screen. He took his construction for a nice calming war walk around the neighborhood and came home with a nice pile of data to sort through. To save time, he placed the data in a SQL database and did the math using queries. After that it was a quick kludge to put together a website with the Google Maps API and some JavaScript to triangulate the computed results.
Sure enough, the person with the questionable WiFi access point shows up on the map.
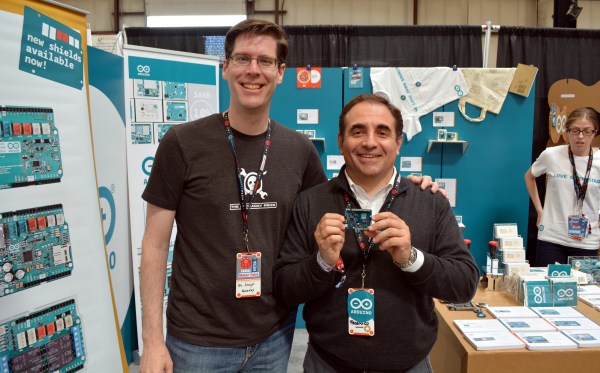
 The new boards are called Arduino Primo, Arduino Core, Arduino Alicepad, and Arduino Otto.