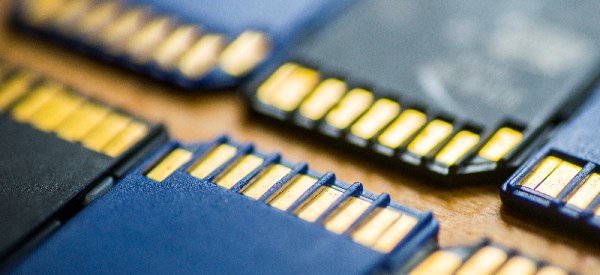
You may still have some luck getting those selfies off of your SD card, even if it will no longer mount on your computer. [HDD Recovery Services] shows us a process to directly access the NAND memory of a faulty micro SD card to recover those precious files you thought about backing up but never got around to.
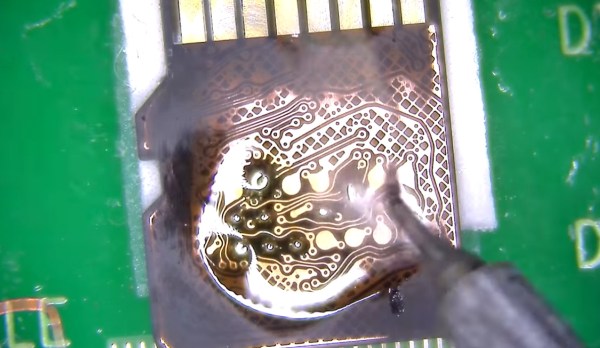
On a Micro SD card you may have noticed there are two slightly longer pins than the rest. These are VSS and VCC pins. As long as they are not a dead short between the two the SD card controller isn’t completely trashed and we can go ahead and get into that little sucker. With a bit of know how — along with sandpaper, enameled wire, and a NAND reader — an image of your lost data can be recovered with a bit of patience and some good soldering skills.
Working your way down from a relatively high grit sand paper, slowly sand away the plastic on the underside of the SD card until you can clearly see the copper traces hidden away inside. Then solder your enameled wire onto the small solder pads to hook it up to a NAND reader and you should be able to read the data that was previously unreachable via conventional means. Of course you’re still going to need to make sense out of the NAND dump. That’s a topic for a different article.
If you ever find yourself in need of an SD card recovery tool you could always roll your own DIY NAND reader. We will likely give this process a try just to play round with the concept. Hopefully we’ll never need to do SD card recovery!
Continue reading “Recover Your Broken SD Card Selfies By Your Selfie”