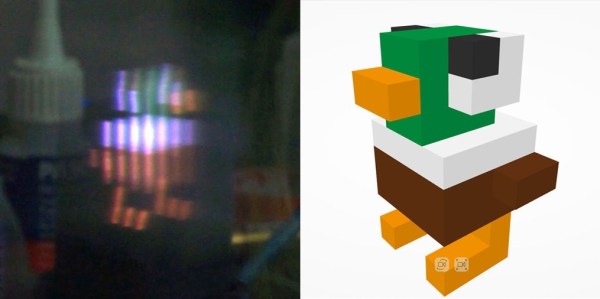
Persistence of vision projects are a dime a dozen, but by adding a third dimension [Madaeon] succesfully created one to stand out from the crowd. Instead of waving around a single line of LEDs, he is moving a 2D grid of them vertically to create a volumetric POV display.
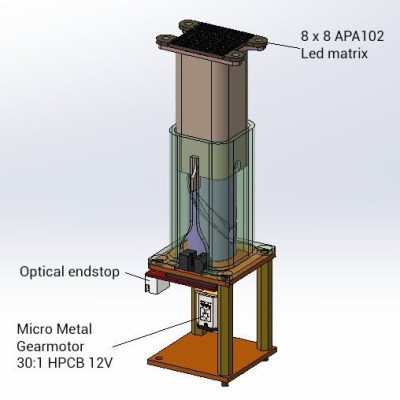
The display consists of oscillating 3D printed piston, powered by a small geared motor, on top of which sits a 8 x 8 RGB LED grid and diffusing film. The motor drives a cylindrical cam, which moves a piston that sits over it, while an optical end stop detects the bottom of the piston’s travel to keep the timing correct. [Madaeon] has not added his code to the project page, but the 3D files for the mechanics are available. The current version creates a lot of vibration, but he plans to improve it by borrowing one of [Karl Bugeja]’s ideas, and using flexible PCBs and magnets.
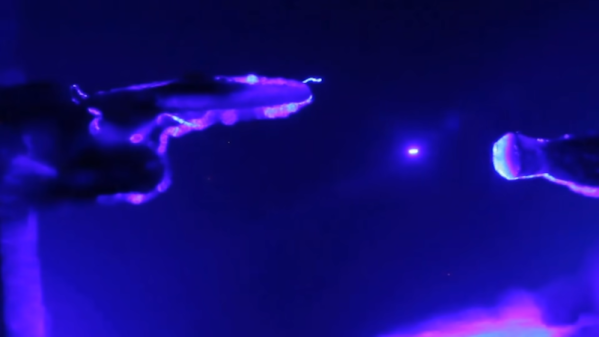
He also links another very cool volumetric display that he constructed a few years ago. It works by projecting images from a small DLP projector onto an oscillating piece of fabric, to created some surprisingly high definition images.
POV displays are good projects for learning, so if you want to build your own, take a look a simple POV business card, or this well-documented POV spinning top.
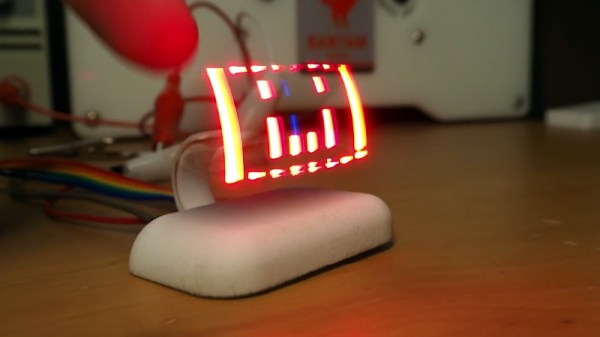
With his FlexLED project, [Carl Bugeja] is trying to perfect a simple and affordable persistence of vision (POV) display capable of generating “holographic” characters in mid-air. Traditionally POV systems spin LEDs rapidly to create the desired illusion, but that means motors, slip rings, and noise. As the name implies, the goal with this project is to do away with all that and replace it with a self-actuating flexible PCB.
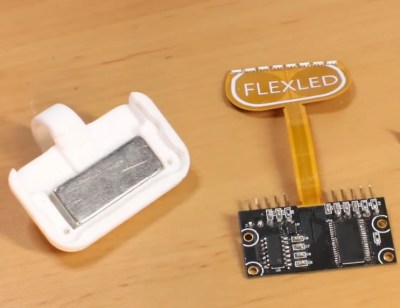
The device is able to quickly move the LEDs back and forth quietly and efficiently thanks to a permanent magnet and magnetic coils integrated into the flexible PCB. With no motors or gears, the whole unit is smaller and less complex than other POV displays. As an added bonus, there’s no danger to the operator or the device should a curious user stick their finger into it.
The last time we took a look at this project, [Carl] had entered an earlier single-LED version into the 2019 Hackaday Prize. Competition was tough last year, and unfortunately FlexLED didn’t get selected as a Finalist. But we’re still extremely interested in seeing the project develop, and we imagine so are you.
The recently completed second version of the display features an improved coil design, eight RGB LEDs and a 3D printed base with integrated magnet. With more LEDs onboard, a single display is able to show multiple characters and even rudimentary animations. A large array of these flapping elements promises to be quite a sight.
But before you get too excited, [Carl] does have some bad news. For one, the cost of building them in small quantities is high, which is always tough for a single hacker trying to iterate a design. Worse, some of the LEDs seem to have died on this prototype already. He says it likely has something to do with the stress of flexing back and forth so quickly, which is obviously a bit troubling. He’s looking to get some feedback from the community, and is hoping to address these issues in the next version.
Hackers from all over Europe descended upon Rome last weekend for the Maker Faire that calls itself the “European Edition”. This three-day event is one of the largest Maker Faires in the world — they had 27,000 school students from all over Italy and Europe attend on Friday alone.
This was held at Fiera Roma, a gigantic conference complex two train stops south of the Rome airport — kind of in the middle of nowhere. I was told anecdotally that this is the largest event the complex hosts but have no data to back up that claim. One thing’s for certain, three days just wasn’t enough for me to enjoy everything at the show. There was a huge concentration of really talented hardware hackers on hand, many who you’ll recognize as creators of awesome projects regularly seen around Hackaday.
Here’s a whirlwind tour of some of my favorites. On that list are a POV holographic display, giant cast-resin LEDs, an optical-pump ruby laser built out of parts from AliExpress, blinky goodness in cube-form, and the Italian audience’s appreciation for science lectures (in this case space-related). Let’s take a look.
We are all familiar with the idea of a hologram, either from the monochromatic laser holographic images you’ll find on your bank card or from fictional depictions such as Princes Leia’s distress message from Star Wars. And we’ve probably read about how the laser holograms work with a split beam of coherent light recombined to fall upon a photographic plate. They require no special glasses or headsets and possess both stereoscopic and spatial 3D rendering, in that you can view both the 3D Princess Leia and your bank’s logo or whatever is on your card as 3D objects from multiple angles. So we’re all familar with that holographic end product, but what we probably aren’t so familiar with is what they represent: the capture of a light field.
In his Hackaday Superconference talk, co-founder and CTO of holographic display startup Looking Glass Factory Alex Hornstein introduced us to the idea of the light field, and how its capture is key to the understanding of the mechanics of a hologram.
His first point is an important one, he expands the definition of a hologram from its conventional form as one of those monochromatic laser-interference photographic images into any technology that captures a light field. This is, he concedes, a contentious barrier to overcome. To do that he first has to explain what a light field is.
When we take a 2D photograph, we capture all the rays of light that are incident upon something that is a good approximation to a single point, the lens of the camera involved. The scene before us has of course countless other rays that are incident upon other points or that are reflected from surfaces invisible from the single point position of the 2D camera. It is this complex array of light rays which makes up the light field of the image, and capturing it in its entirety is key to manipulating the result. This is true no matter the technology used to bring it to the viewer. A light field capture can be used to generate variable focus 2D images after the fact as is the case with the Lytro cameras, or it can be used to generate a hologram in the way that he describes.
The point of his talk is that complex sorcery isn’t required to capture a light field, something he demonstrates in front of the audience with a volunteer and a standard webcam on a sliding rail. Multiple 2D images are taken at different points, which can be combined to form a light field. The fact that not every component of the light field has been captured doesn’t matter as much as that there is enough to create the holographic image from the point of view of the display. And since he happens to be head honcho at a holographic display company he can show us the result. Looking Glass Factory’s display panel uses a lenticular lens to combine the multiple images into a hologram, and is probably one of the most inexpensive ways to practically display this type of image.
Since the arrival of the Lytro cameras a year or two ago the concept of a light field is one that has been in the air, but has more often been surrounded by an air of proprietary marketing woo. This talk breaks through that to deliver a clear explanation of the subject, and is a fascinating watch. Alex leaves us with news of some of the first light field derived video content being put online and with some decidedly science-fiction possible futures for the technology. Even if you aren’t planning to work in this field, you will almost certainly encounter it over the next few years.
Prior to this weekend I had assumed making holograms to be beyond the average hacker’s reach, either in skill or treasure. I was proven wrong by a Club-Mate box full of electronics, and an acrylic jig perched atop an automotive inner tube. At the Hope Conference, Tommy Johnson was sharing his hacker holography in a workshop that let a few lucky attendees make their own holograms on site!
The technique used here depends on interference patterns rather than beam splitting. A diffused laser beam is projected through holographic film onto the subject of the hologram — say a bouquet of flowers like in the video below. Photons from that beam reflect from the bouquet and pass back through the film a second time. Since light is a form of electromagnetic radiation that travels as a wave, anywhere that two peaks (one from the beam the other from the reflected light) align on the film, exposure occurs. With just a 1/2 second exposure the film is ready to be developed, and if everything went right you have created a hologram.
Simple, right? In theory, at least. In practice Tommy’s been doing this for nearly 30 years and has picked up numerous tips along the way. Let’s take a look at the hardware he brought for the workshop.
[Dr. Roel Vertegaal] has led a team of collaborators from [Queen’s University] to build TeleHuman 2 — a telepresence setup that aims to project your actual-size likeness in 3D.
Developed primarily for business videoconferencing, the setup requires a bit of space on both ends of the call. A ring of stereoscopic z-cameras capture the subject from all angles which the corresponding projector on the other end displays. Those projectors are arranged in similar halo above a human-sized, retro-reflective cylindrical screen which can be walked around — viewing the image from any angle without a VR headset or glasses — in real-time!
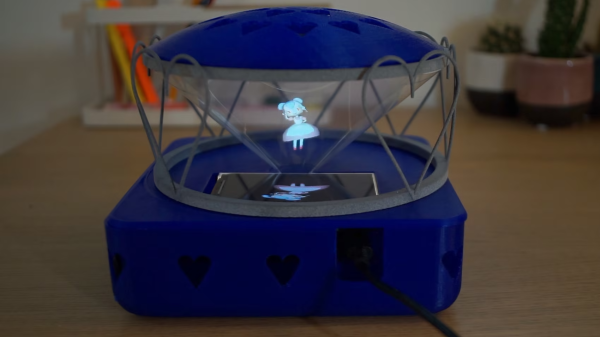
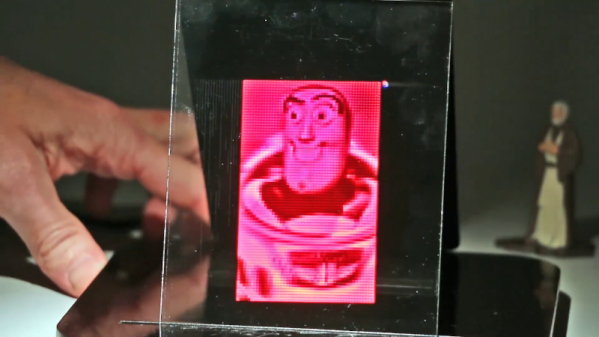
If you’ve ever been to a local fair or amusement park, chances are you’ve seen an illusion known as Pepper’s Ghost. To perform the illusion, essentially all that’s needed is a thin sheet of plastic or one-way mirror and a light source. Get it right, and you’ll have apparitions popping up in all kinds of interesting places. With just the right software, though, one of those places could be in your own 3D display.
Using just a tablet and a sheet of plastic rolled into a cone, a three-person team was able to create a 3D display using the Pepper’s Ghost illusion. Using special software that the team developed, an image is altered so that when it reflects off of the plastic cone the image appears as a 3D rendering of the original picture. The rendering is perspective-correct and offers a novel way to interact with a 3D model without needing expensive equipment or special glasses.
If you do have some fancy equipment sitting around, like a computer monitor and some plexiglass, similar 3D displays have been made which utilize similar effects. Right now the team that developed this one haven’t made their code open yet, but have promised to release it soon so that others can build their own displays.