Home automation is huge right now in consumer electronics, but despite the wide availability of products on the market, hackers and makers are still spinning up their own solutions. It could be because their situations are unique enough that commercial offerings wouldn’t cut it, or perhaps they know how cheaply many automation tasks can be implemented with today’s microcontrollers. Still others go the DIY route because they’re worried about the privacy implications of pushing such a system into the cloud.
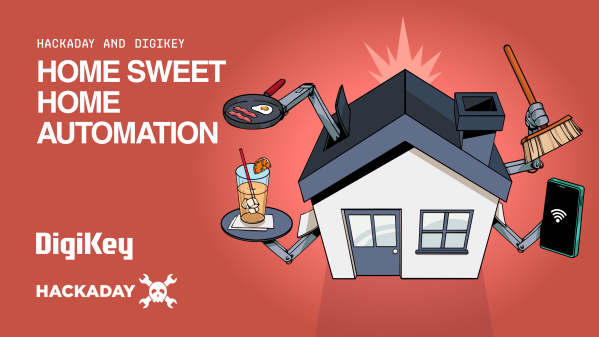
Seeing how many of you were out there brewing bespoke automation setups gave us the idea for this year’s Home Sweet Home Automation contest, which just wrapped up last week. We received more than 80 entries for this one, and the competition was fierce. Judging these contests is always exceptionally difficult, as nearly every entry is a standout accomplishment in its own way.
But the judges forged ahead valiantly, and we now have the top three projects which will be receiving $150 in store credit from the folks at DigiKey.
Continue reading “2024 Home Sweet Home Automation: The Winners Are In”