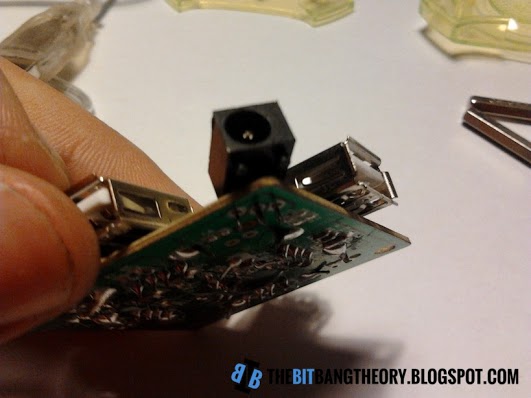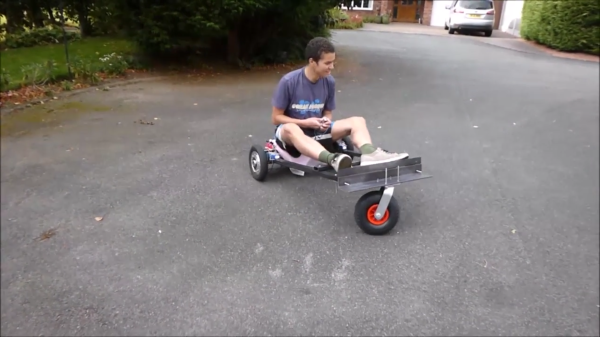
Electric vehicles are everywhere now. Even though battery technology hasn’t had the breakthrough that we need to get everyone out driving an electric car, the price for batteries has dropped enough that almost anything else is possible. The hoverboard was proof of this: an inexpensive electric vehicle of sorts that anyone who was anyone in 2015 had. Taking his cue from there, [Harris] used off-the-shelf parts normally used for hoverboards to build his own battery-powered trike.
The trike is homemade from the ground up, too. The H-frame was bolted together using steel and lots and lots of bolts. Propulsion comes from a set of hub motors that are integrated into the wheels like a hoverboard or electric bicycle would have. Commonly available plug-and-play lithium batteries make up the power unit and are notably small. In fact, the entire build looks like little more than a frame and a seat, thanks to the inconspicuous batteries and hub motors.
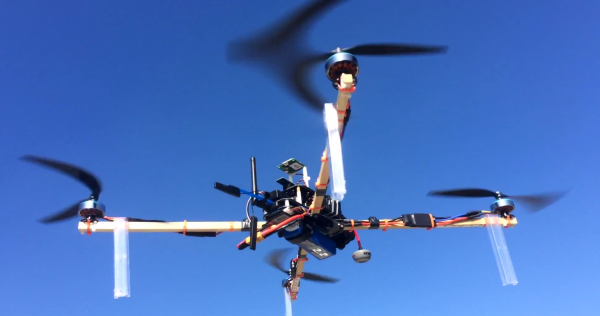
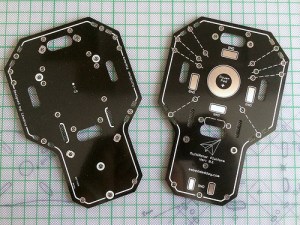 The silk screen of the PCB has dotted lines showing the different angles possible for one pair of motor supports. One set makes a perfect “X” for traditional quadcopter flight. Another reduces the angle between front and back struts for higher-performance quad flight, while the last set is intended for a tricopter setup.