Love them or hate them, inkjets are still a very popular technology for putting text and images on paper, and with good reason. They work and are inexpensive, or would be, if not for the cartridge racket. There’s a bit of mystery about exactly what’s going on inside the humble inkjet that can be difficult to describe in words, though, which is why [Dennis Kuppens] recently released his Interactive Printing Simulator.
[Dennis] would likely object to that introduction, however, as the simulator targets functional inkjet printing, not graphical. Think traces of conductive ink, or light masks where even a single droplet out-of-place can lead to a non-functional result. If you’re just playing with this simulator to get an idea of what the different parameters are, and the effects of changing them, you might not care. There are some things you can get away with in graphics printing you really cannot with functional printing, however, so this simulator may seem a bit limited in its options to those coming from the artistic side of things.
You can edit parameters of the nozzle head manually, or select a number of industrial printers that come pre-configured. Likewise there are pre-prepared patterns, or you can try and draw the Jolly Wrencher as the author clearly failed to do. Then hit ‘start printing’ and watch the dots get laid down.
[Dennis] has released it under an AGPL-3.0 license, but notes that he doesn’t plan on developing the project further. If anyone else wants to run with this, they are apparently more than welcome to, and the license enables that.
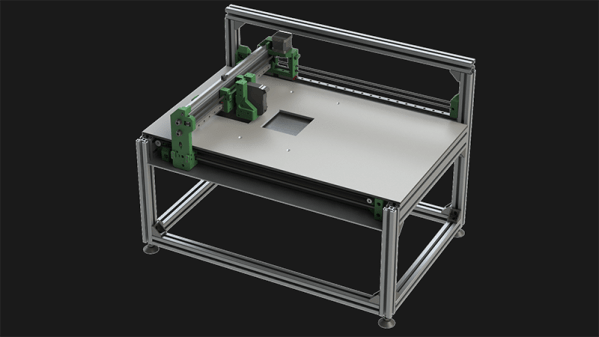
Did you know that there’s an inkjet in space? Hopefully NASA got a deal on cartridges. If not, maybe they could try hacking the printer for continuous ink flow. Of course that’s all graphics stuff; functional printing is more like this inkjet 3D printer.